Showing posts with label Art Journal. Show all posts

Wednesday, 21 March 2018

Art Journal | Heidi Swapp Hawthorne | Agnus Kasprzak

Hi again :) I'm still playing with the awesome Heidi Swapp Hawthorne collection and thought it would be fun to use this range for something a little differenet and create an art journal collage. 


I began by cutting out a section of the reverse side of the 9th & 9th patterned paper (the size you use will depend on the size of your journal) then tore the left hand side and layered a couple of the printed manufacturing strips along the opposite edge.


Next I used a fine line marker with rough sketchy strokes to define some of the flowers from the Midnight and Hawthorne patterned papers.


 I cut out the images and attached the largest one to my paper layers with washi tape to create a tip-in to hold my journaling as an easy way to add an interactive element to my page that basically consists of a strip of washi tape on two sides of your added items to form a hinge that allows you to view both sides of the item you have added.
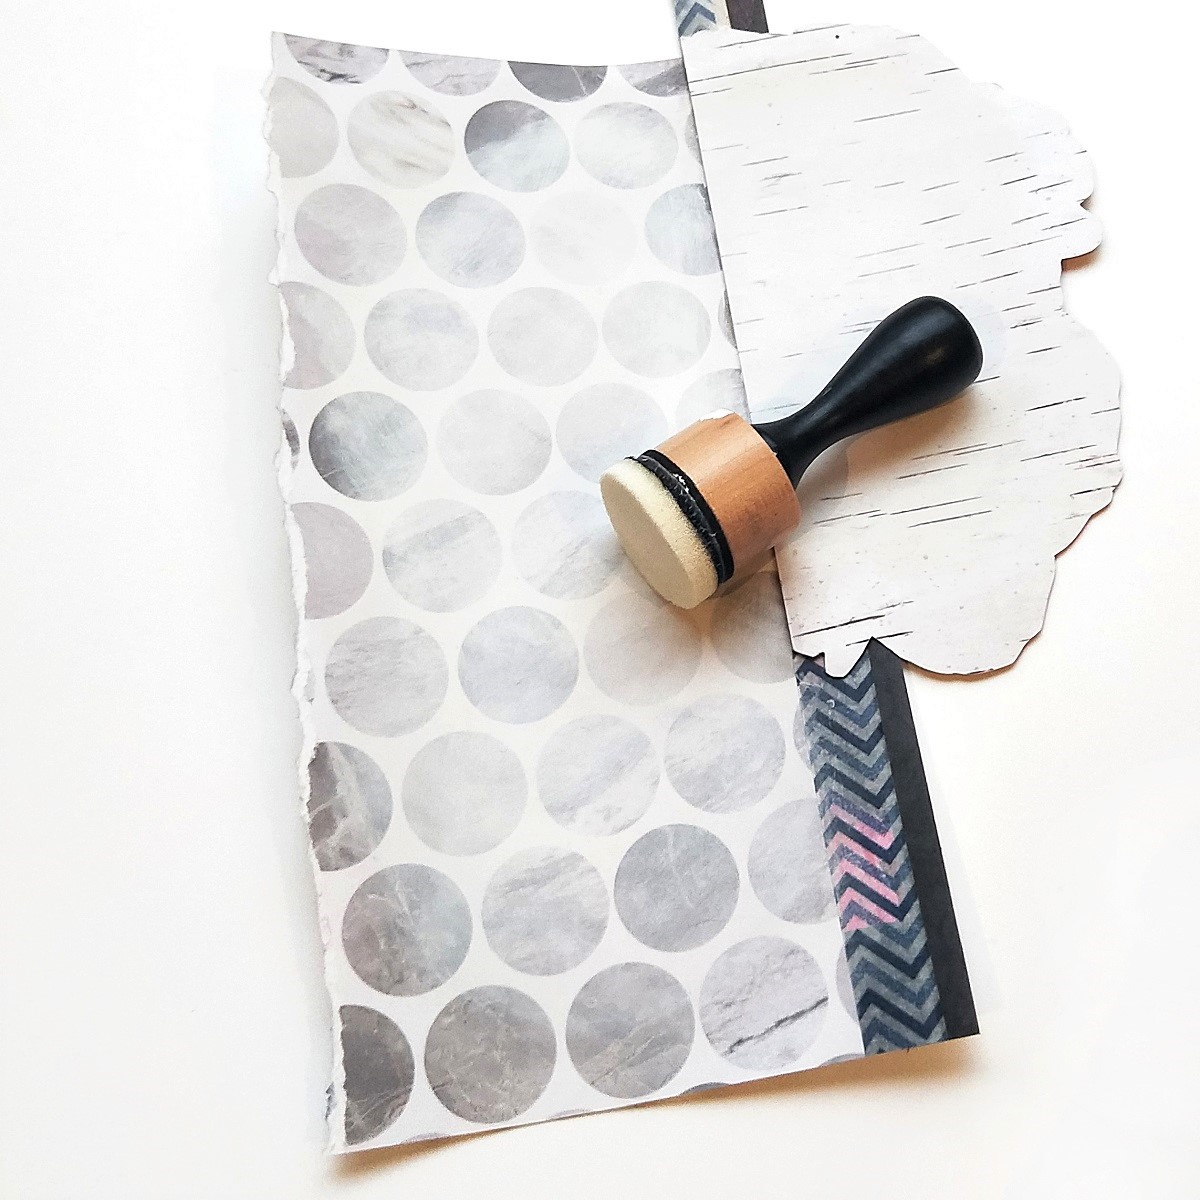

Making off the manufacture's strips with more washi, I used a blending tool to apply a thin coat of gesso over the patterned paper - be sure to keep in mind that patterned paper does not do well with a lot of moisture so be sure to keep all of your paint layers on these pieces fairly light.


I applied some paint over the reverse side of my tip in tag through a stencil then adhered a torn strip of tissue paper using matte gel medium and added more of the fussy cut floral images over the top with a label and a couple of the word jumble stickers to finish.  


Moving onto the art journal, I applied a thin coat of gesso then used acrylic paint with a brush to lay down a base of colour. I like to keep my layers light and gradually build up the colour in long sweeping strokes.


To give the page more depth, I added layers of gesso over the acrylic then removed some of the sections with a baby wipe to reveal the colours underneath and repeated the process of adding more layers and wiping them away until I achieved a look I was happy with. Once the paint was dry I used my scribble sticks to add a layer of rough sketchy strokes that followed the direction of the paint. My previous post showed how well the scribble sticks wok with water, but this time I opted for a dry method.

I then applied some detail with a couple of background stamps along the left hand edge of the page, and flicked on some droplets of distress ink then allowed this to dry before using more gel medium to attach my paper layers to the page along with one of the acetate words used to complete a hand written quote.


 While my first post featuring this range with a traditional layout showed how to apply the foil flakes onto a large area of patterned paper, I wanted a more defined look for my journal and used a fine tip glue pen to draw over areas of the floral images then applied the flakes over the top - using a dry stencil brush to burnish the flakes onto the adhesive.

Thursday, 28 September 2017

Leave a Little Sparkle Art Journal Page by Farrel Tailor

Hello Fellow Sassy Fans!!! I'm back again to share with you another mixed media art journal page featuring the amazing 13arts Ayeeda Mists.


So to start my page I used a mini harlequin stencil with Ranger Texture Paste and used my heat gun to dry. 


Once the paste was dry I sprayed water to the area I wanted the 13arts Chalk Turquoise mist to go and applied the mist using a small paint brush. I then splattered what was left on my brush onto the page.


Next I splattered Chalk Ultramarine Ayeeda mist onto my page and spritzed enough water to let the colour run a little. Once it was dry I then applied Chalk Indigo using a watered paint brush and applied it around the outside of my coloured area. I also added some splatters.


As you can tell this page is all about layering. So the next mist I used was Pearl Turquoise Light which I used to splatter all over. This mist has a little bit of sparkle to it which just makes the colours all pop!!


I then splattered using Dylusions Black Marble and White Linen Sprays and used a heat gun to dry.


Now to add a little bit more texture - I used Art Basics 3D Gloss Gel to adhere my cheesecloth and gave it a quick dry with my heat gun. I then cut out my butterfly print that I got from Pinterest (the link will be over on my blog) and also adhered it using the 3D Gloss Gel.
 

Then to finish off the page I used Vicki Boutin's Mixed Media Stickers Phrases and Accents and used my black Uni Posca pen to draw around the edges of the stickers.


And there you have it, a simple but effective art journal page and I hope I have inspired you to create something this week. 


Thanks for dropping by
Farrel xx


Thursday, 31 August 2017

Ocean Goddess Art Journal Page by Farrel Tailor

Happy Thursday Sassy Fans!!! Today I am sharing an art journal page I created using Lindy's Stamp Gang Magical Shakers and Dylusions Paints. I have a video at the end of the blog if you would like to see it in action.


When I started my page, I wasn't sure what I wanted to do but after using the magical shakers for my background I decided to do an under water theme..... I'm not much of an artist when it comes to drawing and this was my first time drawing a mermaid (will definitely need to to practice some more lol) she isn't perfect but I wanted to show some different techniques when using the shakers.

So to build the background I used Polka Purple, Guten Tag Teal, Lederhosen Laurel and Bavarian Blue. I sprinkled randomly onto my page and spritz with water. I did use a heat gun to dry but if you have the time, let it air dry as the results are amazing.


I then drew my mermaid onto some watercolour paper and used the above magical shakers plus Bratwust Brown and Oom Pah Pah Pink to colour in my mermaid and adhered her to my page. 


I then decided that I wanted to do a bit more to the background so using a wet paint brush I played a little more with the shakers until I was happy.


Next I used Dylusions Paint Dirty Martini and Fresh Lime to paint some seaweed and used a paint pen to draw some weeds. Then I mixed a small amount of water to White Linen to splatter onto the background.


To finish off the page I added some sparkle using a glitter glue - you can use Ranger Diamond Stickles and just like that my page was finished.


Thanks for dropping by and I hope I have inspired you to create something special!!!
Farrel xx 

Thursday, 25 May 2017

Be Beautiful Art Journal Page by Farrel Tailor

Hello Sassy lovelies!!! 

I'm back with another mixed media tutorial for you all today. Last week I featured the amazing Dina Wakley Scribble Sticks and I thought I would do another art journal page using them again but in a different way. I also wanted to show you how to use the incredible Prima Watercolor Resist Pen. 

So let me give you a quick run down of how I created this page and at the end of the post there is a process video if you wanted to see me in action.


So I started by drawing my tulips with a pencil and once I was happy, I then went over it using the Prima Watercolor Resist Pen. This pen is amazing!!!! You have to wait for the liquid to dry and for the best results leave it over night. But I am an impatient scrapper so I used my heat gun and then let sit for about 15 min before I moved on to colouring the flowers. 


So how the Watercolor Resist Pen works is once it's dry, it acts as a seal so you can use this with your watercolour paints or pencils or crayons....anything really.

 So the next thing I did once my resist pen was dry was to use the Dina Wakley Scribble Sticks to colour in my tulips. The colours I used were - Magenta, Lemon, Lime, Sky, Night, Tangerine and Blackberry. I used my water pen to take the pigment from the stick and used them as a watercolour medium.


Next I used the Distress Oxides for my background. I started by blending Broken China and Faded Jeans with a blending tool and then sprayed with water. But I found using my water pen was much easier and I was able to get into the small spaces as seen here with Cracked Pistachio


Once that was all dried, I then had the pleasure in removing the harden liquid from the Watercolor Resist Pen...and all you have to do is use your fingers and rub it off.


I then used Heidi Swapp Magnolia Jane Clear Stamp set Special Words and Icons with Versafine Black Onyx. And to finish it off I used my black and white Uni Posca Pens for highlighting.


Here is the process video


Thanks for dropping by and hopefully I have inspired you to be creative 
Farrel xx


Photobucket
09 10