
Hi again :) I'm back with another poet page spread using the gorgeous 'Escape The Ordinary' collection from Pinkfresh Studio!


I may have already mentioned how much I love this collection when I shared my previous pages, but just in case I didn't make it clear the first time.... this collection is awesome!! The colours and graphics work really well with a variety of photos and the range of gorgeous embellishments make it a joy to create with. I loved it so much in fact that I also used it on a recent 12x12 layout, and was more than happy to use it again to document the remainder of our June memories.

I have once again paired up the gorgeous foiled wooden alphas with the cute
puffy alphas from the earlier Indigo Hills collection along with a small strip of patterned paper and a couple of bright leaf motifs for a pop of colour.

I tucked a portion of the photo into one of the fun layered tags before adding one of the die-cut phrases from the ephemera pack.
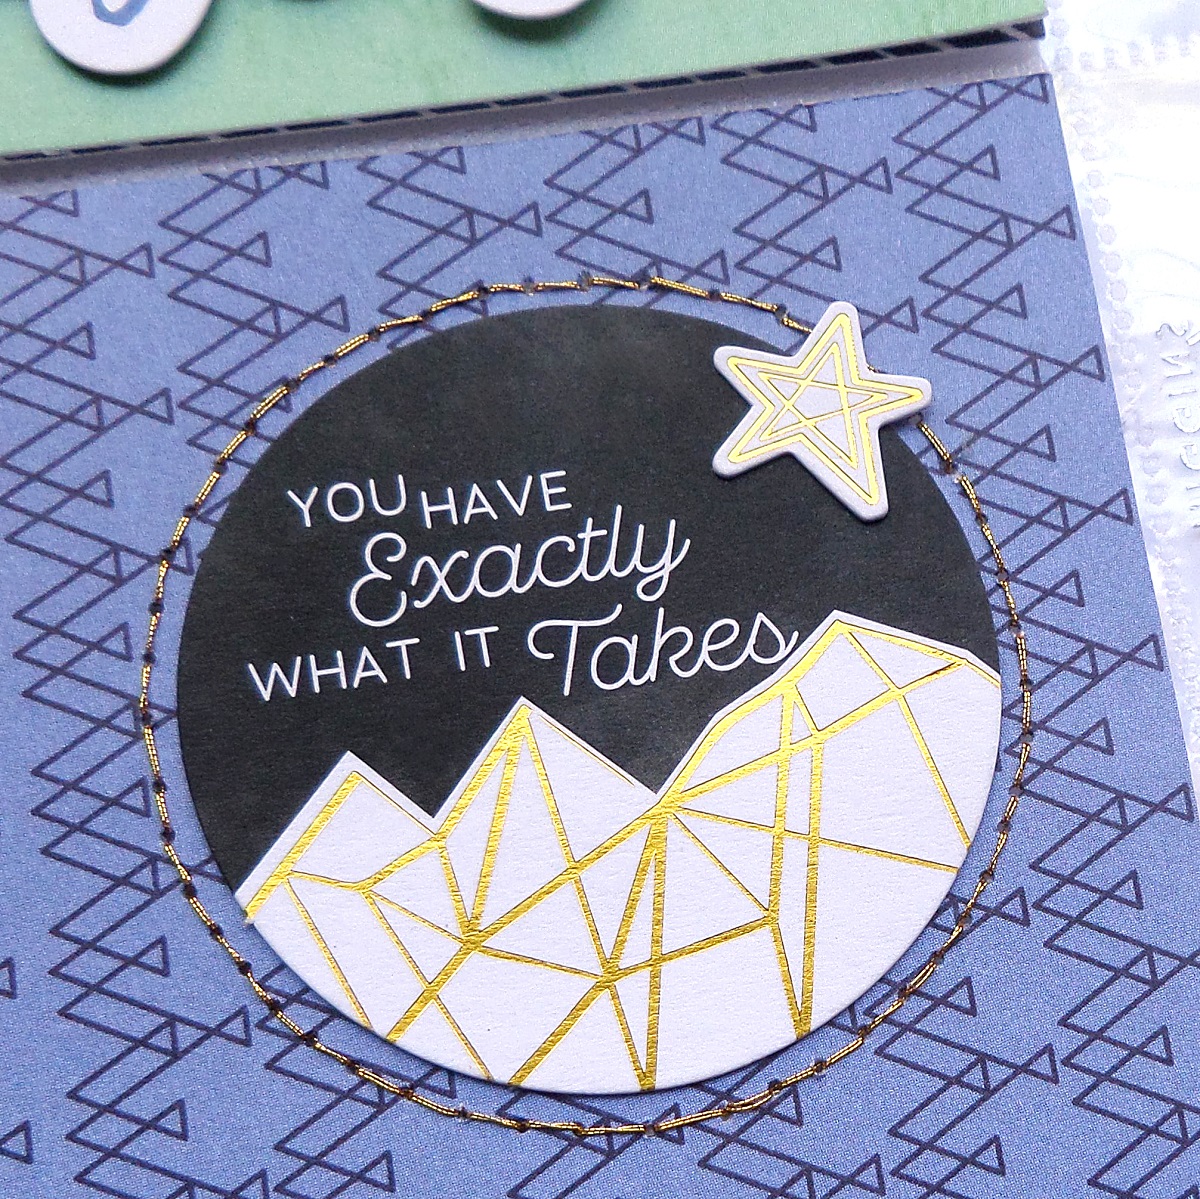
I loved using the foiled die-cuts from the ephemera pack for my journal cards, and a little bit of gold stitching really helped to define the die cut on the card.

I used more stitching throughout the spread, repeating the same blue colour to help tie everything together. Leaving a space around the journal strips, chipboard and puffy stickers is a good way to make the stitching look like it is a part of the design.

I love using found objects or memorabilia in my albums and collected a handful of leaves when I took this photo and later pressed them flat to use with the photo. The little touches help to give your albums are more personal feel and it doesn't take a lot of effort to think ahead when you are snapping your pics.

I had a few extra photo this month and added a 6x8" insert with a fun peek through pocket.

I selected two of the layered tags which I decorated with a few extra embellies. Your tags will need to be the same size for this to work and some simple thread will help to create the floating effect. My tags ended up quite thick so there was no problem with them moving around in the pocket but if you do get some excess movement, you can add a staple through one side of the page protector and tag before attaching the backing tag in place.

You can see both sides of the insert here as well as both sides of the layered tags inside the peek through pocket.

Moving onto the second part of the spread...

I mainly used 3x4" vertical photos on this side, joining them with the patterned papers to create journal and filler cards inside the larger pockets.


I added some vellum over one of the busy prints so that my journal strips would be more visible and stitched a frame around of the accents from the cut-apart paper.

A large die-cut is the perfect backing for a simple journal strip.
Repeating the same element (in this case the little stars) on both the photo and card helps to create a sense of flow and clearly shows that the card belongs to the adjoining photo.
Products from the Sassy store...


No comments:
Post a Comment