Monday, 20 August 2012

ANOTHER Simple Stories Awesome Layout!

Hi everyone! It's Sam Hauzer, with yet another Simple Stories Awesome layout!...


Products used - Simple Stories Awesome papers & Stickers, bottle top, twine, ink, black pen.

 This one is just a fairly simple and quick page, using 3 random favourite photos of my little guy. I glued some twine around the page to make a border, and stapled most of my papers down.


I really love that part of the paper that I cut out and used for the title. How 'Awesome' is that?


If you haven't already grabbed some of this fabulous paper range, you can get it from the Sassy Scrappers shop HERE.

Hope you have a great week!

Saturday, 18 August 2012

Another 'Awesome' Layout

Good morning! It's Sam Hauzer, back again with another Simple Stories 'Awesome' layout...


Products Used - Simple Stories Awesome 100pc Boy , Awesome Flashcards , Awesome 4x6 Journalling Cards Elements 1, Awesome Boys Rock , Awesome Expressios Cardstock Stickers , Awesome Fundamental Cardstock Stickers , Kaisercraft Wood Flourishes Cogs, American Crafts Thickers, Clock Charm, Bottle Top, Button, Paint, Ink.    
  
I know I've said it before, but I have to say it again - I LOVE THIS PAPER RANGE! It's got it all - stars, chevrons, spots, stripes, awesome cut out papers, fabulous stickers...I could go on about it all day! Here are a few close ups...


My lettering was actually brown, which blended in with the background paper a little too much, so I just gave it a quick swipe of paint after I'd placed it on my layout.


Now, if you have boys (or even if you don't!), this is a range that you just HAVE to have!


You can find it all in the Sassy Scrappers shop HERE. And don't forget, there is HALF PRICE POSTAGE until Sunday. What are you waiting for!

Thursday, 16 August 2012

Studio Calico & A Sketch

Hello there!

Natalie here again with a short and sweet post for you! :)

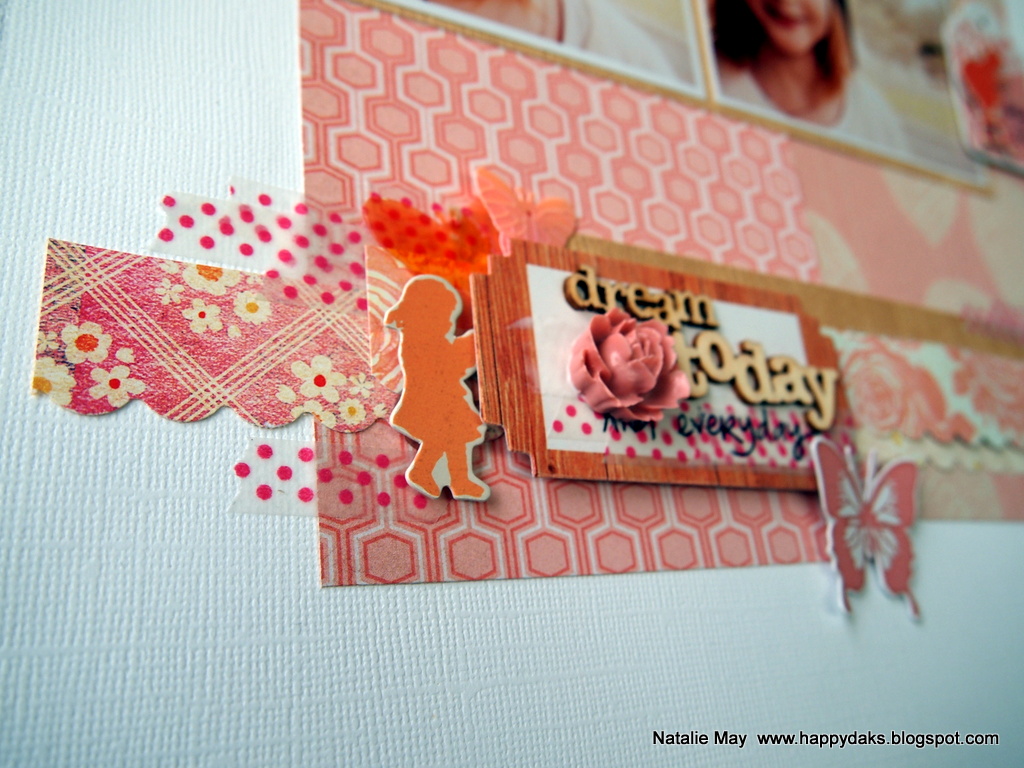
Today I have some more to show you from the Studio Calico Hey Day range!

I based it on this month sketch ...
https://blogger.googleusercontent.com/img/b/R29vZ2xl/AVvXsEjjBxE03oUpgLdFFJCBex4XDiATswwrdEucL7vdtu2HvypGVLye0yIx-eJnpcIHYdGOY7l0kT1aam_Wa5czCjX2kANFO9BFlZ65Lbvl58dp8UQYsc9YcyosicLE75f8Qg4HZ0UWs7oq81Bh/s1600/392236_4078655598867_1384020149_n.jpg

Such a simple but effective design.


To create this quick and easy page, I used the following products ....
Hey Day Breezy-Hey Day Breezy
Hey Day Breezy

Hey Day Tangerines-Hey Day Tangerines
Hey Day Tangerines
Hey Day Ephemera Pack-Hey Day Ephemera Pack
Hey Day Ephemera Pack
Hey Day Wood Veneer My Type-Hey Day Wood Veneer My Type
Hey Day Wood Veneer My Type
Hambly Screen Prints Antique Teal Chevron Mash Up-Hambly Screen Prints Antique Teal Chevron Mash Up
Hambly Screen Prints Antique Teal Chevron Mash Up
Mister Hueys Sherbet Orange-Mister Hueys Sherbet Orange
Mister Hueys Sherbet Orange
 Hey Day Mistable DIY Fabric Thickers Ali White-Hey Day Mistable DIY Fabric Thickers Ali White
Hey Day Mistable DIY Fabric Thickers Ali White


 Ok.... I have a tiny admission to make ......

I am completely, totally and ridiculously addicted to anything mistable at the moment!
The Hey Day Mistable DIY Fabric Thickers Ali White, the Hey Day Wood Veneer My Type and the Mister Hueys mists are a match made in HEAVEN!
I love that you can customize the products to suit your page - makes putting things together so much easier!

Well thats it from me today and remember you can find all materials I have used on the Sassy Scrapper website..www.sassyscrapper.com.au

Here is a little sneak of something I'm working on to show you next week!
 Stay safe
Natalie May

Tuesday, 14 August 2012

Websters Girl land Collection - Hetty Hall

Good morning lovely bloggers, it is Hetty here, sharing with you a another layout using the gorgeous Webster's Pages Girl Land collection. I also based it on this month's sketch which you can find below.

and here is my layout:
All materials used can be found here: Sassy Scrapper

The following are some of the products I used.


I also used this cool Crafters Workshop stencil for my background.

Don't forget to show us your version of the August sketch, we would love to see your entries

Thanks so much for stopping by, hope you have a fabulous week.

Hugs 

Hetty :) xx

Monday, 13 August 2012

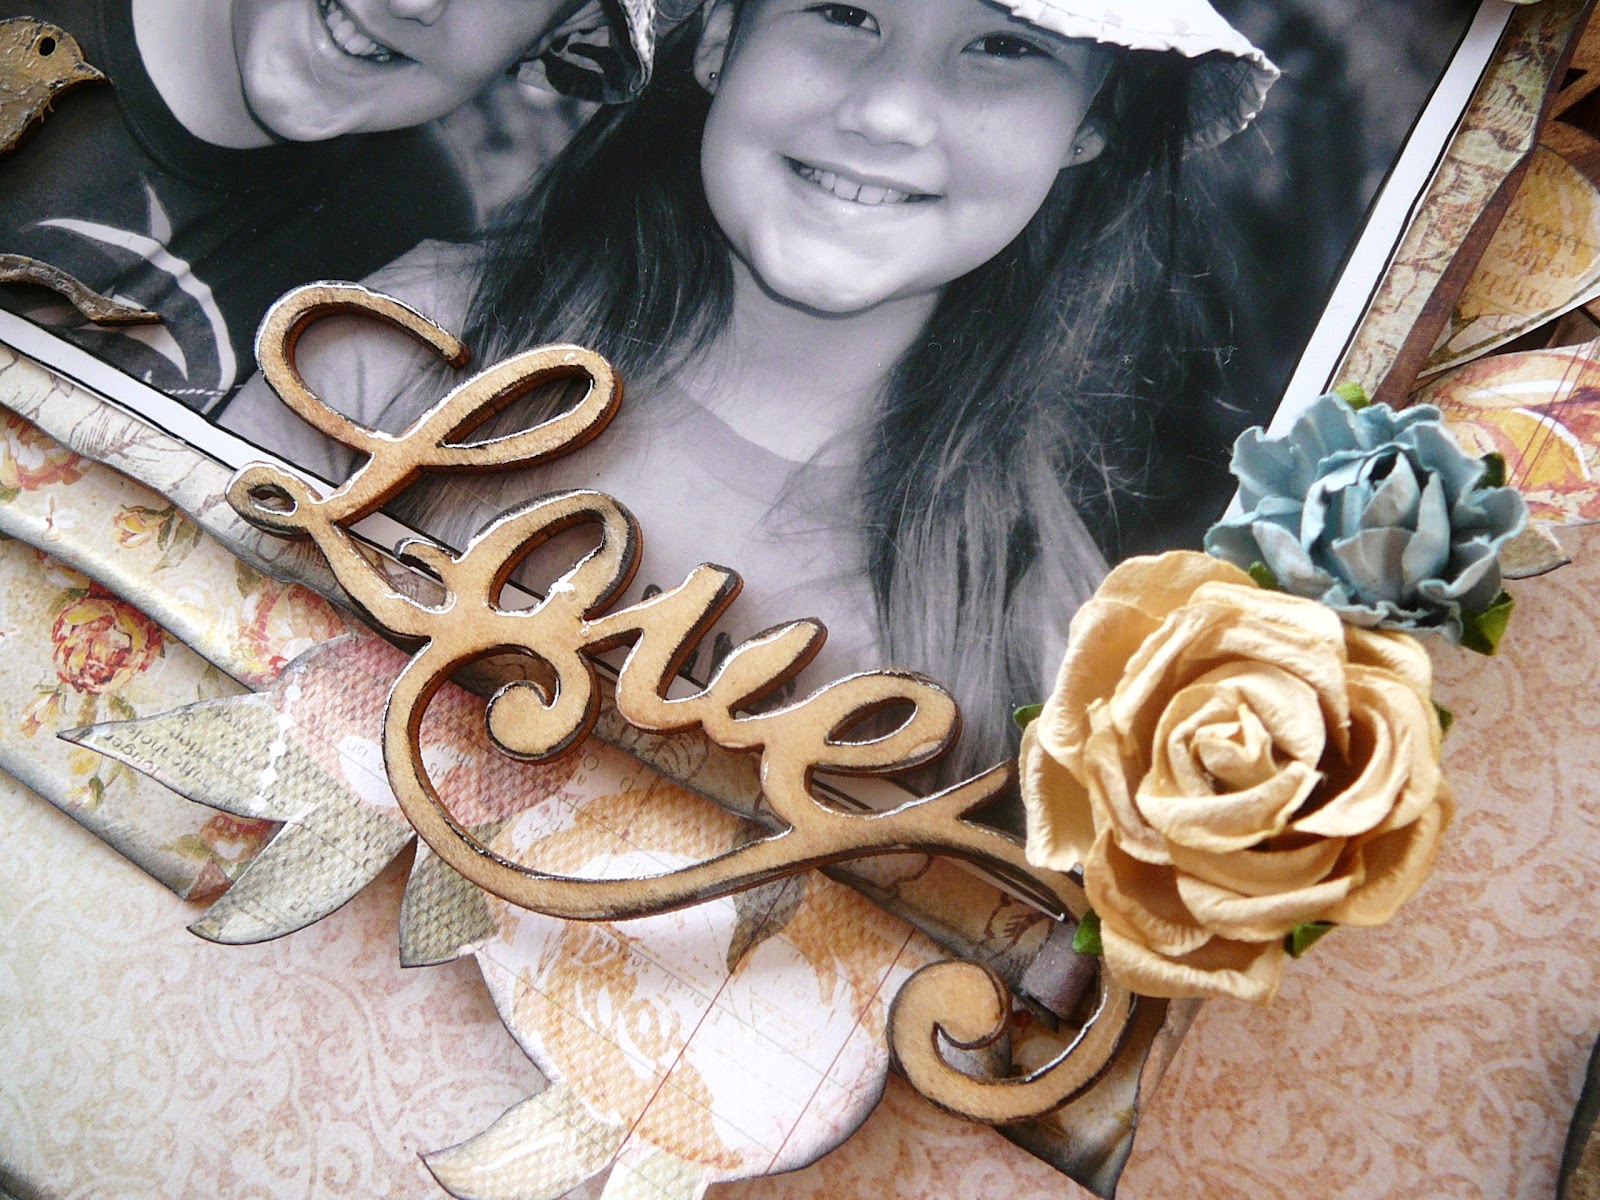
Kaisercraft Sweet Nothings

Hi everyone, it's Sam Hauzer here with some Kaisercraft Sweet Nothings projects to share. (I'll be back with my Simple Stories Awesome layout later this week). If you have some Sweet Nothings papers in your stash, but haven't used them yet, then I hope you can be inspired by these projects I've done. This has to be one of my favourite Kaisercraft ranges EVER!


Products Used - Sweet Nothings Love Letters , Sweet Nothings Silver Lining , Sweet Nothing Devoted , Kaisercraft Love & Cherish Flourish, Flourishes Birds, Kaisercraft Flourishes Small Leaves, Paper Blooms Sage, Paper Blooms Honey


Or if you like making beyond the page items like this...


Then you'll find a huge variety of beyond the page items to decorate in the Sassy Scrapper shop HERE. Love the Sweet Nothings range, but haven't got your hands on any yet? Then make sure you go HERE so you don't miss out!

Hope you have a great week!!

Friday, 10 August 2012

Prima Meadow Lark Step by Step

Hi There!

I'm Shell Carman. I am so happy to be guest designing for Sassy Scrapper!!
I met Olga online a couple of months ago & she invited me to GDT for August. It turns out Sassy Scrapper is actually only 20mins up the road from me. How convenient is that!

I have been scrapping for about 5 years now. My style is vintage/shabby chic. I prefer to create girly pages & I am ADDICTED to flowers!! Some of my fav brands are Prima, Websters Pages, Graphic 45, Glitz Designs & My Minds Eye.

I blog here

Olga put together some gorgeous Prima Meadow Lark goodies for me to play with. Today I would like to share my second layout I created with a step by step!


First up take a sheet of Prima Meadow Lark Windsong to use as your background.

Cut a piece of white cardstock 9.5"X10.5". Punch a border along the top & bottom. Stick this in the centre

Take the sheet of Prima Meadow Lark Floralee. Fussy cut the gentle beauty bird circle & put this to the side. Cut a piece 12"X4.5". Stick this in the centre of the white cardstock
Cut your photo using a 4" cirlce. Cut a photo mat from Kaisercraft Lollypop Weave 4.5" circle. I have used a 6" paper doily but you could use a 6" plain circle, scallop circle or die cut. Stick these altogether on top of the Floralee paper sitting slightly to the right side (don't stick all the way down just yet as you will need to do the next step first)
I have used a Cheery Lyn Doily 4" die but you could use paper doilies, 4"circle, scallop circle etc X2 from the Prima Meadow Lark Chloe sheet. Stick these diagonally on the top left & bottom right corner of you centre circle
Take out some of your chipboard pieces (I have used the large bunch of flowers with the yellow background & the single pink flower with the yellow background & a bird) Stick the larger chipboard piece on the left side of the top circle & the bird beside that. Stick the smaller chipboard piece on the right side of the centre circle. Take the pink chipboard banner piece & stick your title on using the Prima Meadow Lark alphas. Stick this under the large flower chipboard piece.
Stick the pearl bling flourish (LUV this!!!) underneath the title

Stick a Prima Kennedy Rosette flower, A Kaisercraft bloom & Green Tara Rose underneath the bird.
Stick a Prima Meadow Lark Vinetta, Prima Kennedy Rosette, Kaisercraft bloom & Manor House Creations sprinkles flower on the right hand side overlapping both the centre & bottom circle
Take the fussy cut bird circle from earlier & use some foam tape to stick underneath the flowers on the right hand side
Use the purple ribbon with the white pattern. Cut X2 lengths 9.5". Stick these just underneath the punched border on the white cardstock
Take 2 chipboard word pieces (I have used sweet & laughter ) Stick sweet on the top left side overlapping the large flower chipboard piece & bird. Stick laughter on the right side overlapping the Vinetta flower
Finish off with some Liquid pearl. I have used this around my circles/doilies & aloing my punched border


Materials Used
Prima Meadow Lark Windsong paper
Prima Meadow Lark Floralee paper
Prima Meadow Lark Chloe paper
Prima Meadow Lark chipboard pieces
Prima Meadow Lark ribbon & lace trim
Prima Meadow Lark Vinetta flowers
Green Tara 3cm Pink Roses
Prima Kennedy Rosette
Manor House Creation sprinkles purple
Kaisercraft Buttercream Blooms
Prima Natures Garden Pearls & Crystals flourish
Kaisercraft Coconut weave cardstick
Kaisercraft Lollypop weave cardstock
Ranger Liquid Pearl White Opal
Ranger Liquid Pearl Pink petal
Marth Stewart Deep Edge Punch Embroidery
Prima Meadow Lark alphabet stickers

These can all be found in the Sassy Scrapper shop http://www.sassyscrapper.com.au/

I hope you enjoyed this step by step! I will be back soon with my last page & a card.
Thanks again to Olga & Sassy Scrapper for having me XX

Thursday, 9 August 2012

More Studio Calico Love .....


 Good Morning to you all.

I have another simple page today featuring the Hey Day Collection from Studio Calico.

I have created this page to be nice and simple and of course showcase the photos!
The papers were again, perfect!

I used simple white Bazzill for the cardstock, Hey Day Pop and Hey Day Cheerful for the papers along with a couple of small pieces from the other papers in the range!

Hey Day Cheerful-Hey Day CheerfulHey Day Pop-Hey Day Pop


 I loved the little elements in the Hey Day Ephemera Pack and I found them really easy to use for my embellishments!

Hey Day Ephemera Pack-Hey Day Ephemera Pack

Again, I used the Wood Veneers for my title! These are super easy to use!
Hey Day Wood Veneer My Type-Hey Day Wood Veneer My Type


Dont forget all these gorgeous papers and embellishments can be found on the Sassy Scrappers website.. www.sassyscrapper.com.au

Thanks for stopping by and have a fabulous day

xxxxx
Natalie May
09 10