Friday, 6 November 2015

Yuletide Baubles

Hello Sassy Friends!

Now that we have moved into November, we have the green light to start planning those all-important Christmas crafts ;)

Using the stunning new November moodboard as inspiration, I have created some cute DIY baubles with Yuletide by Pink Paislee.


You can grab a pack of these inexpensive clear plastic baubles from a Discount Store. They come in two halves which are easily popped together. I wanted my baubles to have two different sides, so I traced a circle around one half onto patterned paper to get the size, and then trimmed inside the line so it would fit inside. I tried a few techniques to get the disc to stay put and found a dab of hot glue on opposing sides of the paper disc did the trick.


Here is one using Yuletide 'Frosty' and a cute bauble ephemera which I've mounted using foam tape. I've popped some sequins inside too which really ups the festivities!


Here is another, using a 'Merry/Bright' circular die cut shape as well as a super sweet acrylic icicle, both from the ephemera pack.


Taking a look inside the bauble, you can see how simple it is to create something unique and eye catching for the tree. A gold foiled star, a few sparkles and perhaps a little enamel shape is all it takes!


You can stamp, emboss... put choccies inside or some cute little fuzzy pom poms. If it fits, it works!

I will confess that I had to knock on a stranger's door to borrow their planted Christmas tree to hang these, lol. Only a few more weeks and I will have my own up and ready to go :)


Here's another look at the November moodboard in case you missed it. We'd love you to play along with us!

Thanks so much for popping in today!

Chantalle x

 
Create your own with some clear plastic baubles and these items from the Sassy Store


Thursday, 5 November 2015

Mini Gift Bags with Anita Bownds

Hi..
Happy sassy Thursday everyone, I hope you're enjoying all the new product in the sassy store 
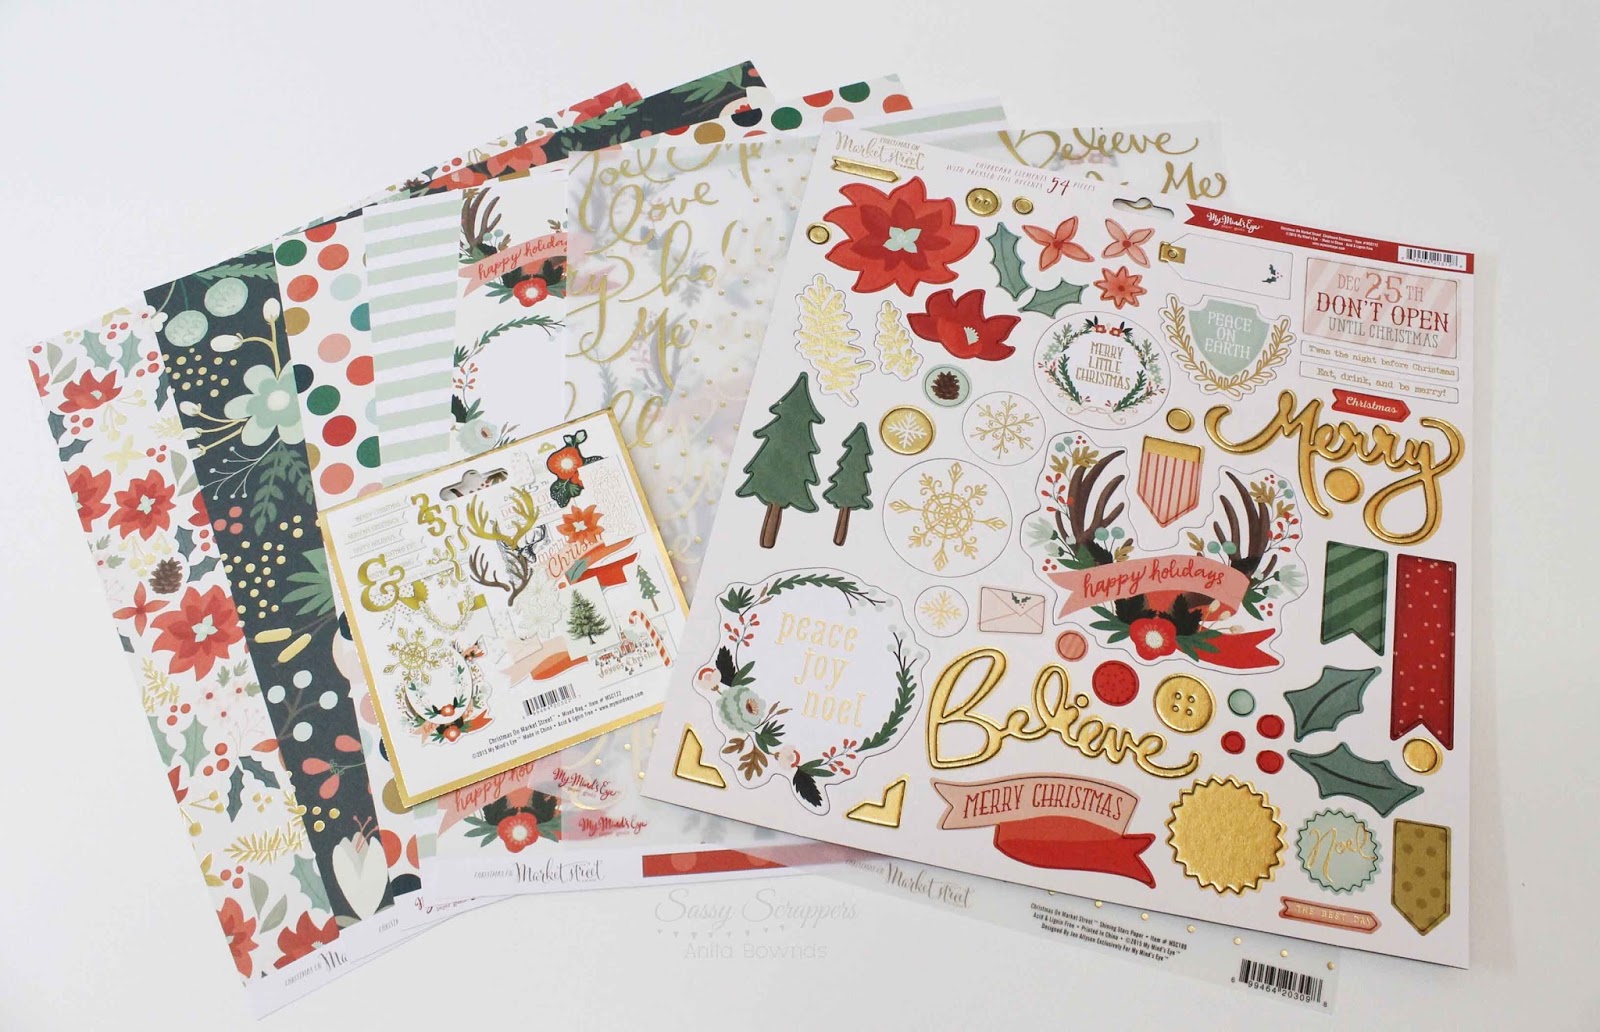
Today I'm sharing a fun little gift idea for Christmas using my minds eye collection Christmas on market street .. Totally lovely right!

I created a few little gift bags as they are just perfect for those little crissy gifts
Or you could fill them with candy!


I found a gift bag template that I liked


Using the template that I printed out I cut around it
And scored all the tabs 


After scoring and folding 
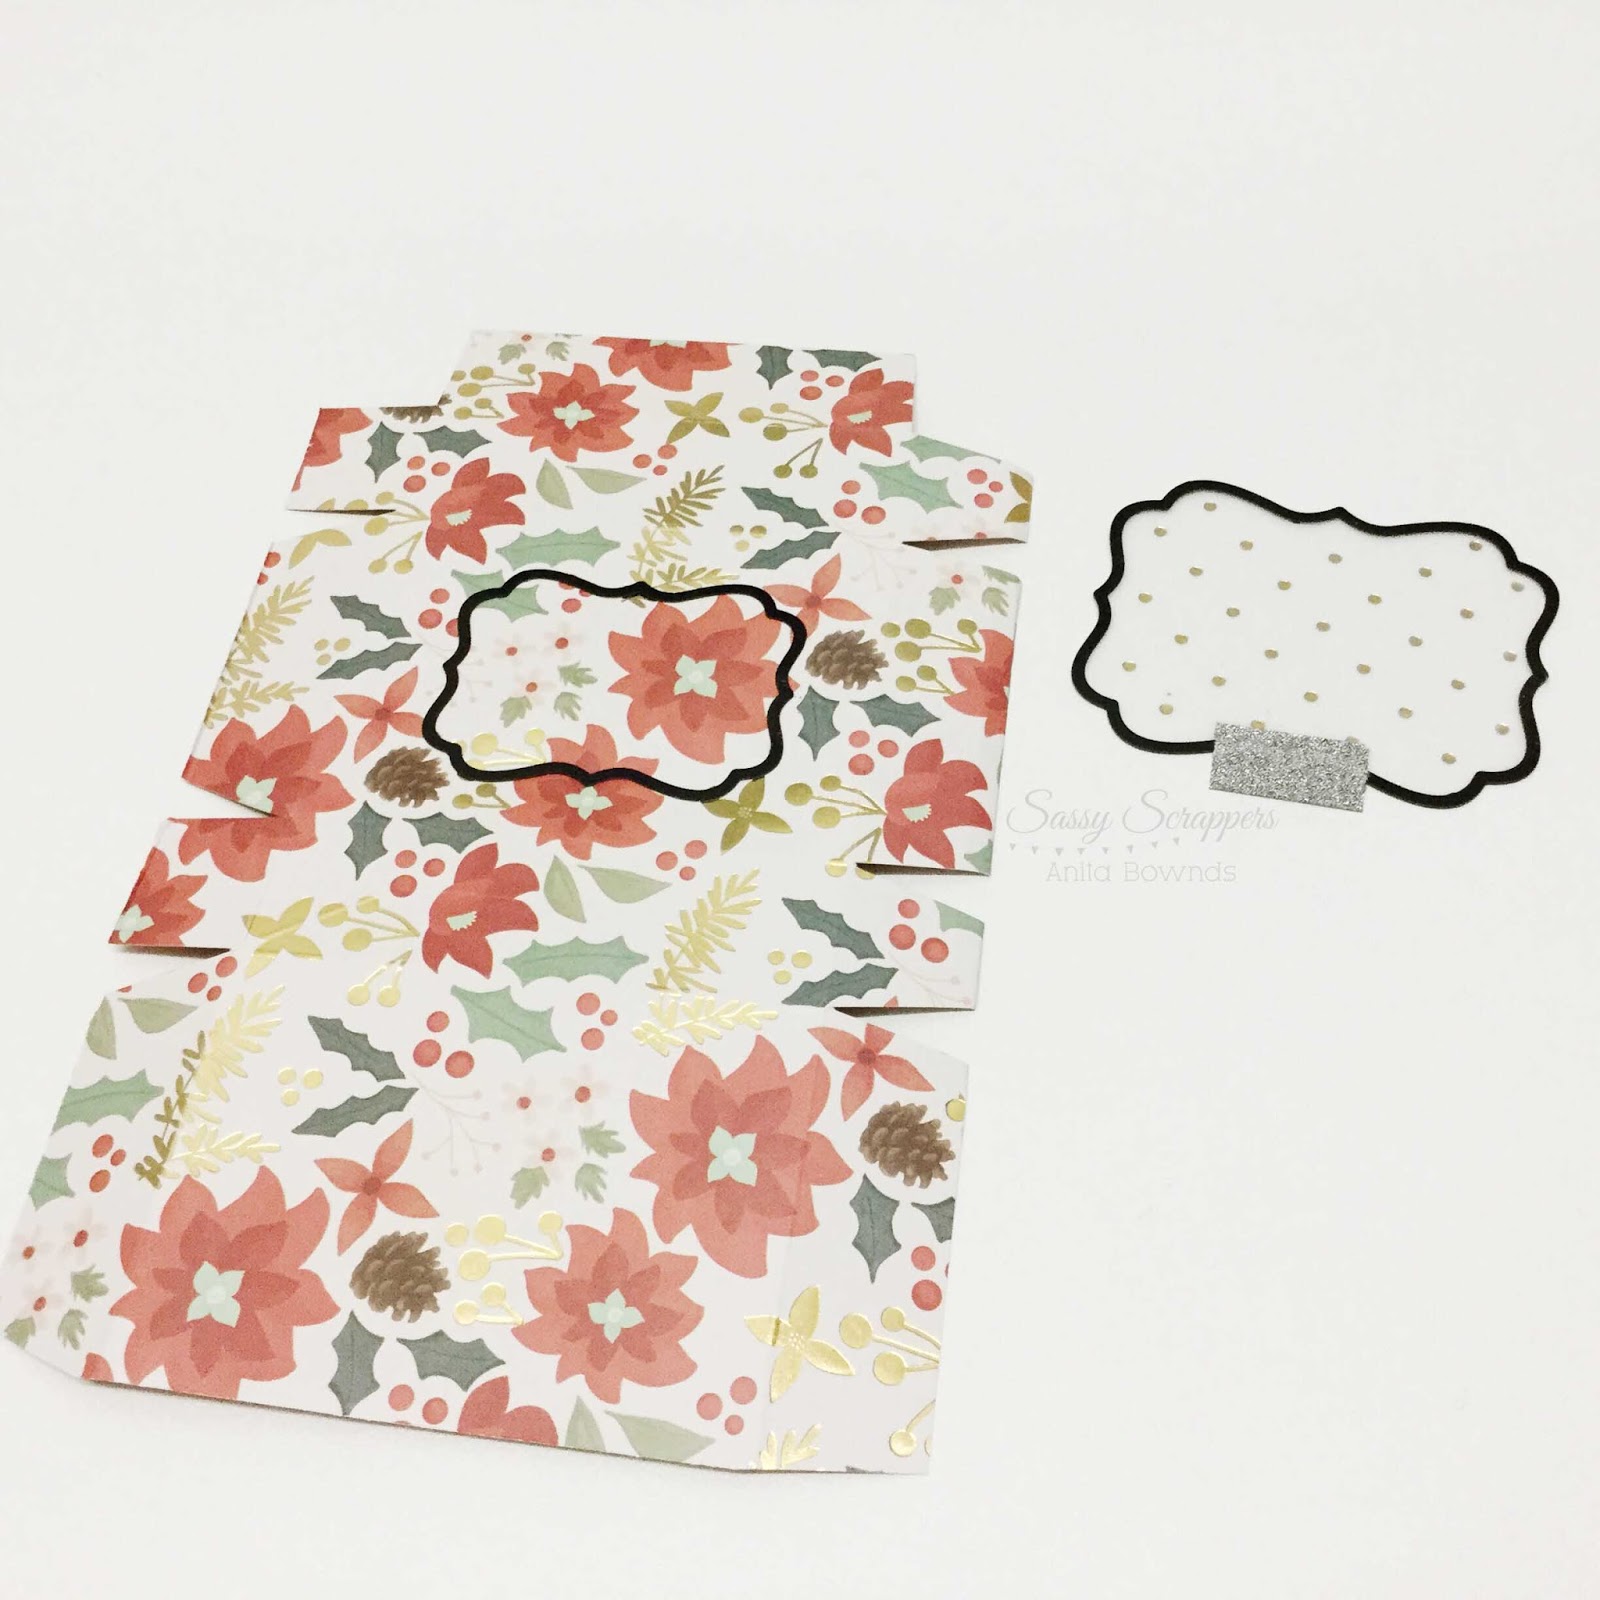
I wanted to put a window in the front of the gift bag
I placed a die in the center and added some tape to keep it in place
And ran it through my big shot


Then I die cut a another in the polka dot velum with the next size die
And glued it on the inside of the gift bag over the die cut hole


Then glued the gift bag all together and punched holes for my paper string handles 
And embellished with the die cuts and chipboard stickers.

How cute are they!!

And here are some close ups 


And here is my kit for this month I'll be using all this yummy product


Till next week!!


Photobucket

Wednesday, 4 November 2015

Sassy Scrapper November Moodboard Reveal


Hello Sassy Scrappers! Leonie here today and boy do we have some lovely Christmas creations to share with our readers this month.  
I'm here today to reveal our November Moodboard Challenge.

There are lots of gorgeous Christmas collections in the Sassy Scrapper store and each of the Design Team members will be creating with a different Christmas range throughout November.  I'll be creating with the super cute PinkFresh Studio line called Christmas Wishes.

Our Design Team Member Anita Bownds has provided us with this beautiful moodboard to kick off our November Challenge.  There are so many gorgeous images here to inspire you to create a Christmas project and link it here on the Sassy blog to win.


Leanne has created this gorgeous Project Life Card.


Chantalle has created some lovely Christmas tree baubles.


Anita has made these very lovely and elegant Chritmas tags.


and lastly our Guest Designer for the Month Kat Gray has created this amazing layout using Simple Stories ..


This is the page I created.  Apart from the obvious Red and White I was inspired by the gift wrapped boxes and that cute little dear wrapped onto the parcel on the lower left of the moodboard.  I decided to wrap my whole page with some seam binding and make a 'gift' of the whole page.


I really like the quality of the paper from PinkFresh Studio, it's a nice heavy weight and I used this  statement piece (Winter Joy) as the base for my page and outlined the words 'Tis The Season' to use as my title for the page.

The Christmas Wishes range from PinkFresh Studios has some really cute little animal characters and I've added one of them to this page from the die cut ephemera pack.  Isn't that little penguin just too sweet?!


The puffy stars come from the sticker pack and I added some enamel dots and sequins from my stash 
to scatter over the page. 


The paper leaf and bunch of berries I've used here are part of the Royal Menagerie line from Prima Marketing and you can find them HERE in the Sassy Store


Thanks so much for stopping by the Sassy blog today.  I hope to see lots of 
lovely entries into our November moodboard Challenge.  
Cheers til next time from 
Leonie Neal-Dawson.

Christmas Wishes Winter Joy Paper 12x12Christmas Wishes Puffy Stickers 5x7inchChristmas Wishes 6x6 Paper Pad  Christmas Wishes Die Cut Ephemera Pack
Prima Royal Menagerie Mulberry Paper Leaves & Berries 12pk
Photobucket

Monday, 2 November 2015

Project Life Monday!

Hello Sassy Friends! Welcome back to Project Life 2015.  We've had a little break away from the blog but this month we are raring to go in preparation for December! There are a lot of new gorgeous collections in the Sassy Store at the moment, to help with documenting the holiday season and I've been teamed up with October Afternoon | Under The Tree!
 
 
Each Monday, during November, I thought that instead of sharing my latest PL2015 spreads, I'd work ahead and put together a series of mini tutorial for PL filler cards. Today I am going to start with a December title card.
 
step 1: grab your supplies; OA Card Sending PP, OA Cocoa Sipping PP, OA Cardstock Stickers, Bella Blvd Enamel DooDads (Ice), Bella Blvd chipboard alphas, Kelly Purkey clear stamps. tools - sewing machine, ink.
 
 
step 2: Trim the OA Card Sending PP to size - 4"x6". Ink the edges slightly.
step 3: Using large chipboard alphas as a guide, trace around their outside edge with the reverse side up, on the back of the OA Cocoa Sipping PP. Leave enough space between each letter spelling "DEC", to create a border for the large chipboard alphas.


step 4: Adhere the chipboard letters to the pp that has just been trimmed out. Align the letters to the centre of the 4"x6" card.


step 5: Trim a 1cm width paper/cardstock strip and create a banner with notches on each end. Using the Kelly Purkey All Decked Out clear stamps, stamp a sentiment directly onto the banner strip. Leave enough space at the end to add OA Cardstock stickers to document the week. The numbers are from Jillibean Soup. Adhere the banner below the alphas on the 4x6 card.
  step 6: Finish off the card by machine stitching around the embellished area and adding enamel stars along the stitched line.


And there you go! One title card completed and ready to slip straight into your pocket pages.  Join me next week for a mini tutorial using the Heidi Swapp Minc. Thanks for joining me here today..x

Sassy Supplies:

 
Under The Tree Card Sending Paper 12x12  Under The Tree Cocoa Sipping Paper 12x12 Kelly Purkey Clear Stamps 3"X4" Sheet All Decked Out
 
Enamel Doodads Ice  https://www.sassyscrapper.com.au/index.php?route=product/product&product_id=8200&search=chipboard+alphaJillibean Soup Blended Black Alphas 
Heidi Swapp Black Archival Ink
Photobucket
 
09 10