Tuesday, 23 May 2017

Carpe Diem Recipe Planning - Part 4 with Kylie

Hi friends! I hope your week has been lovely.
Kylie back with part 4 of Recipe Planning. Week 4!! Hasn't the time flown?? I have been super busy in my recipe planner this week, adding in all my fave recipes. I thought long and hard about how I was going to label each divider, and decided on 
Chicken
Meat
Dessert
& Baking.
I really wanted to keep it easy.But you can customise your own to suit yourself!


Using my trusty typewriter I added to each label from a tab sticker in the sticker book and onto each divider.
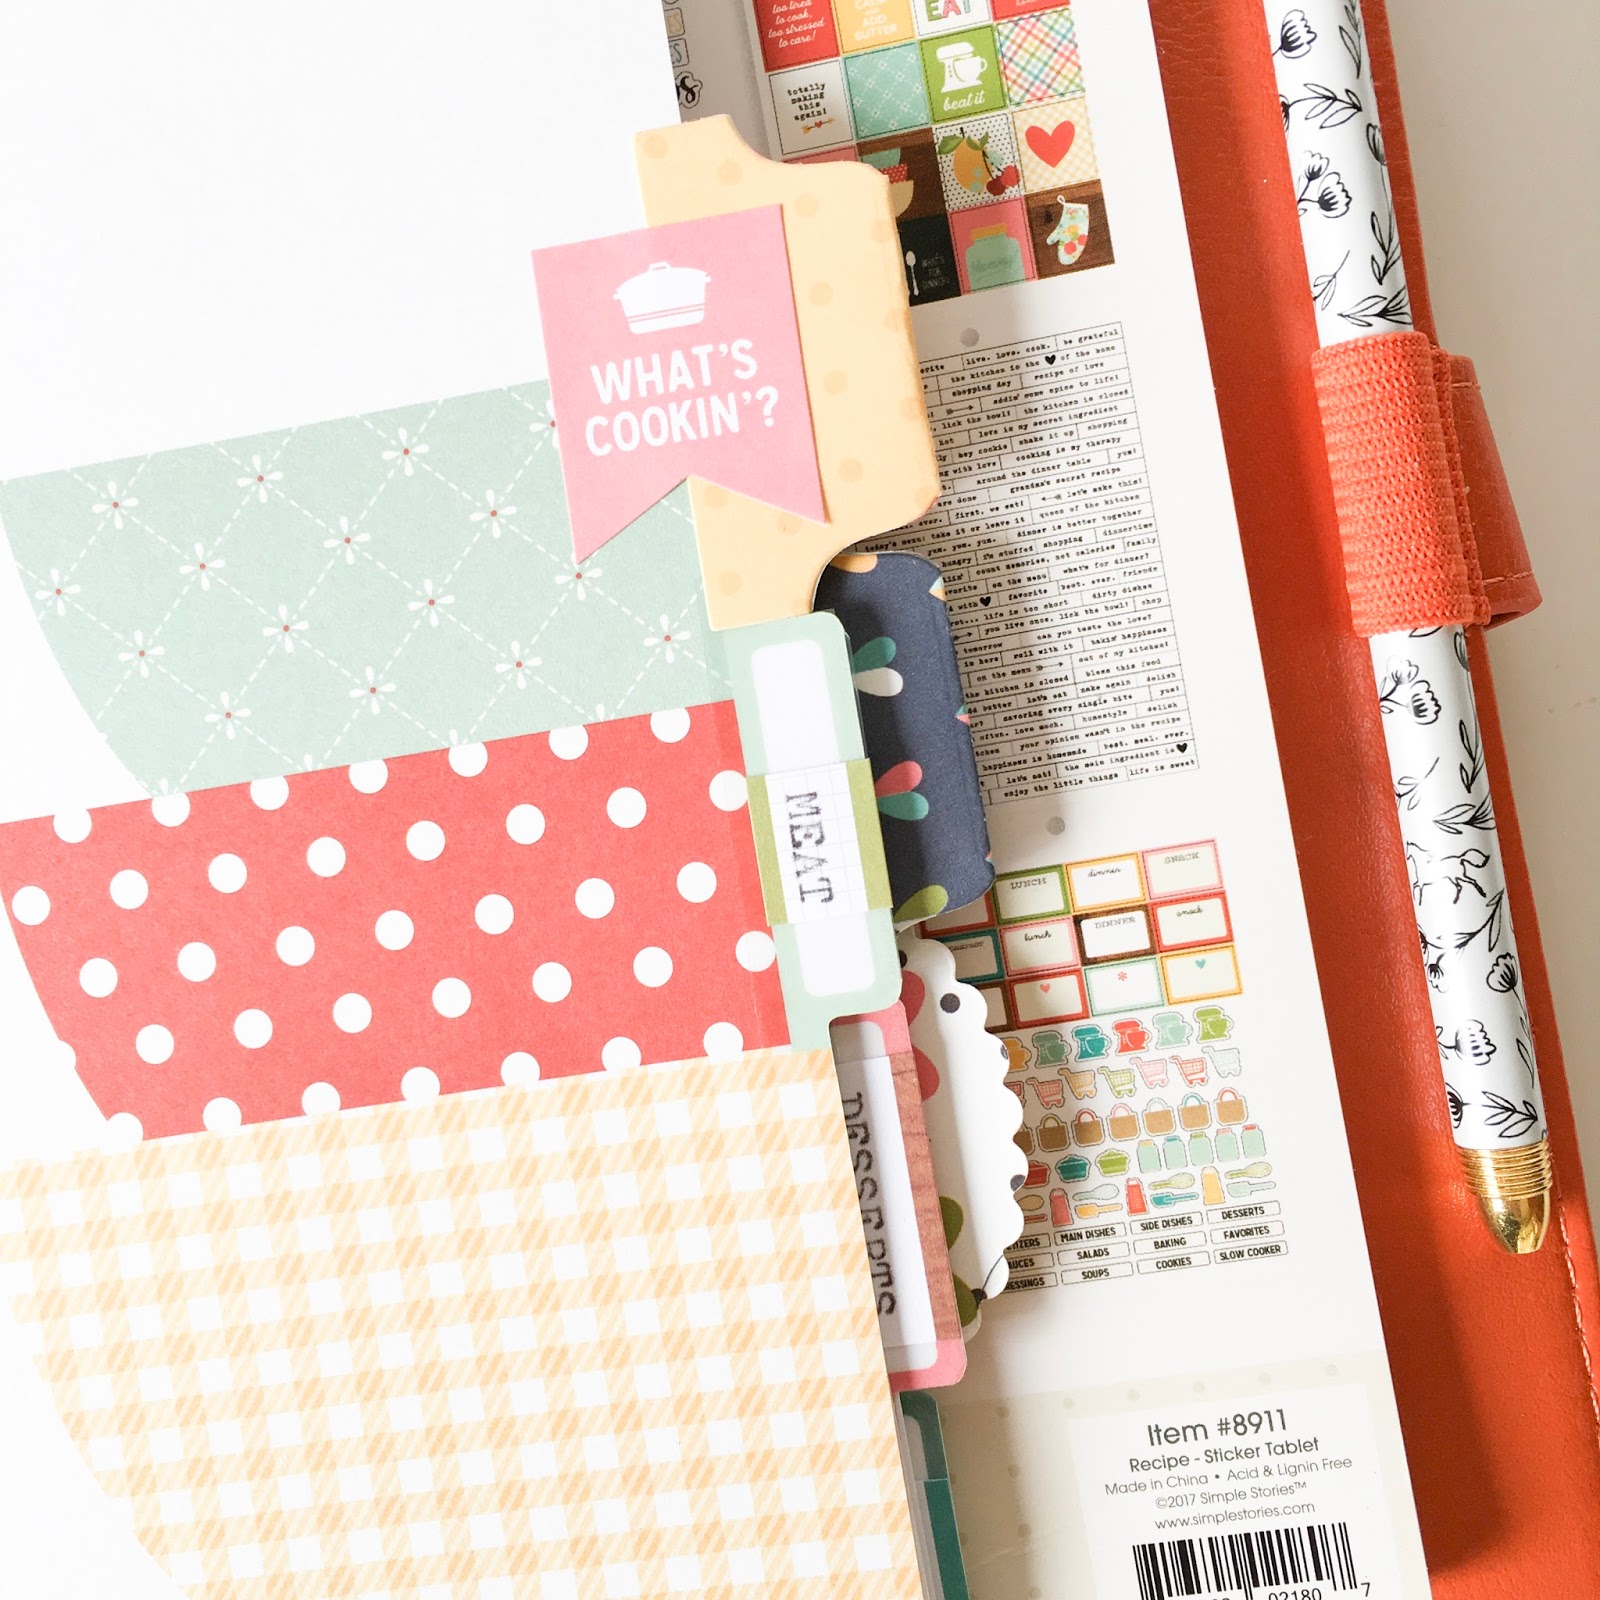

Because the tabs on the dividers don't stick out a whole lot, I punched some extra tabs that were larger, and adhered above them.I liked this effect but you may be happy with just the tabs on the dividers themselves.


I totally love these recipe sheets! As you can see, again I have used my typewriter to write up my recipes. My handwriting isn't the neatest, (yeah um like eww!) 


I added a small pic for fun as well.


The side tab of the recipe sheets is really handy also for adding in smaller details of your dish.


You can mark in its difficulty and give it up to a 5 heart rating! It's also handy to add in any tips.


I've been super happy with how this is all coming together! Those decorative stickers are the best!


I hope you have enjoy my post today.
Until next week,
Kylie xoxo


Monday, 22 May 2017

Agnus | Pocket Page Insert with Elle's Studio Live Laugh Love collection

Hi again :) I loved using the Elle's Studio 'Live Laugh Love' collection to document our March memories and because I still had heaps of great pieces left over I decided to using this collection to create an insert to record our little puppy's first day at the park.  


I cut a 12x12" A design page protector in half vertically to create a simple 6x12" insert and like the way it works between my previous pages


Besides adding photos, I pretty much let the products do all the work for my insert and the hardest part was deciding which patterns to use.


After creating lots of backgrounds and cards for my earlier pages, I was left with quite a few 2x4" strips from the 6x6" paper pad which I paired up to create some two toned cards as backgrounds for my horizontal photos.


I used the white alpha stickers and enamel dots to create a simple filler card, and loved the way it pops against the coloured background. I also added a hand stitched border to define a couple of the smaller photos on the page.  


Going with printed journal strips over the cut-out and die-cut pieces to record the details of the day and finishing things off with some of the awesome puffy stickers..


I mirrored the majority of the photo placement on the reverse side of the insert.  


This side also shows how I used the stitched border to secure a tab to my insert. To achieve this I simple stuck two patterned paper strips to the outer edges of both photos before adding the stitched border to each pic. Once stitched, I adhered both photos and paper strips together and cut out a v shaped notch from the edge. I cut a small slit on the front side of the page protector to allow the photos and tabs to slip inside the pocket. 


Once again allowing the products to do the work... I finished things off with more fun patterns, some puffy stickers and a cute wood veneer piece. 


Products from the Sassy Store...
Elle's Studio Live Laugh Love 6x6 Paper Pad
Elle's Studio Live Laugh Love Puffy Stickers 
Elle's Studio Live Laugh Love Bits & Pieces
Elle's Studio Live Laugh Love Cutouts
Elle's Studio Live Laugh Love Wood Veneer
Elle's Studio Live Laugh Love Lil Snippets Word Labels
Elle's Studio Live Laugh Love Woodgrain Paper 12x12
Elle's Studio White Alpha & Number Stickers
Heidi Swapp Memory Planner Date Stamp
Simple Stories Domestic Bliss Enamel Dots


Thanks for stopping by xx
Photobucket

Thursday, 18 May 2017

Spread Your Wings Art Journal Page by Farrel Tailor

Happy Thursday Sassy Scrapper Fans!!! 
It's almost the weekend and I thought I would share with you all a quick mixed media art journal page I created featuring the ever so amazing Dina Wakley Scribble Sticks.


There is a process video at the end of the blog so make sure you check it out and all the products used have been linked back to the store.

So lets get started!
The art journal I am using is the Dyan Reaveley's Dylusions Creative Journal Kraft 8x5. I love this size as it's not too small that you can't fit anything on the pages but at the same time it's not too big that you are struggling to fill the page. 

The first step I did was to use some quick release die paper I had laying around in my stash for my base background and I covered it with white gesso as I wanted a light background.


Once it was dry, I then added colour to my background using the Dina Wakley scribble sticks and blended them with a wet paint brush till I was happy with the result. 


I set that aside and stamped on white paper using Darkroom Door stamp set - Hummingbirds and coloured in the 3 birds using the scribble sticks


Next I cut the birds out and adhered them to my page using Prima Art Basics 3D Gloss Gel. I then used one of the sentiment stamps from the Hummingbirds Darkroom Door stamp set with Versafine Onyx Black.


So I wanted to try a few different techniques with the scribble sticks. I decided to see how well they would go mixed with gel medium. I had to wet the tip of the sticks to get the maximum pigment out and was really happy with the result. I used Tim Holtz Diamonds stencil with the paste I created.


The next technique was splattering, so I drew a little amount onto my non stick craft mat and with a wet paint brush, mixed it around and splattered onto my layout.....again I was super happy with the outcome.


The last step was to doodle around the edges using the scribble sticks and I have to say, this is where they are at their best!!!! Because they are hard with the fine tip, it makes them super easy to draw with.


Process video for this art journal is below.


Thank you for dropping by and hopefully I have inspired you to create.
Farrel xx
Photobucket

Tuesday, 16 May 2017

Carpe Diem Recipe planning -Part 3 with Kylie

Hi Sassy ones!
I hope you are all doing great! I'm back with part 3 of my Recipe planning set up.Ooooh we are getting down to the really fun things now.This week I am going to show you how I have set up some pages for meal planning.
Weekly meal planning brings many benefits.Here are my 3 top pointers:
1) If you can plan that week ahead it helps save on time wondering what to have for dinner.
2) It is also great to help with your shopping budget and avoid over spending.
3) It is a great tool to aid in general good health and well being.

Once you get into the routine of planning ahead it is so much easier to stay on track. Hey....we all crave Pizza......It's ok if you don't stick to it all the time!

Let's take a look at my pages for this week.


I've added some stickers to the marker tabs, labelling this section as Menu planning.


Ta-Dah! Here is a little look at this weeks layout.I am using the vertical inserts that come in the 'Boxed sets" of Reset Girl planners.Found in store here.
The box stickers from the sticker book are the perfect fit for these.I have also used the Carpe Diem number stickers for my dates.I am talking about these.
You get SO MANY in each pack in a fab range of colours too.


So here you can see the first half of my week.Each day is neatly divided up into three for breakfast, lunch and dinner.


Here is the second half of my week.I love the little ruled column to the right of this page for jotting my shopping list onto as I think of things.


Below each day I have allowed space for my water intake and steps tracker.This is ideal if you are really trying to balance diet and exercise for overall well being.


I mentioned last week just how many stickers you get in the Recipe collection book.I love them! Practical and decorative!


I hope you have enjoyed this week! Don't forget to follow along next week for Week 4.I will be showing you how I customise the Recipe pages.


Until then, keep crafting.All supplies available in store.

xoxo

PRODUCTS:


09 10

