Showing posts with label Farrel Tailor. Show all posts

Thursday, 30 November 2017

The Best Days by Farrel Tailor

Good Morning Sassy Lovers!! Today is my last DT post and I would just like start off by thanking Olga for asking me to join her amazing team... what started out being for only 3 months ended up lasting 9 months and I have truly enjoyed every minute of it. And I would also like to thank all the Sassy Fans that have followed me over the last 9 months - you're the best!!

So let me show you what I created and how I went about it....

main image

I started by cutting 7 strips of Glitz Design pp - Sunshine in my Soul - Stripe and adhered the 7 strips onto to Glitz Design - Sunshine in my Soul - Suns.

20171118_111139

I then used white gesso with my 1" Silicone Brush to highlight the paper cluster and to also seal before I added the sprays. I also used my finger to lightly rub white gesso around the edges of my photo.

20171118_111337

Once dry I then started to apply my colours to the background. Using a wet paint brush I applied 13arts Ayeeda Mists - Pastel Cobalt, then Chalk Ultramarine and to finish I used Chalk Indigo. Making sure I dried between colours.
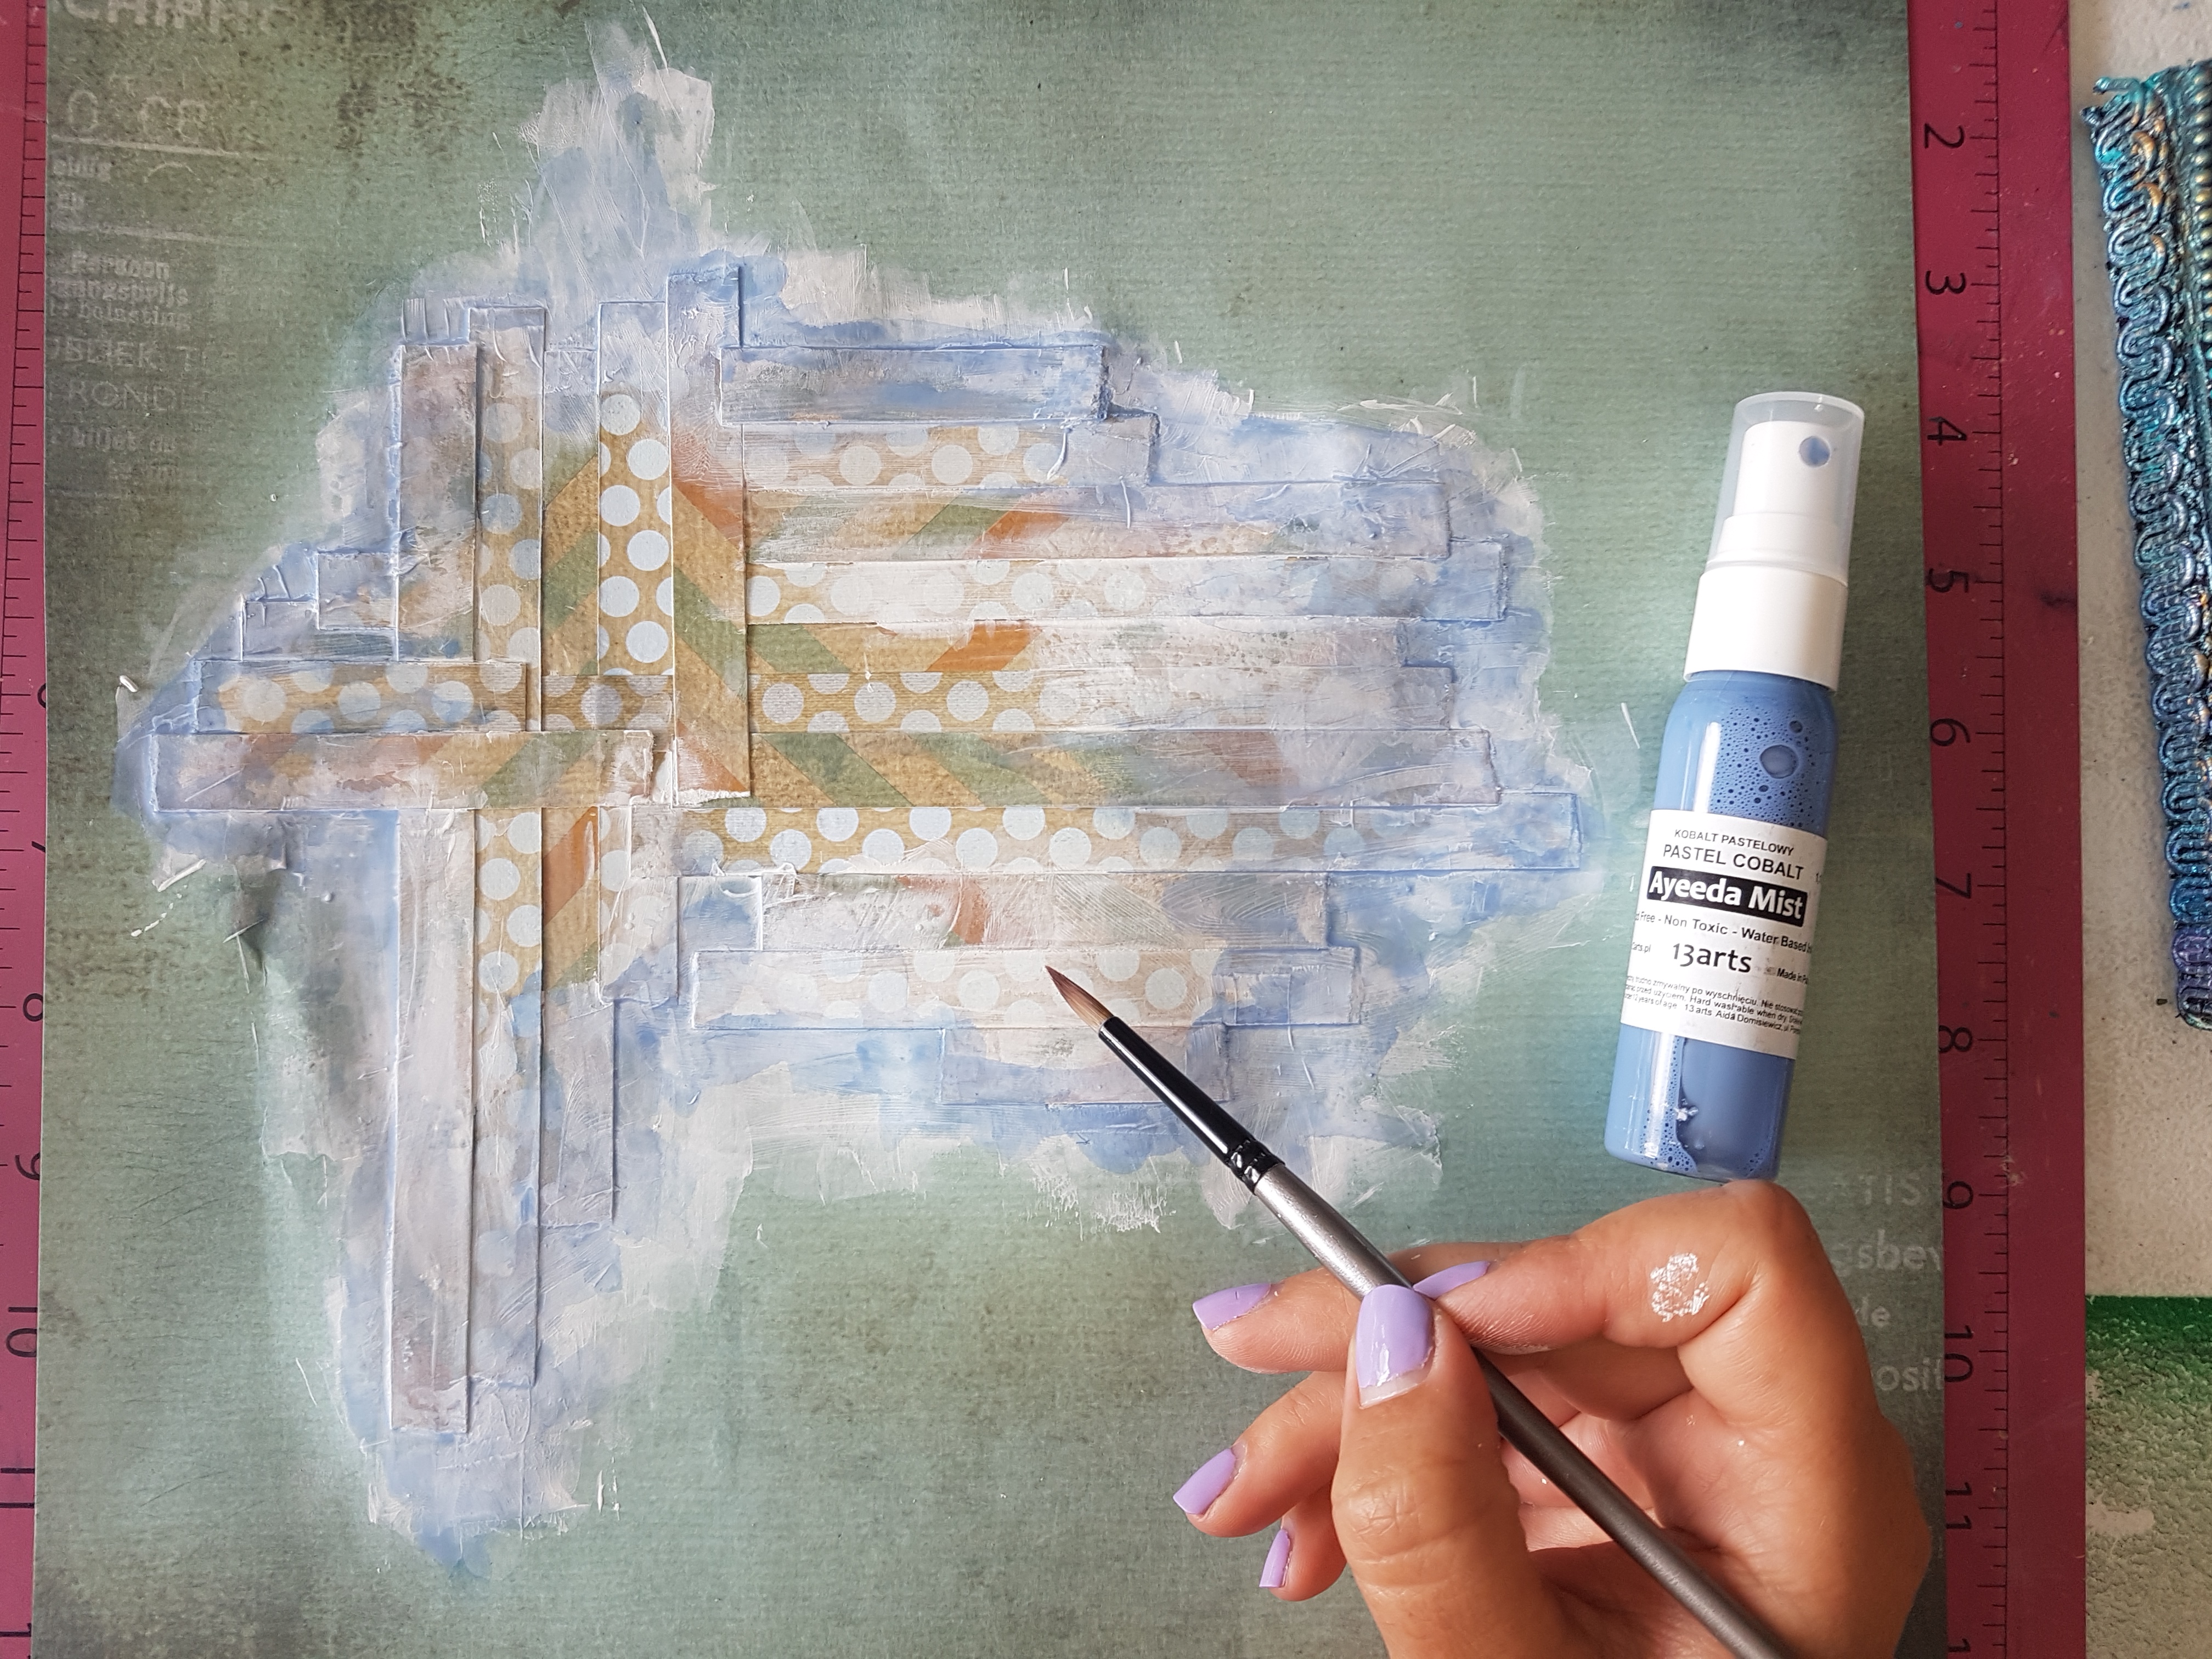
20171118_114638

20171118_115308

And it wouldn't be me with some splattering!! I used all 3 blues for the splatters.
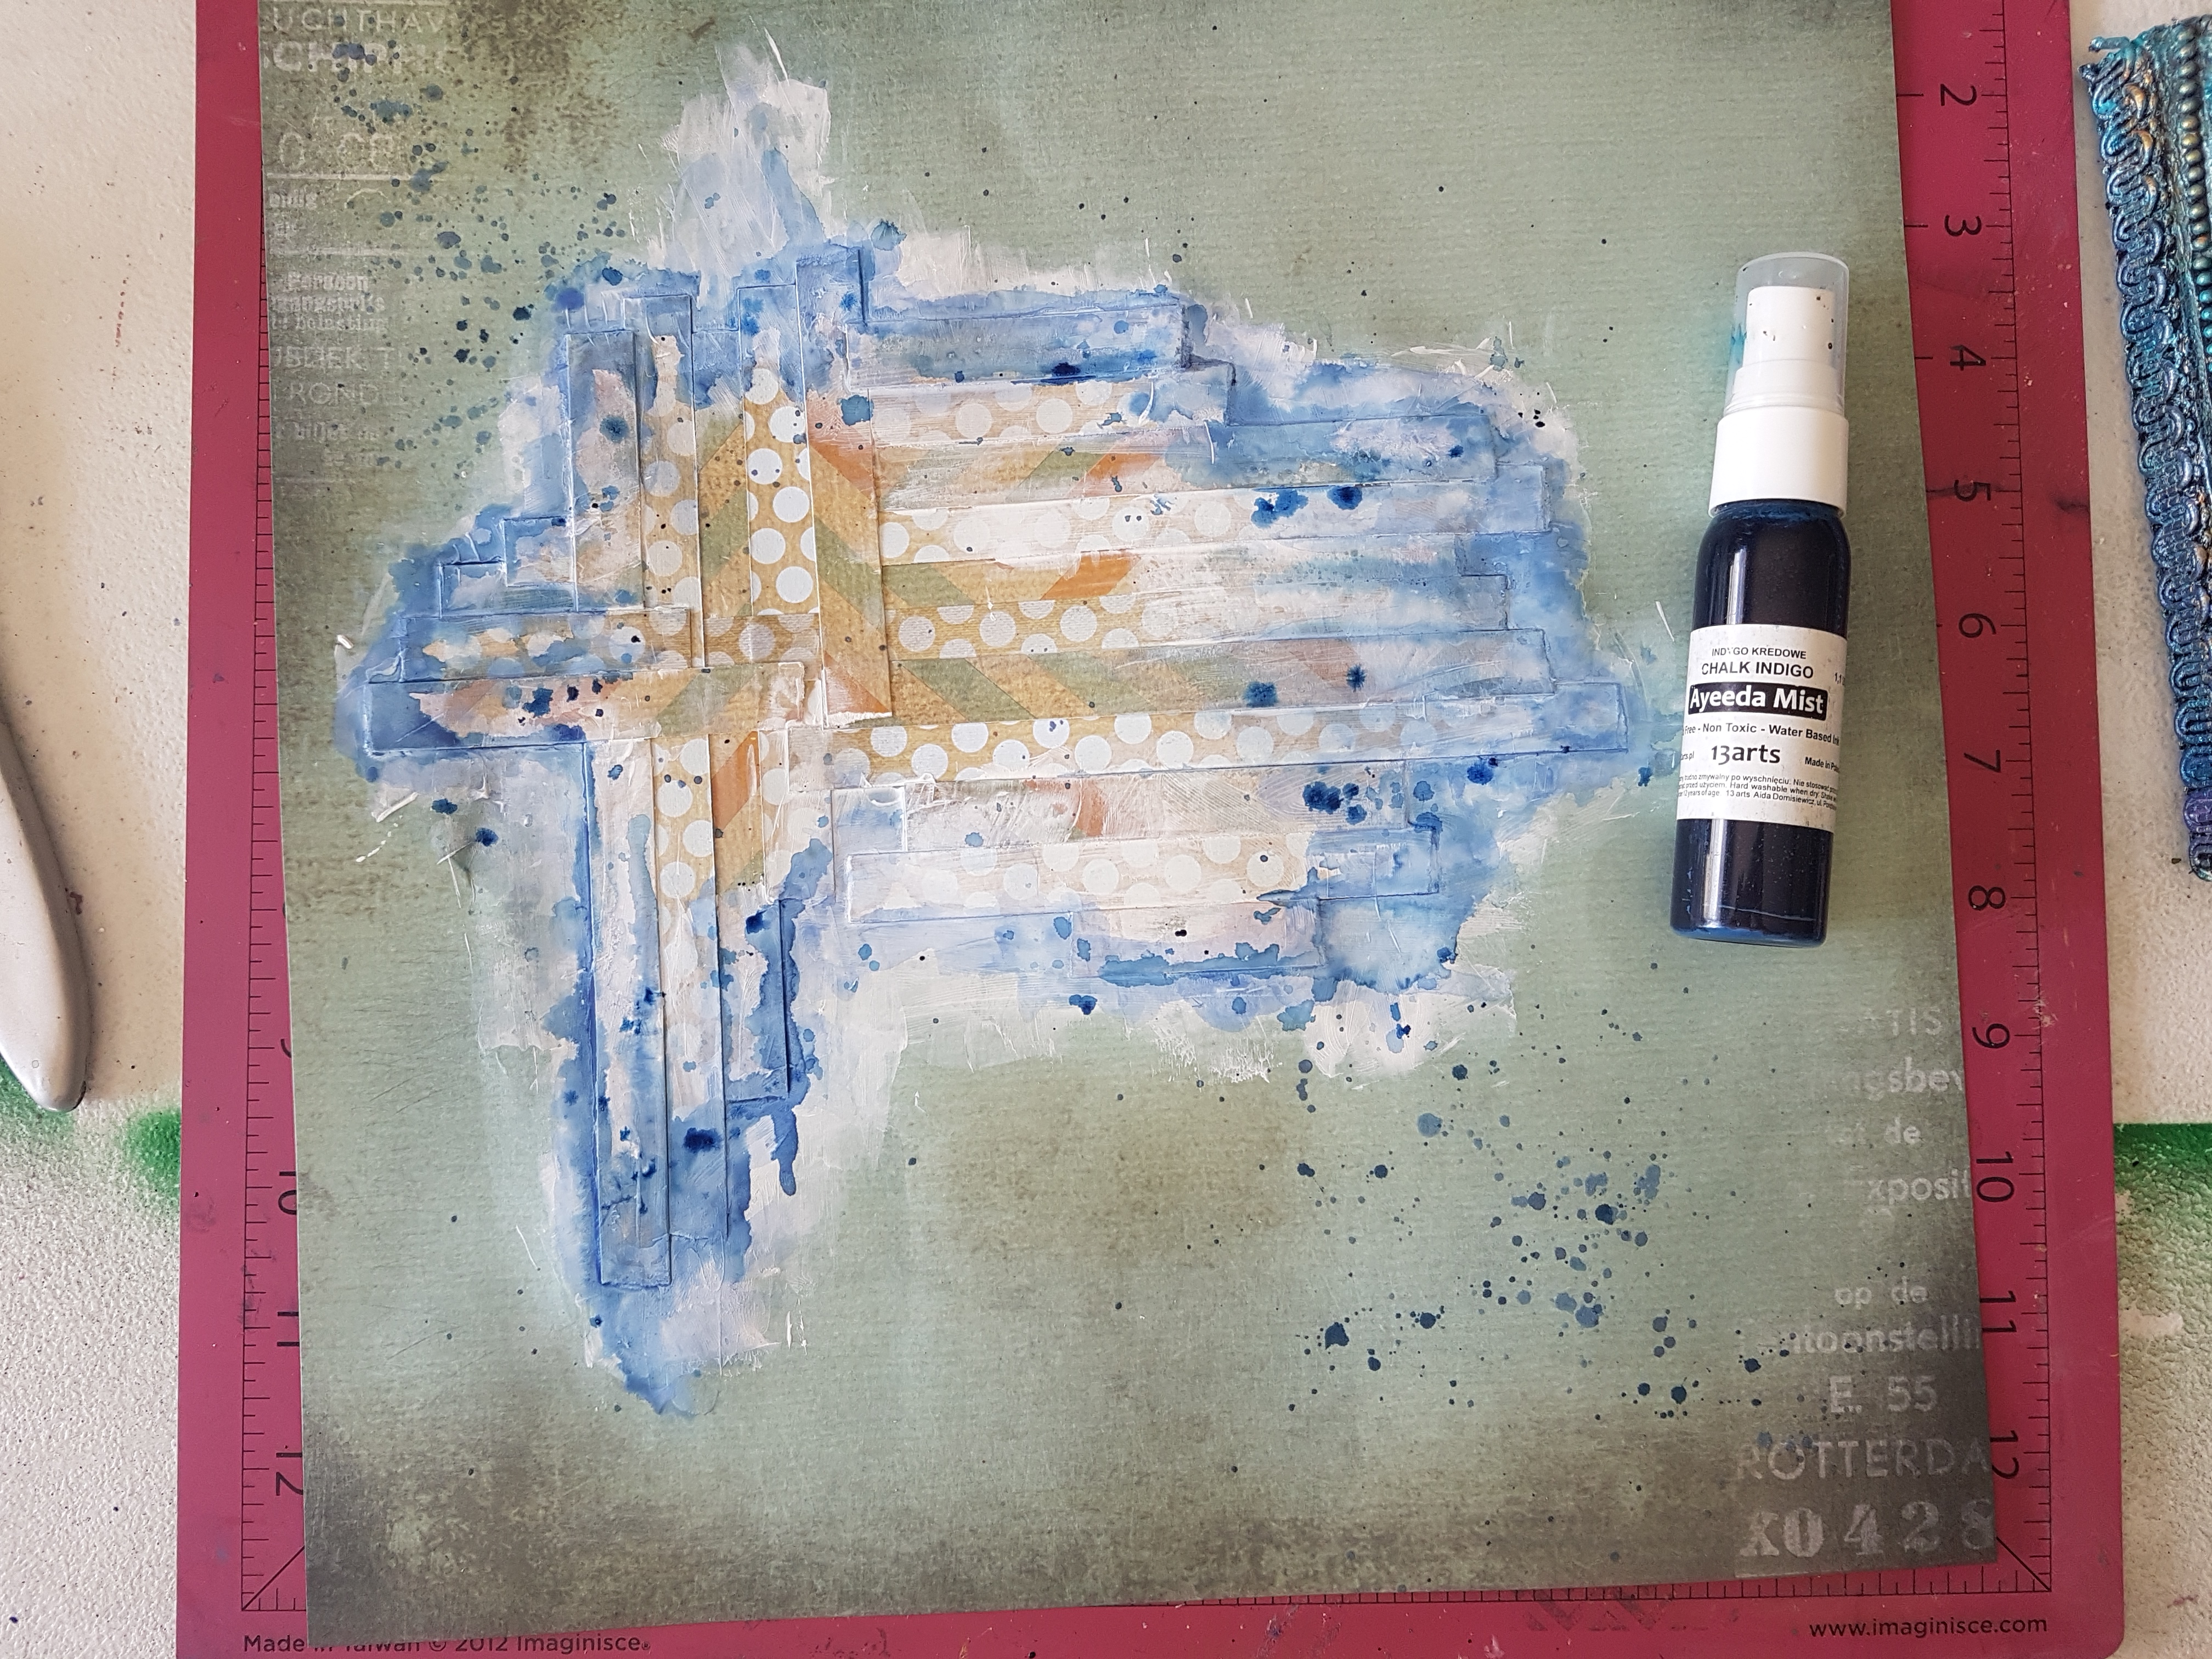
20171118_115357

Next I applied 13arts Ayeeda Mist Pastel Caramel just to highlight some areas and then added some builders tape for a little bit of texture. (I bought this tape from my local hardware store)
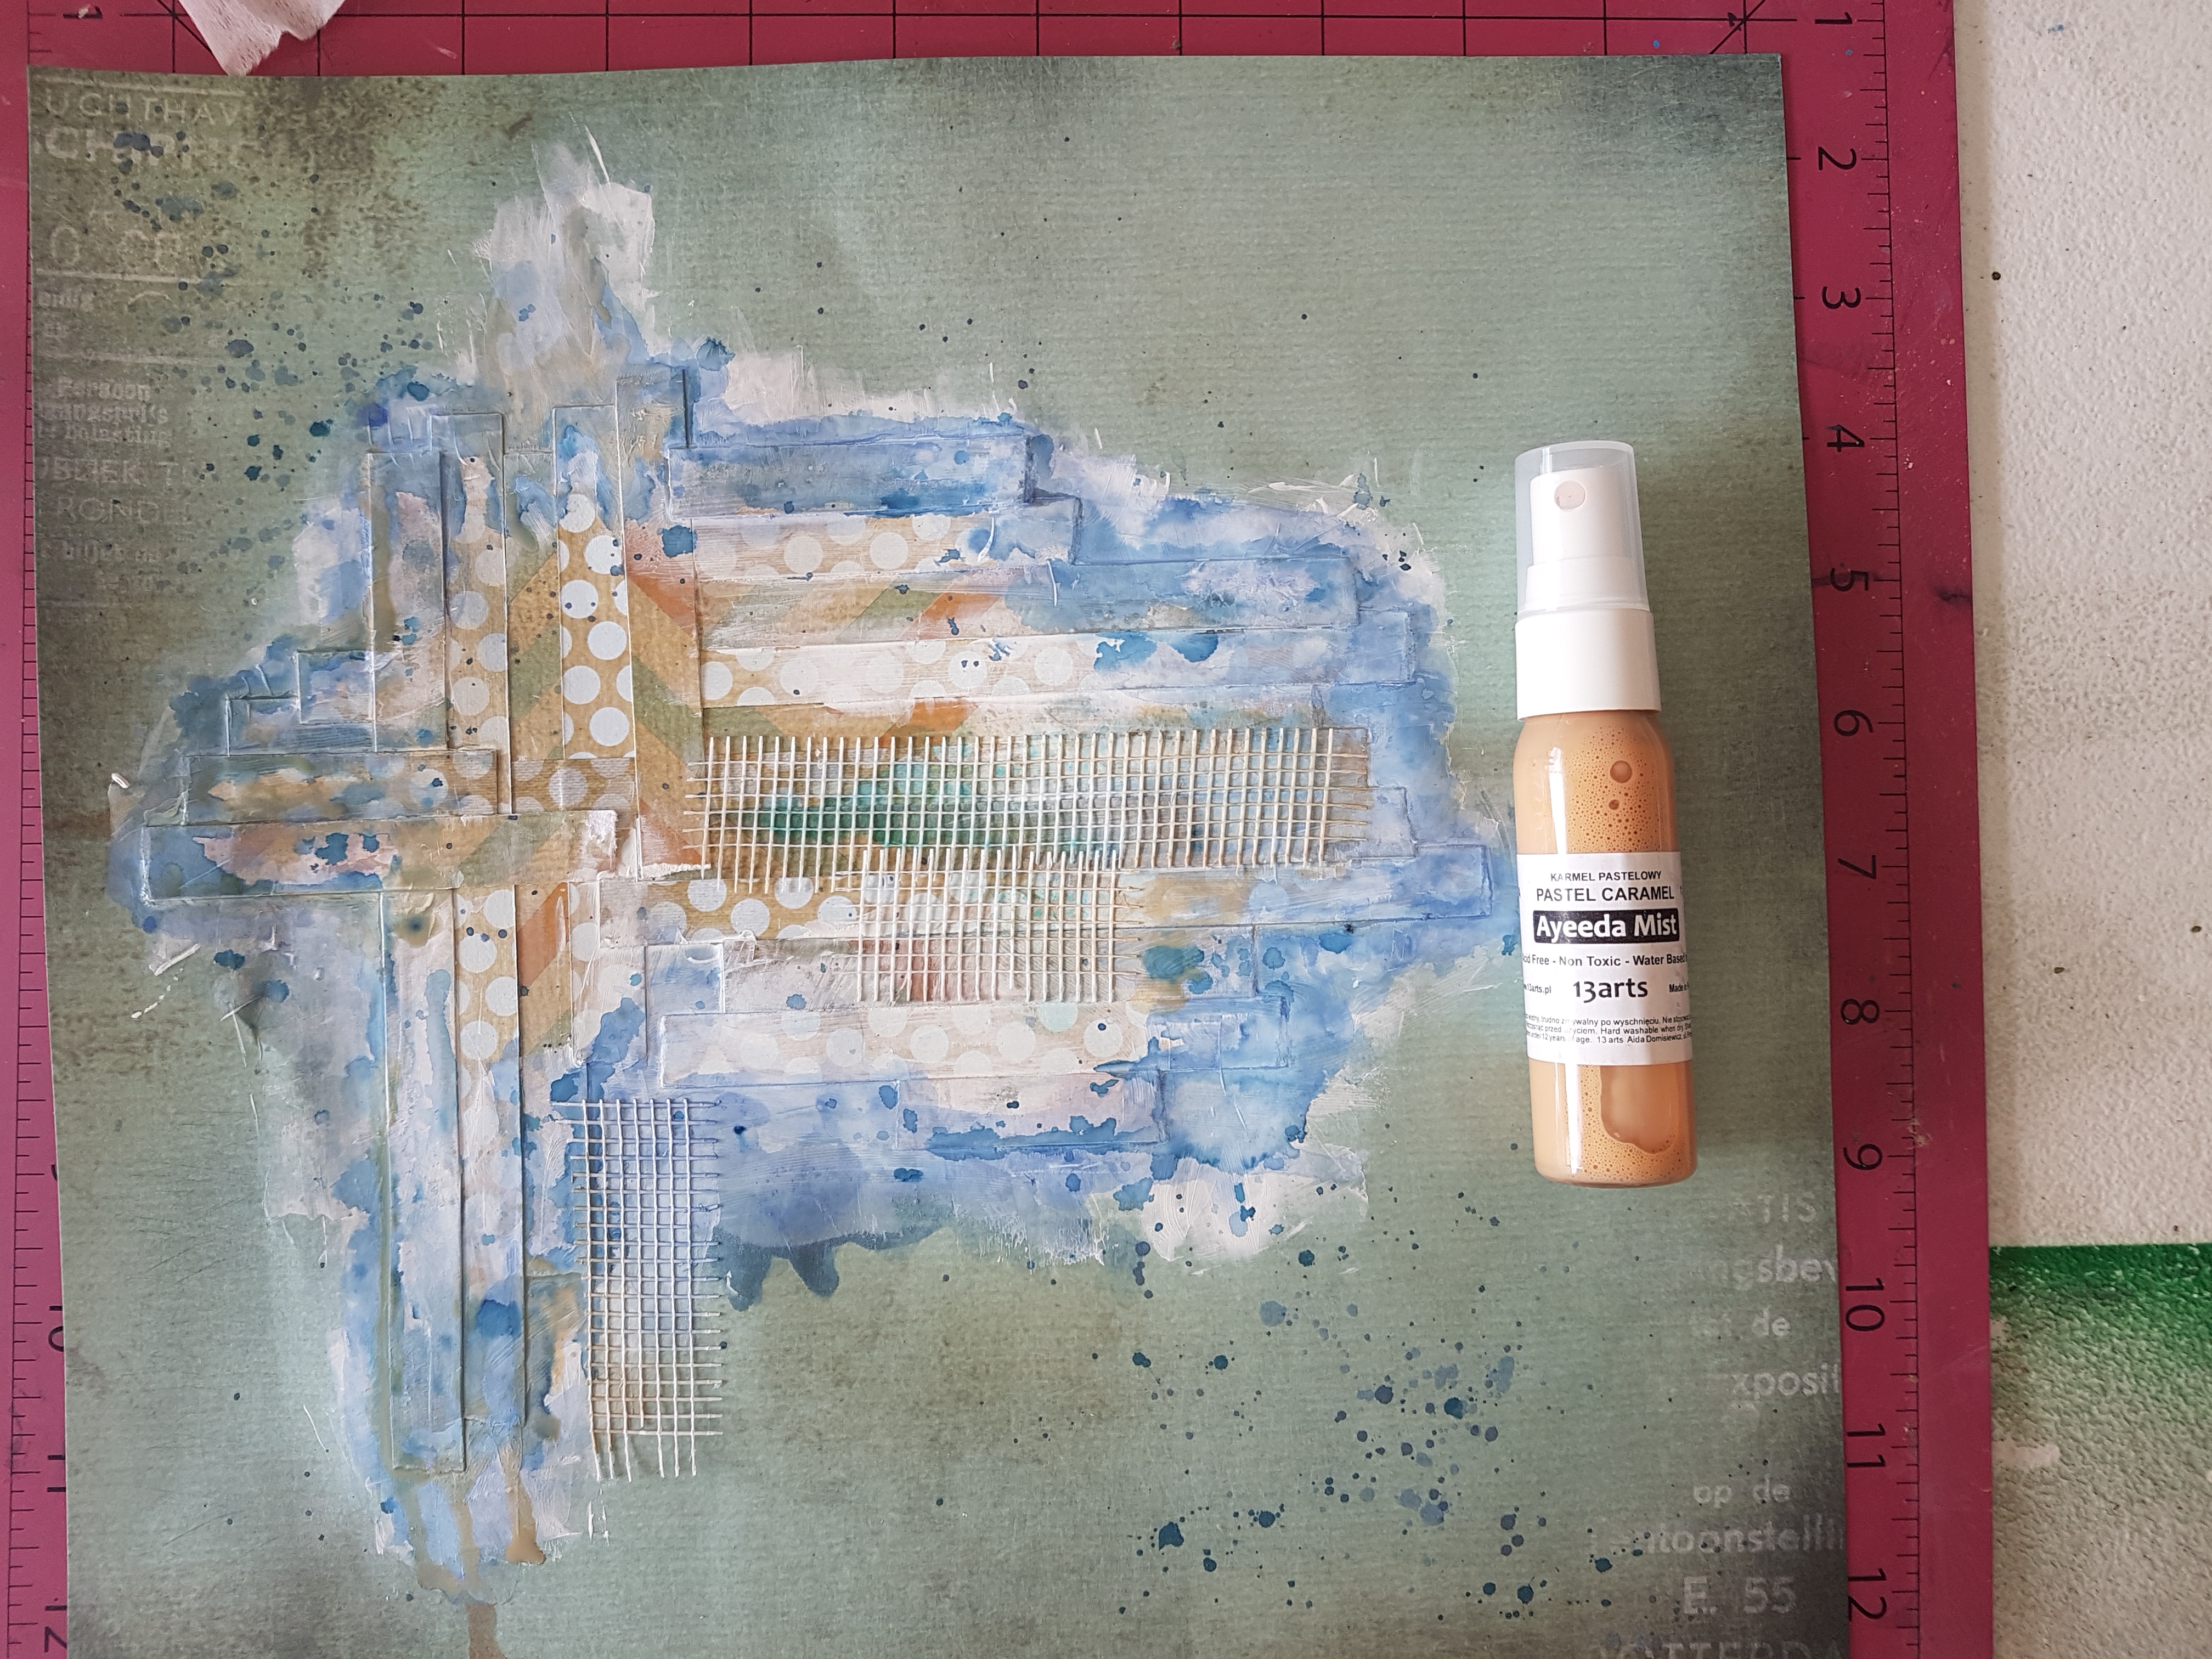
20171118_120728

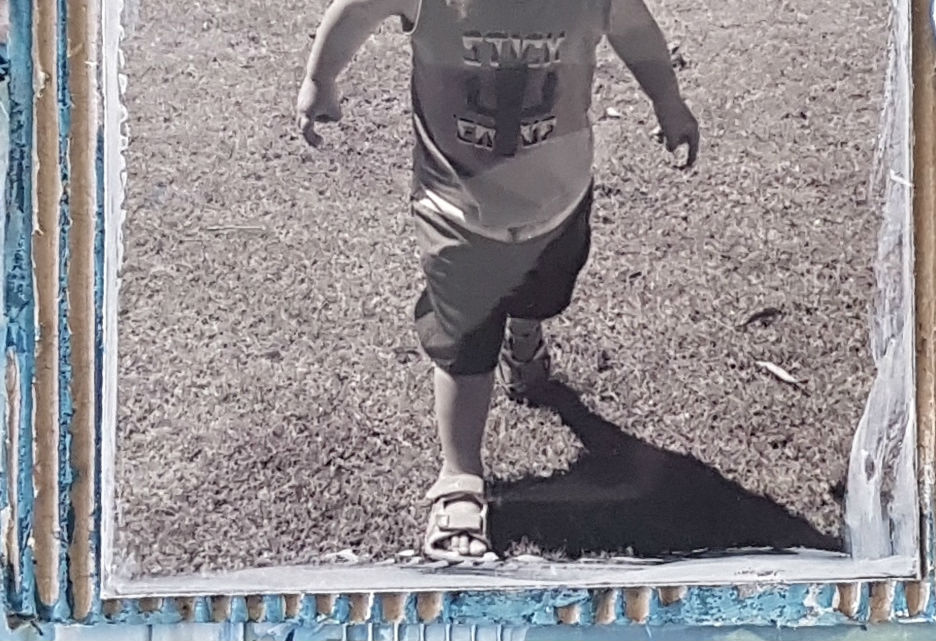
Now for the photo mount - I used some cardboard from a packing box and ripped the first layer off. I then rubbed white gesso around the edges and using a wet brush I applied a small amount of 13arts Ayeeda Mist Chalk Indigo.
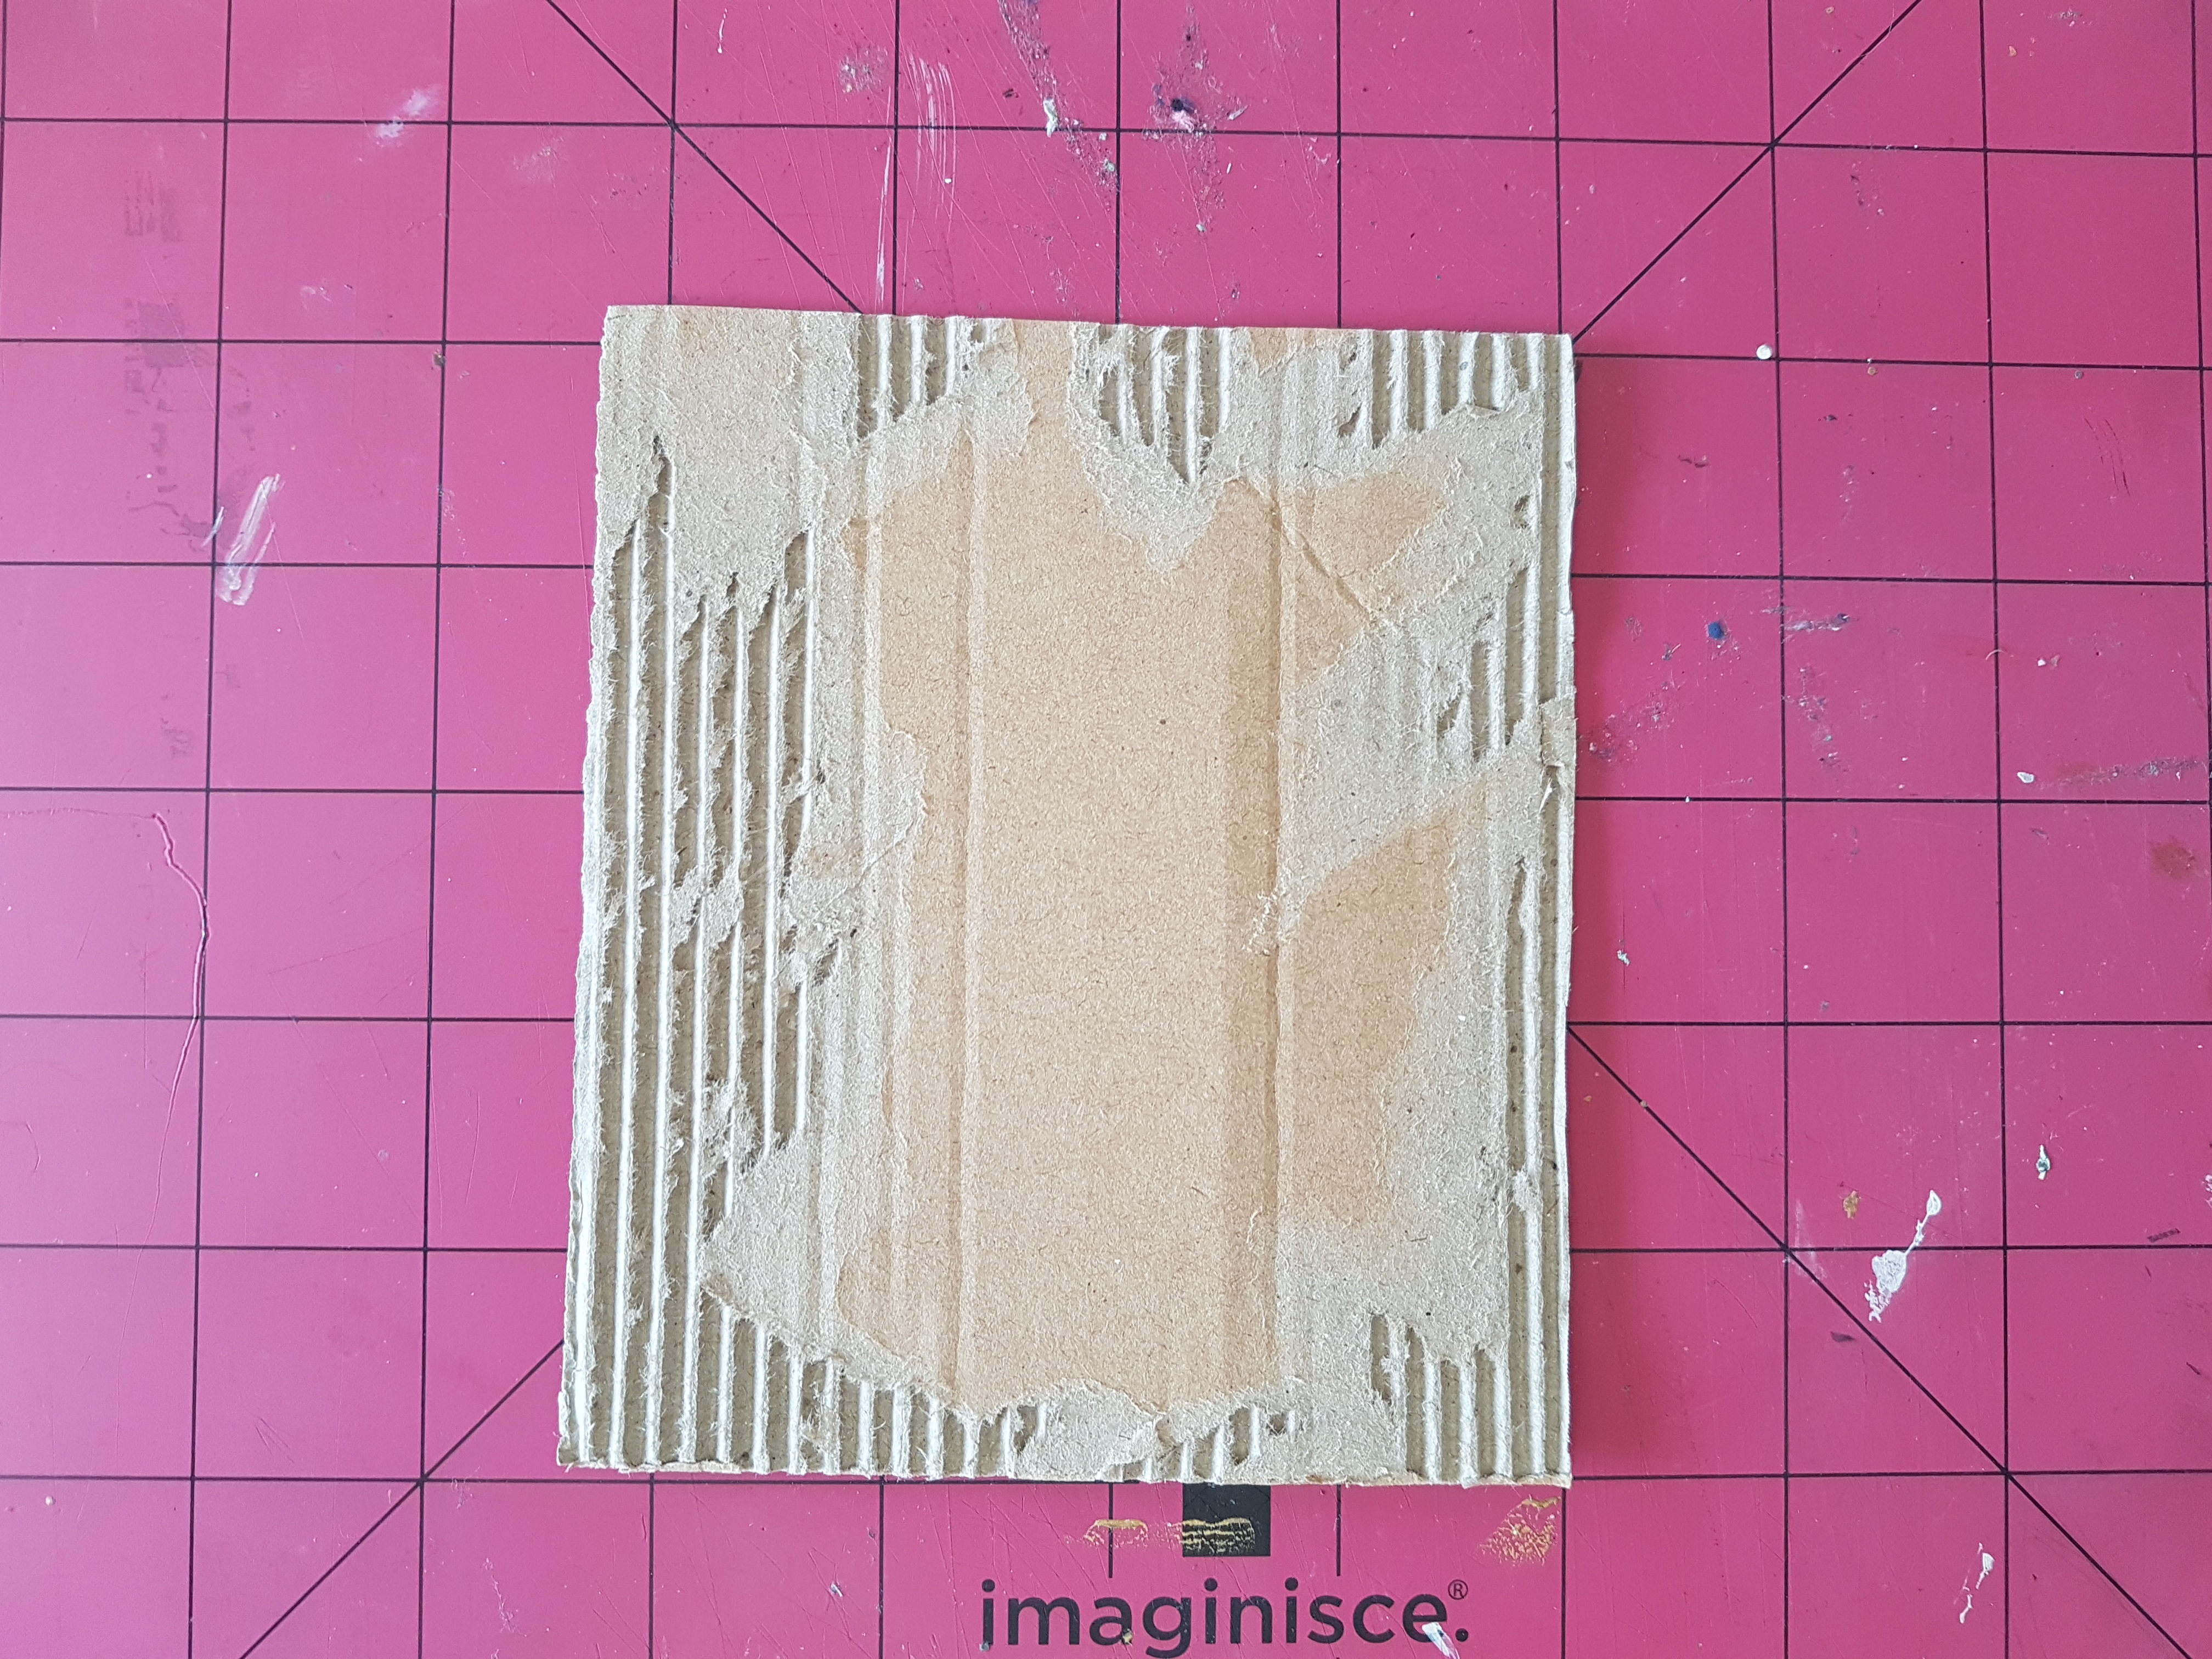
20171118_112458

20171122_132316

I then added some stickers from Pinkfresh Studio - Escape the Ordinary range and doodled around the stickers and the background paper with a black paint pen. To finish off the layout I added some stamping, cotton thread in blue and tan and a flair from my personal stash.


Thanks for dropping by and again thank you for all your support this year. xx


Thursday, 16 November 2017

Unforgettable Mixed Media Layout by Farrel Tailor

Hello there Sassy Fans! Today I am sharing with you all a mixed media layout I created using some more fabulous products from 13 Arts. There is a process video at the end of the blog if you would like to see me in action.


Earlier this year I taught on a scrapbooking cruise and took this selfie of the girls working hard in one of my classes. As some of you know I have 3 boys which means I use a lot of blues in my scrapbooking. So I was super excited to be able to create a page that was just for the girls!!! 

So let me give you a quick run through on how I created this layout. I started by building my photo mount using 13 Arts Fly Away pp - Days and Nights. I used both sides of the pp and also used the A4 sticker sheet for the title and the small doilies.


To build my background I used gel medium to seal my paper and then applied 13arts Ayeeda Mist Pastel Green with a paint brush and water. Once dry I then used 13arts Ayeeda Mist Pastel Pink using the dabbing effect and splattered the page using both mists.


Then I stamped the background using Kaisercraft Diamond stamp and Ranger Emboss It Dabber (Versamark pad is fine to use also) and then heat embossed with Lindy's Stamp Gang Embossing Powder Guten Tag Teal. 


Before adhering my photo cluster, I painted the edges of the cluster and the doilies with 13arts Ayeeda Mist Pastel Pink and mounted the cluster using some scrap chipboard pieces.

The butterflies I fussy cut from 13arts Fly Away pp - Days and Night and I only adhered the center of the butterflies so I could add dimension by bending the wings. Then to finish off the layout I used a Dymo Label machine to add the date.


Thanks for dropping and I can't wait to share with you all my next project 

Farrel xx


Tuesday, 31 October 2017

Beautiful Moments Mixed Media Canvas By Farrel Tailor

Hello there lovelies!! I'm back today to share with you a mixed media canvas I created using 13arts papers and sprays along with Prima's Color Philosophy Dye Inks. So let give you a quick tutorial in how I created this.


I have to apologise for the process photos.... we have just moved into our new house and the lighting isn't the best. 


I started off by applying modeling paste to my 5x7 inch canvas board and used a comb like tool to create the lined texture. I then applied 13arts Ayeeda Mists Pastel Pink, Lavender and caramel using a wet paint brush. I also used those sprays to splatter around the edges. Once dry, I then inked around the edges using Prima Color Philosophy Ink - Foggy Nights and with a wet paint brush just lightly went over the edges to create a shadow like effect.


I then cut 2 straws in half and adhered them to the canvas. Next to colour the cheesecloth, I inked my craft mat with Foggy Nights and sprayed with water then rubbed the cheesecloth in the ink and used my heat gun to dry and then adhered to the canvas.


I cut out the paper doily from 13arts Fly Away pp Days and Nights and sprayed it using Ayeeda Mist Pastel Cobalt. I also used the Fly Away sticker sheet for the title which I trimmed and mounted onto white cardstock. 


Next I added some gold wire from my stash and some flowers that I had lightly painted with Pastel Pink and Pastel Caramel spray and then splattered using Dylusions Black Marble spray.


Thanks for dropping by and look forward to sharing my next project with you very soon.


Farrel xx

Thursday, 19 October 2017

Little Things Make Big Days by Farrel Tailor

Hello Everyone, Farrel here to share with you all a mixed media layout I created using some pretty awesome products. I have linked all the products I have used to the Sassy Scrappers Store throughout the blog for your convenience. 

So let me show you how I created this quick and easy scrapbooking layout.


I started off by applying a very thin coat of gel medium to my white cardstock and dried using my heat gun. I then applied Prima Color Philosophy Dye Ink - Apricot by swiping the ink pad directly onto my cardstock. I then sprayed a little amount of water to let the ink move around until I was happy.


Once it was dry I then splattered 13arts Pastel Caramel Ayeeda Mist and dried again with my heat gun.


Next I stamped Prima Color Philosophy Dye Ink - Foggy Nights onto my craft mat and added some water. Using a paint brush I applied the ink to my layout. So that nothing was wasted, I used the left over ink to splatter onto my layout.


I loved how this particular colour went from a grey and then while it was drying it change to have a under tone of purple. Which I thought was pretty cool!!!


I then cut a photo mount using Pink Fresh Studios Escape the Ordinary pp - Observe as well as some of the shapes. I used my water pen and the Foggy Nights ink pad to brush the ink around the edges of my shapes and the photo mount.


I adhered all the elements onto my layout and then choose 3 stickers from Pink Fresh Studios Escape the Ordinary sticker sheet and inked around the edges again using Foggy Nights.


And there you have it, I simple mixed media scrapbooking layout. I hope you have enjoyed this and can't wait to share with you again next time.


Farrel xx 


Thursday, 28 September 2017

Leave a Little Sparkle Art Journal Page by Farrel Tailor

Hello Fellow Sassy Fans!!! I'm back again to share with you another mixed media art journal page featuring the amazing 13arts Ayeeda Mists.


So to start my page I used a mini harlequin stencil with Ranger Texture Paste and used my heat gun to dry. 


Once the paste was dry I sprayed water to the area I wanted the 13arts Chalk Turquoise mist to go and applied the mist using a small paint brush. I then splattered what was left on my brush onto the page.


Next I splattered Chalk Ultramarine Ayeeda mist onto my page and spritzed enough water to let the colour run a little. Once it was dry I then applied Chalk Indigo using a watered paint brush and applied it around the outside of my coloured area. I also added some splatters.


As you can tell this page is all about layering. So the next mist I used was Pearl Turquoise Light which I used to splatter all over. This mist has a little bit of sparkle to it which just makes the colours all pop!!


I then splattered using Dylusions Black Marble and White Linen Sprays and used a heat gun to dry.


Now to add a little bit more texture - I used Art Basics 3D Gloss Gel to adhere my cheesecloth and gave it a quick dry with my heat gun. I then cut out my butterfly print that I got from Pinterest (the link will be over on my blog) and also adhered it using the 3D Gloss Gel.
 

Then to finish off the page I used Vicki Boutin's Mixed Media Stickers Phrases and Accents and used my black Uni Posca pen to draw around the edges of the stickers.


And there you have it, a simple but effective art journal page and I hope I have inspired you to create something this week. 


Thanks for dropping by
Farrel xx


Thursday, 21 September 2017

Fly High Mixed Media Tag by Farrel Tailor

Hello and happy Thursday everyone!!! 
Today I am sharing with you all my very first mixed media tag. I had so much fun creating this tag and can't wait to create some more!! There is a process video at the bottom of the blog if you would like to see how I created the tag.

To create the tag, I used the packaging from a 2 minute noodle box and covered it with Prima Rose Quartz - Grateful Heart pp. 

Then using the dabbing technique I applied the following Distress Oxide Inks - Twisted Citron, Peacock Feathers, Abandoned Coral and Wild Honey. (I stamped the inks onto my craft mat and spritzed with water before dabbing and dried in between colours)


Once I was happy with the colours for my background, I then used the font stamp from Darkroom Door Hummingbirds set. Using the same stamp set, I stamped the hummingbird and leafy branch onto some white cardstock and used Lindy's Stamp Gang Embossing Powder - Black Forest Black.

I then cut out the hummingbird and using a waterpen, I then applied Distress Oxide Inks Seedless Preserves and Salty Ocean to my hummingbird and applied some cheesecloth to the back.  I then inked around the edges of the tag using Distress Oxide Ink Black Soot. 


After adhering my stamped bird, I then stamped "Fly High" which is from the same stamp set and added some splattering using Dylusions White Linen Spray.

And there you have it..... a mixed media tag!!!  I hope I have inspired you to create something special.


Until next time - Happy Scrappin' 
Farrel xx


Thursday, 31 August 2017

Ocean Goddess Art Journal Page by Farrel Tailor

Happy Thursday Sassy Fans!!! Today I am sharing an art journal page I created using Lindy's Stamp Gang Magical Shakers and Dylusions Paints. I have a video at the end of the blog if you would like to see it in action.


When I started my page, I wasn't sure what I wanted to do but after using the magical shakers for my background I decided to do an under water theme..... I'm not much of an artist when it comes to drawing and this was my first time drawing a mermaid (will definitely need to to practice some more lol) she isn't perfect but I wanted to show some different techniques when using the shakers.

So to build the background I used Polka Purple, Guten Tag Teal, Lederhosen Laurel and Bavarian Blue. I sprinkled randomly onto my page and spritz with water. I did use a heat gun to dry but if you have the time, let it air dry as the results are amazing.


I then drew my mermaid onto some watercolour paper and used the above magical shakers plus Bratwust Brown and Oom Pah Pah Pink to colour in my mermaid and adhered her to my page. 


I then decided that I wanted to do a bit more to the background so using a wet paint brush I played a little more with the shakers until I was happy.


Next I used Dylusions Paint Dirty Martini and Fresh Lime to paint some seaweed and used a paint pen to draw some weeds. Then I mixed a small amount of water to White Linen to splatter onto the background.


To finish off the page I added some sparkle using a glitter glue - you can use Ranger Diamond Stickles and just like that my page was finished.


Thanks for dropping by and I hope I have inspired you to create something special!!!
Farrel xx 
09 10