Showing posts with label stamping. Show all posts

Sunday, 2 December 2018

Pocket Pages | Field Notes & Mermaid Markers | Agnus Kasprzak

Hi again :) I'm back with the rest of my June pages using Vicki Boutin's Field Notes collection paired with some bold colour from Jane Davenport's Mermaid Markers.

Just like my my previous post, I have used Mermaid Markers on a mix of watercolour and mixed media foundations paper to create my own cards and backgrounds but have gone with a darker colour palette for this part of the month. 


Starting with the background, I wet a piece of the mixed media foundations cardstock before applying colour with one of the mermaid markers - working on a slightly wet surface will produce a nice watercolour effect that allows the pigment to spread and blend smoothly.  I then placed one of the Ink Spill stencils over the top of the background and used a baby wipe to absorb some of the colour to give the card more depth. Once dry I stamped one of the images from the Shine stamp and die set using my favourite waterproof ink. I painted a pink circle onto a separate sheet of cardstock and stamped some fun spots from the Escape stamp and die set to create an easy accent that I layered under one of the stickers from the watercolour sticker pack.


I kept the background solid for the next card, but was still able to produce some interesting effects by varying the colour saturation based on the amount of water used. Even though mermaid markers already come in a great range of premixed colours, I love that they also allow you to create your own custom shades like the gorgeous plum colour I created by mixing Jellyfish, Deep Sea and Starfish. I like to use a plastic paint palette to mix my colours but any non porous surface will work for this.
I added a sentiment from the watercolour sticker pack that I applied onto white cardstock to keep the colours looking crisp. 


One of the things that instantly drew me this Vicki Boutin collection is the mix of bright colours teamed with bold black and white images and I wanted to recreate this look to help me tie all the elements across both pages together. Going back to the Shine stamp and die set, I stamped three flowers onto my background then used several shades of mermaid markers to fill in the background. 
I mixed my colours directly onto the card this time and this is where the mixed media foundations cardstock really shines because it allows you add lots of wet layers without buckling or warping like regular cardstock would. 


The foundations cardstock is also great for lifting and removing colour with either water or towel without having to worry about the pilling you often get once you start moving watercolours around on regular cardstock.  

Creating all of my own backgrounds forced me to pay extra attention to colour placement this month but it also gave me the freedom to experiment with combinations that helped my photos to stand out. Using stamps was also a fun way to create my own accents and I even used ink from the same mermaid markers as I used to paint the background of the blue card in the top corner to create a perfectly matched pattern over the card - you can see how saturated the pigment is when you don't add any water.  


You can see in this photo that the watercolour paper I used for the background produces a textured finish while the smooth surface of the foundations cardstock that I used to stamp on the heart accents absorbs the colour differently so it's definitely worth experimenting with a variety of surfaces when playing with any wet medium. 


Making use of the brush tip of the mermaid markers to create a quick and easy filler card with a little bit of brush lettering teamed with more stamping.


Adding just a few little pops of colour with some cute painted raindrops paired with a puffy sticker title was all the was needed to finish off the month :) 

Products from the Sassy store... 
Vicki Boutin Field Notes Mixed Media Watercolor Stickers
Vicki Boutin Field Notes Mixed Media Stencil - Ink Spill
Vicki Boutin Mixed Media Stamps & Dies - Escape 
Vicki Boutin Field Notes Stamps & Dies - Shine
Vicki Boutin Field Notes Puffy Stickers 
Vicki Boutin Mixed Media Foundation Paper
Jane Davenport Mixed Media Watercolor Mermaid Markers
Jane Davenport Mixed Media 2 Mermaid Markers - Shipwrecked
Ranger Archival Inkpad - Black
Photobucket

Thursday, 30 November 2017

The Best Days by Farrel Tailor

Good Morning Sassy Lovers!! Today is my last DT post and I would just like start off by thanking Olga for asking me to join her amazing team... what started out being for only 3 months ended up lasting 9 months and I have truly enjoyed every minute of it. And I would also like to thank all the Sassy Fans that have followed me over the last 9 months - you're the best!!

So let me show you what I created and how I went about it....

main image

I started by cutting 7 strips of Glitz Design pp - Sunshine in my Soul - Stripe and adhered the 7 strips onto to Glitz Design - Sunshine in my Soul - Suns.

20171118_111139

I then used white gesso with my 1" Silicone Brush to highlight the paper cluster and to also seal before I added the sprays. I also used my finger to lightly rub white gesso around the edges of my photo.

20171118_111337

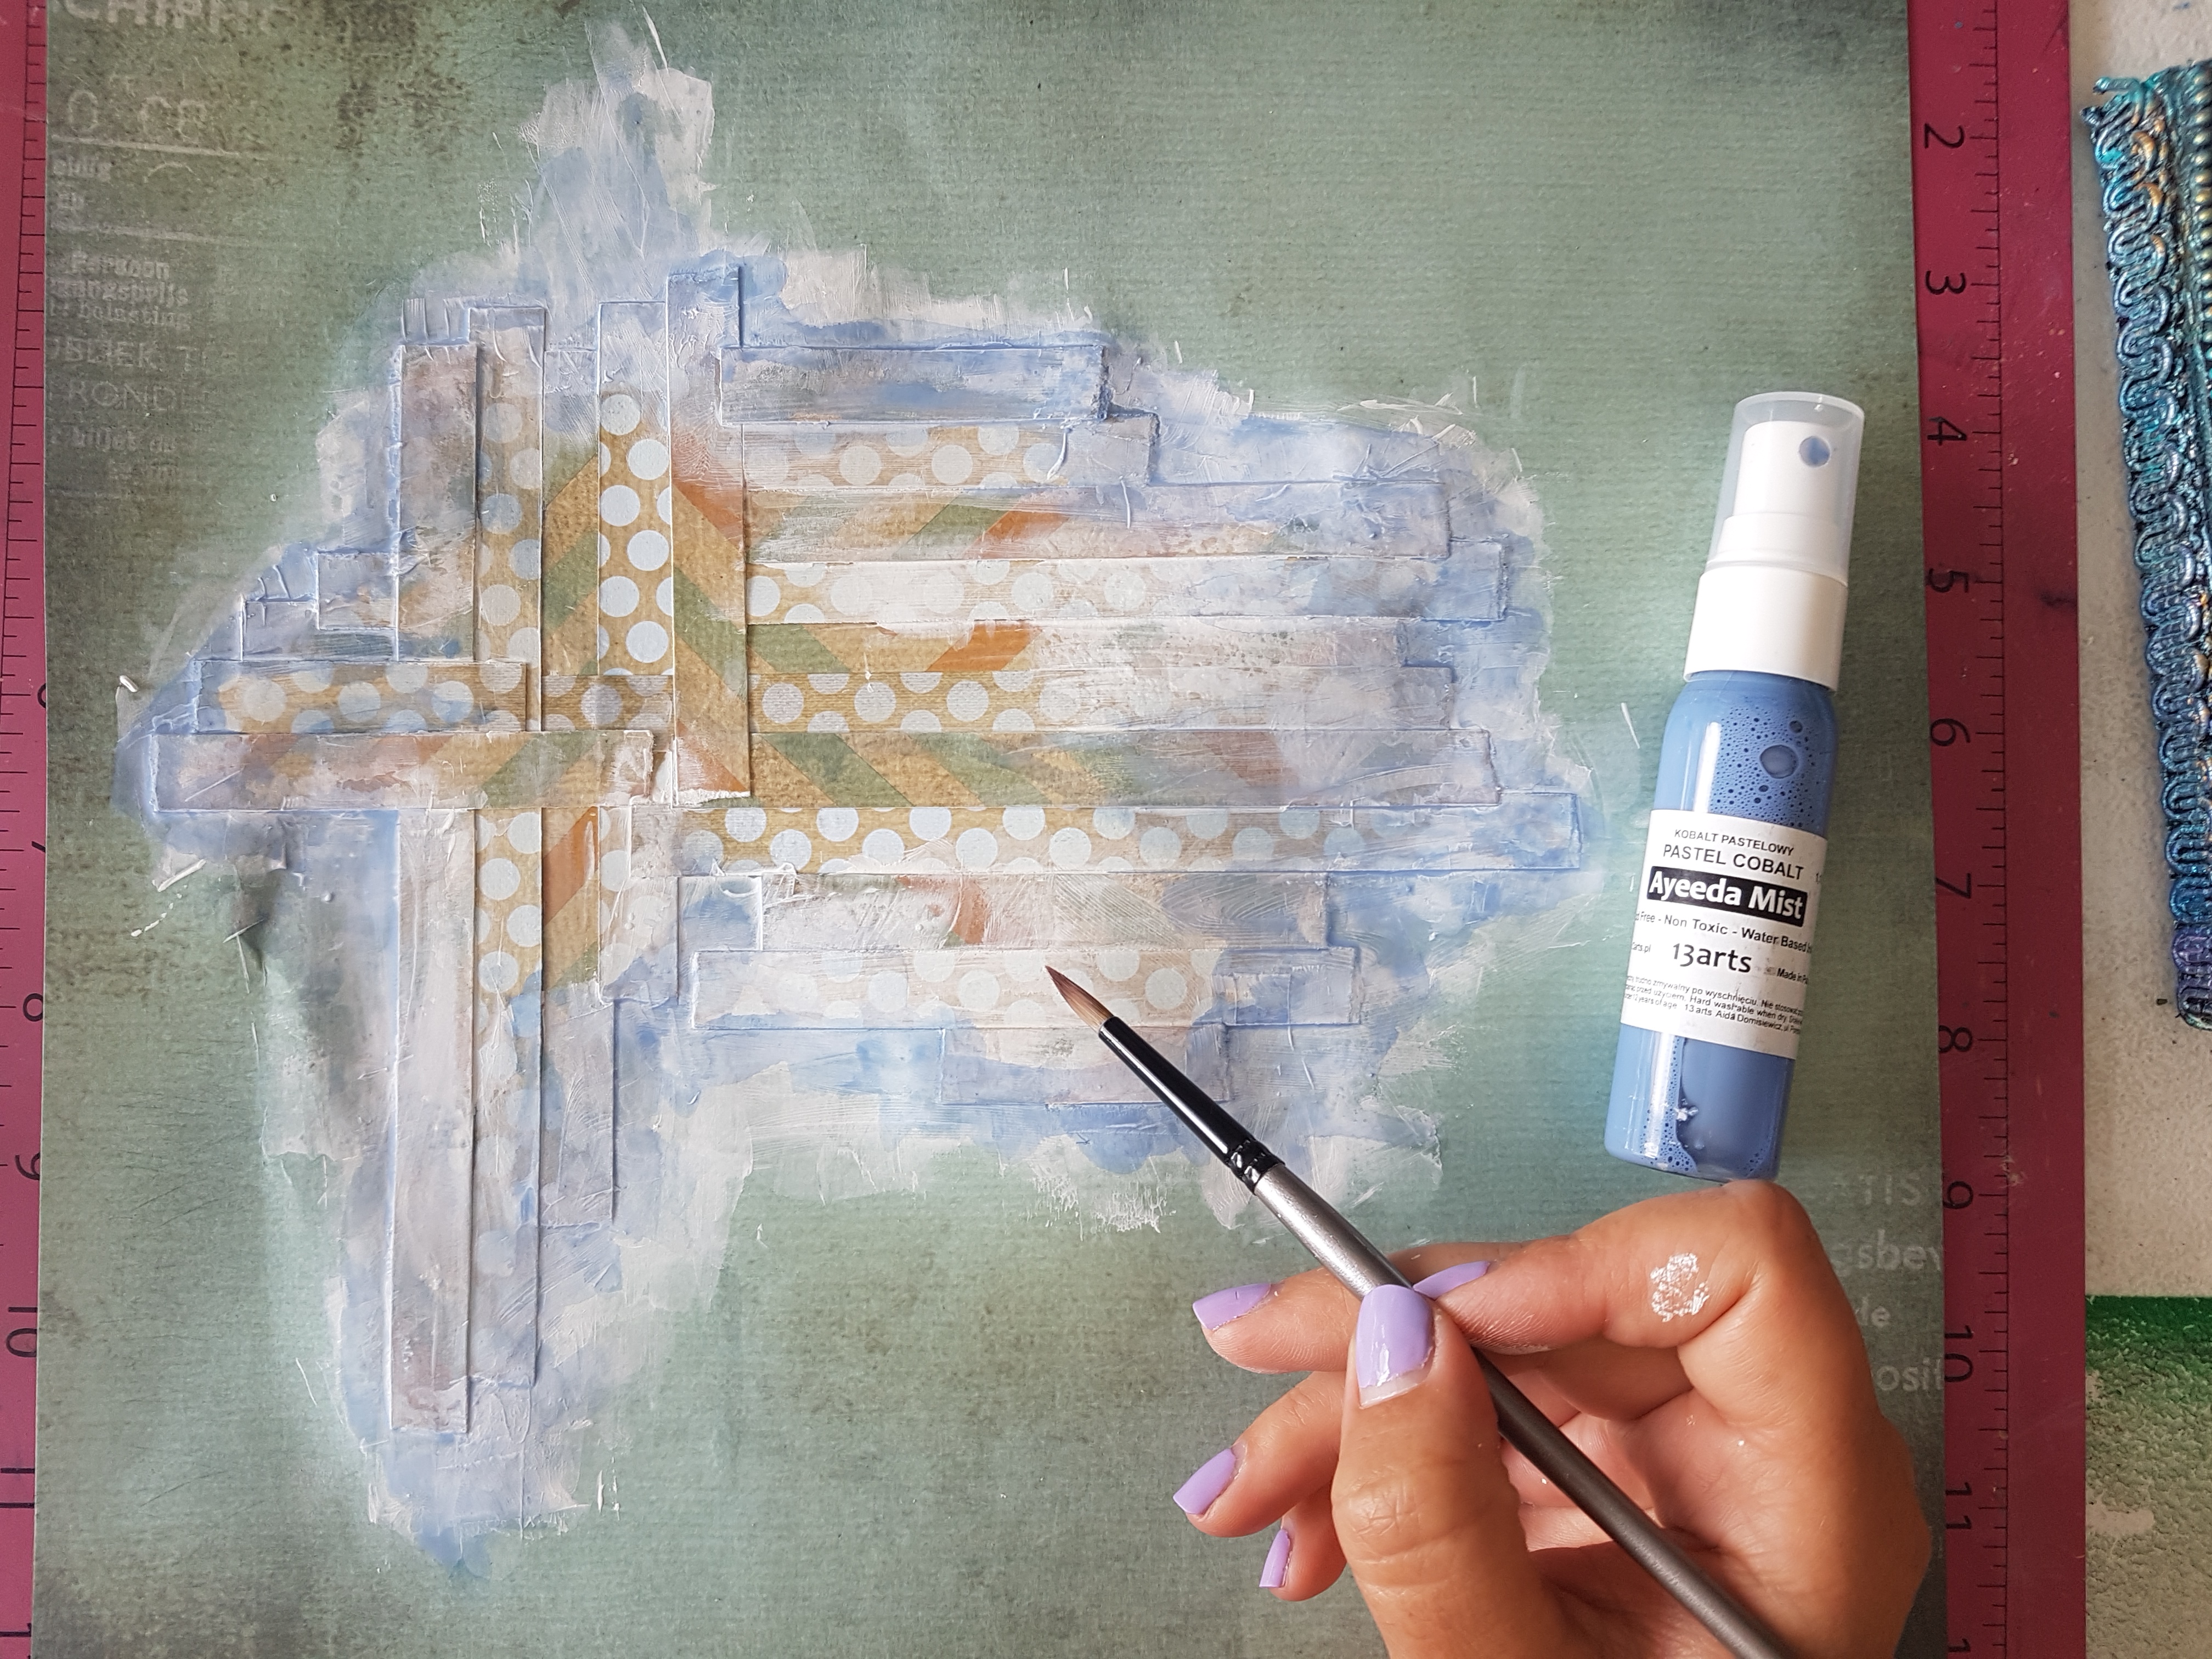
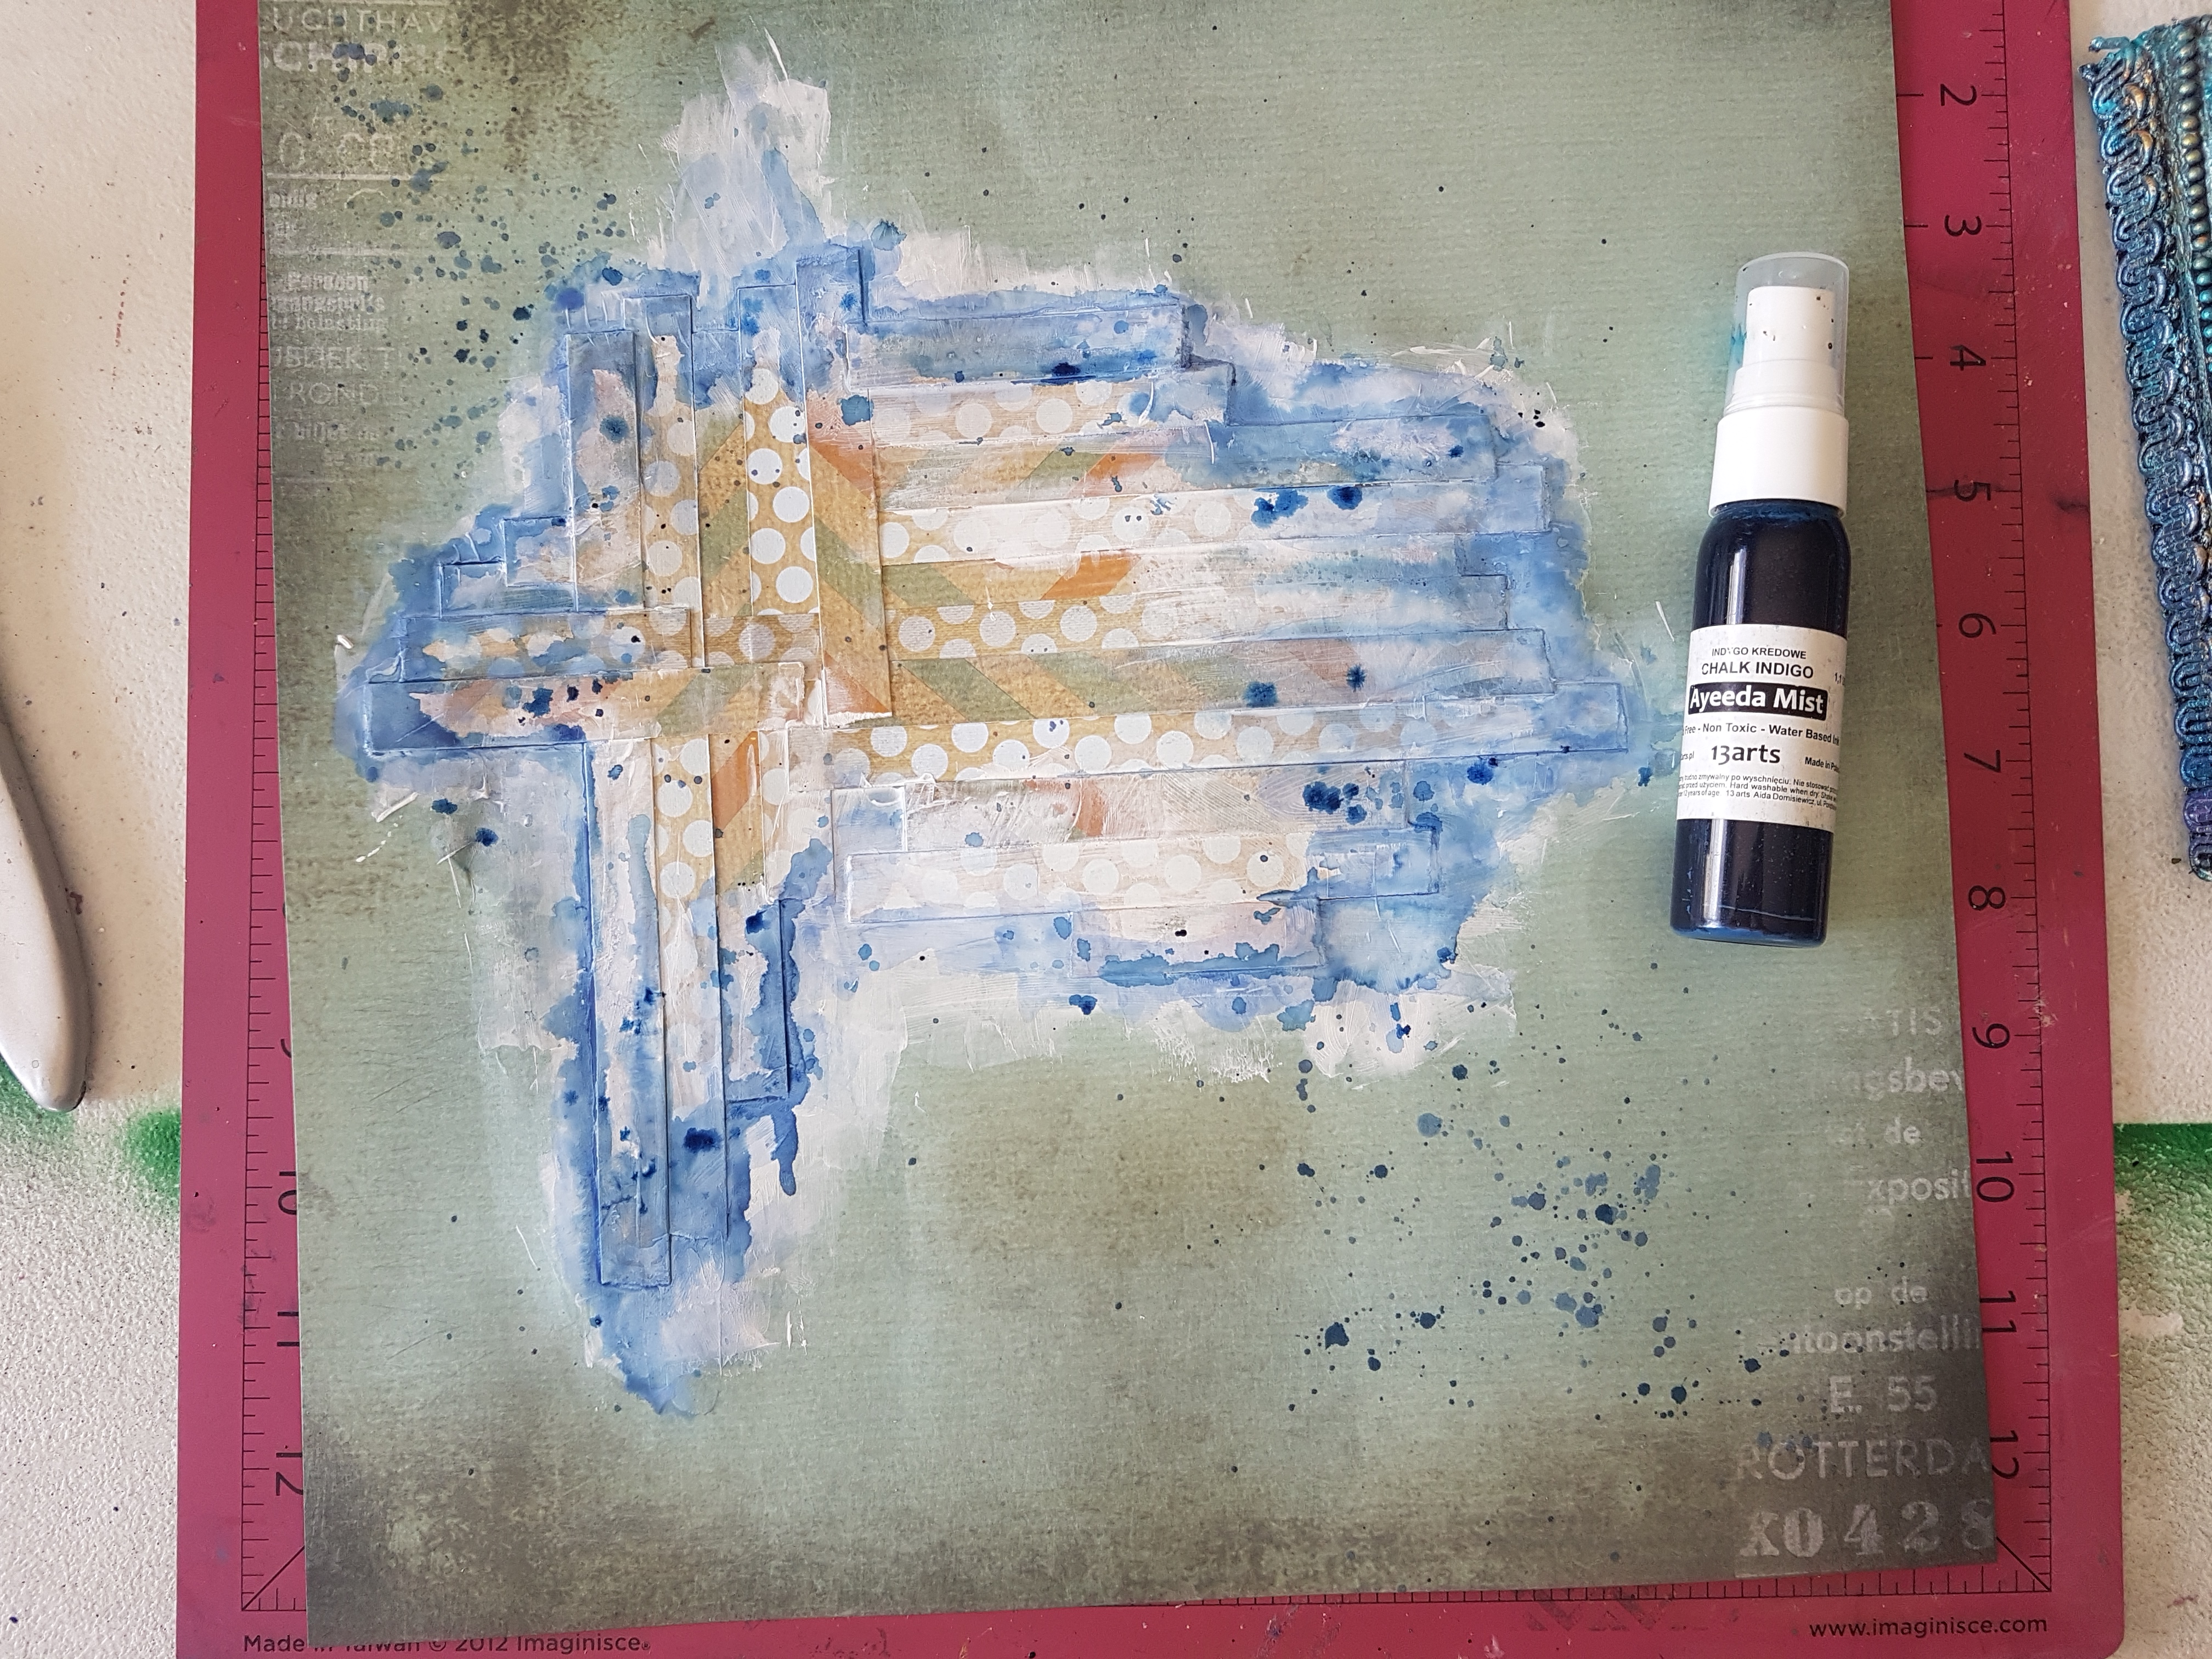
Once dry I then started to apply my colours to the background. Using a wet paint brush I applied 13arts Ayeeda Mists - Pastel Cobalt, then Chalk Ultramarine and to finish I used Chalk Indigo. Making sure I dried between colours.

20171118_114638

20171118_115308

And it wouldn't be me with some splattering!! I used all 3 blues for the splatters.

20171118_115357

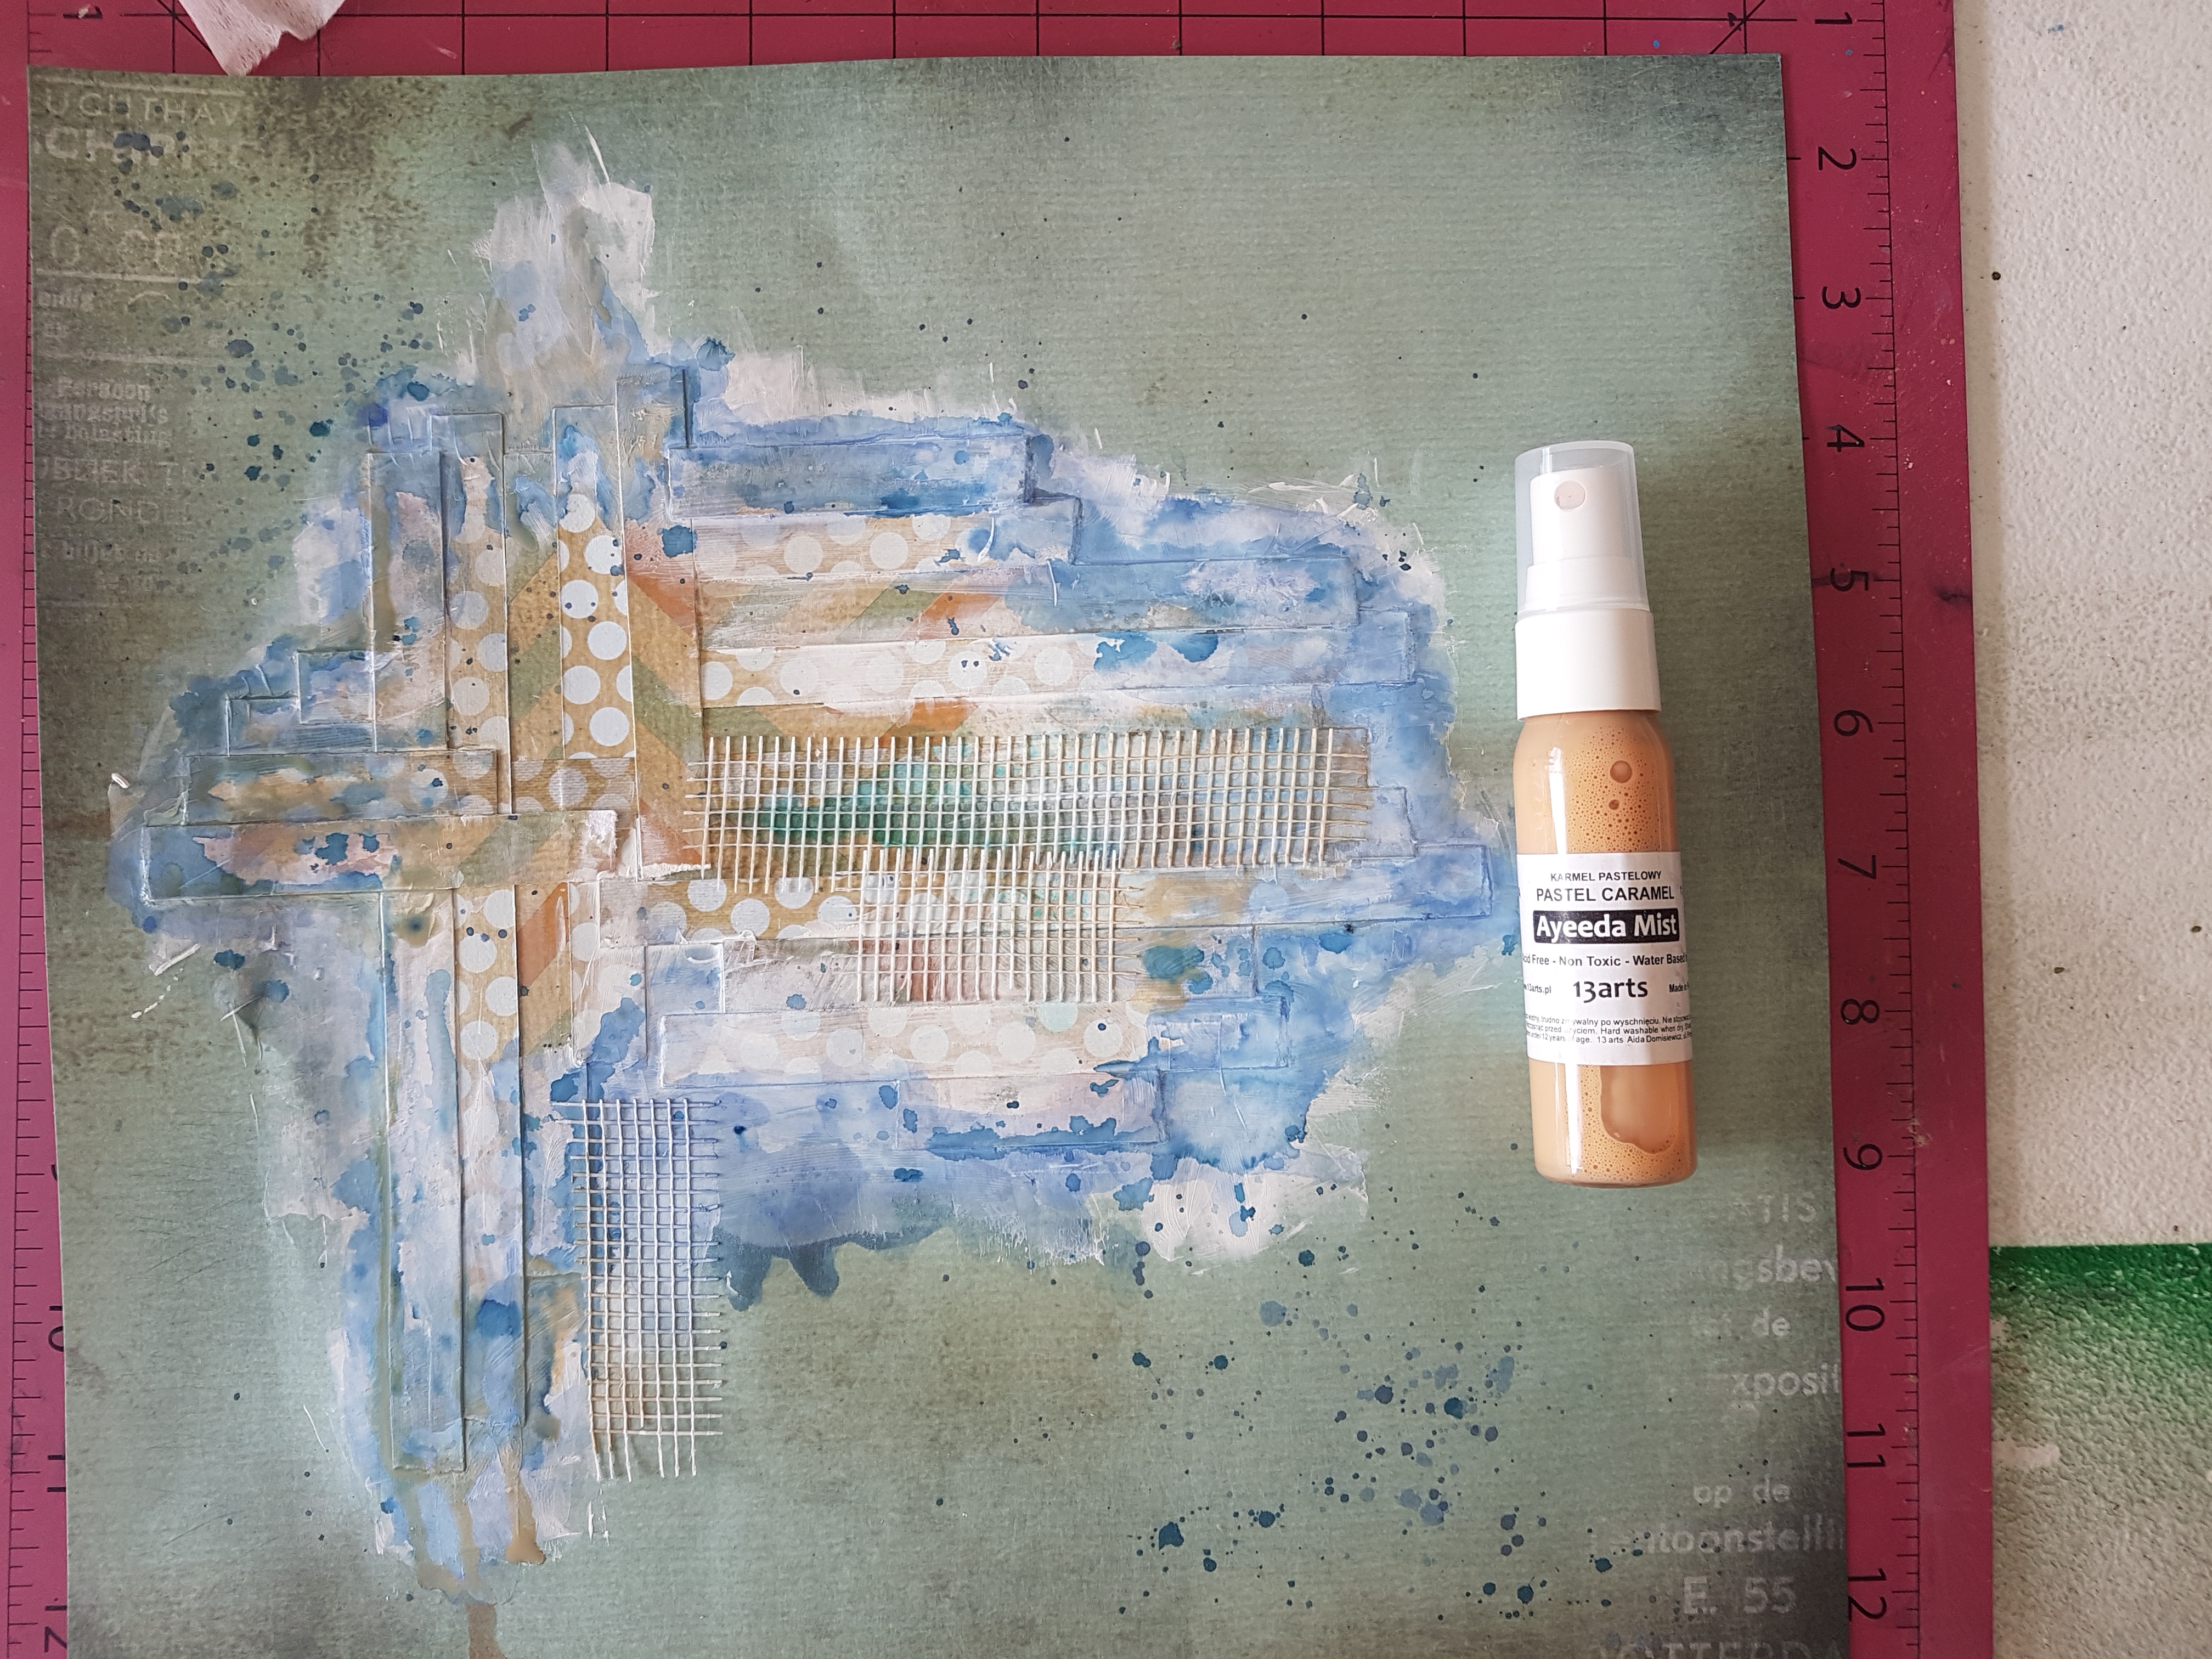
Next I applied 13arts Ayeeda Mist Pastel Caramel just to highlight some areas and then added some builders tape for a little bit of texture. (I bought this tape from my local hardware store)

20171118_120728

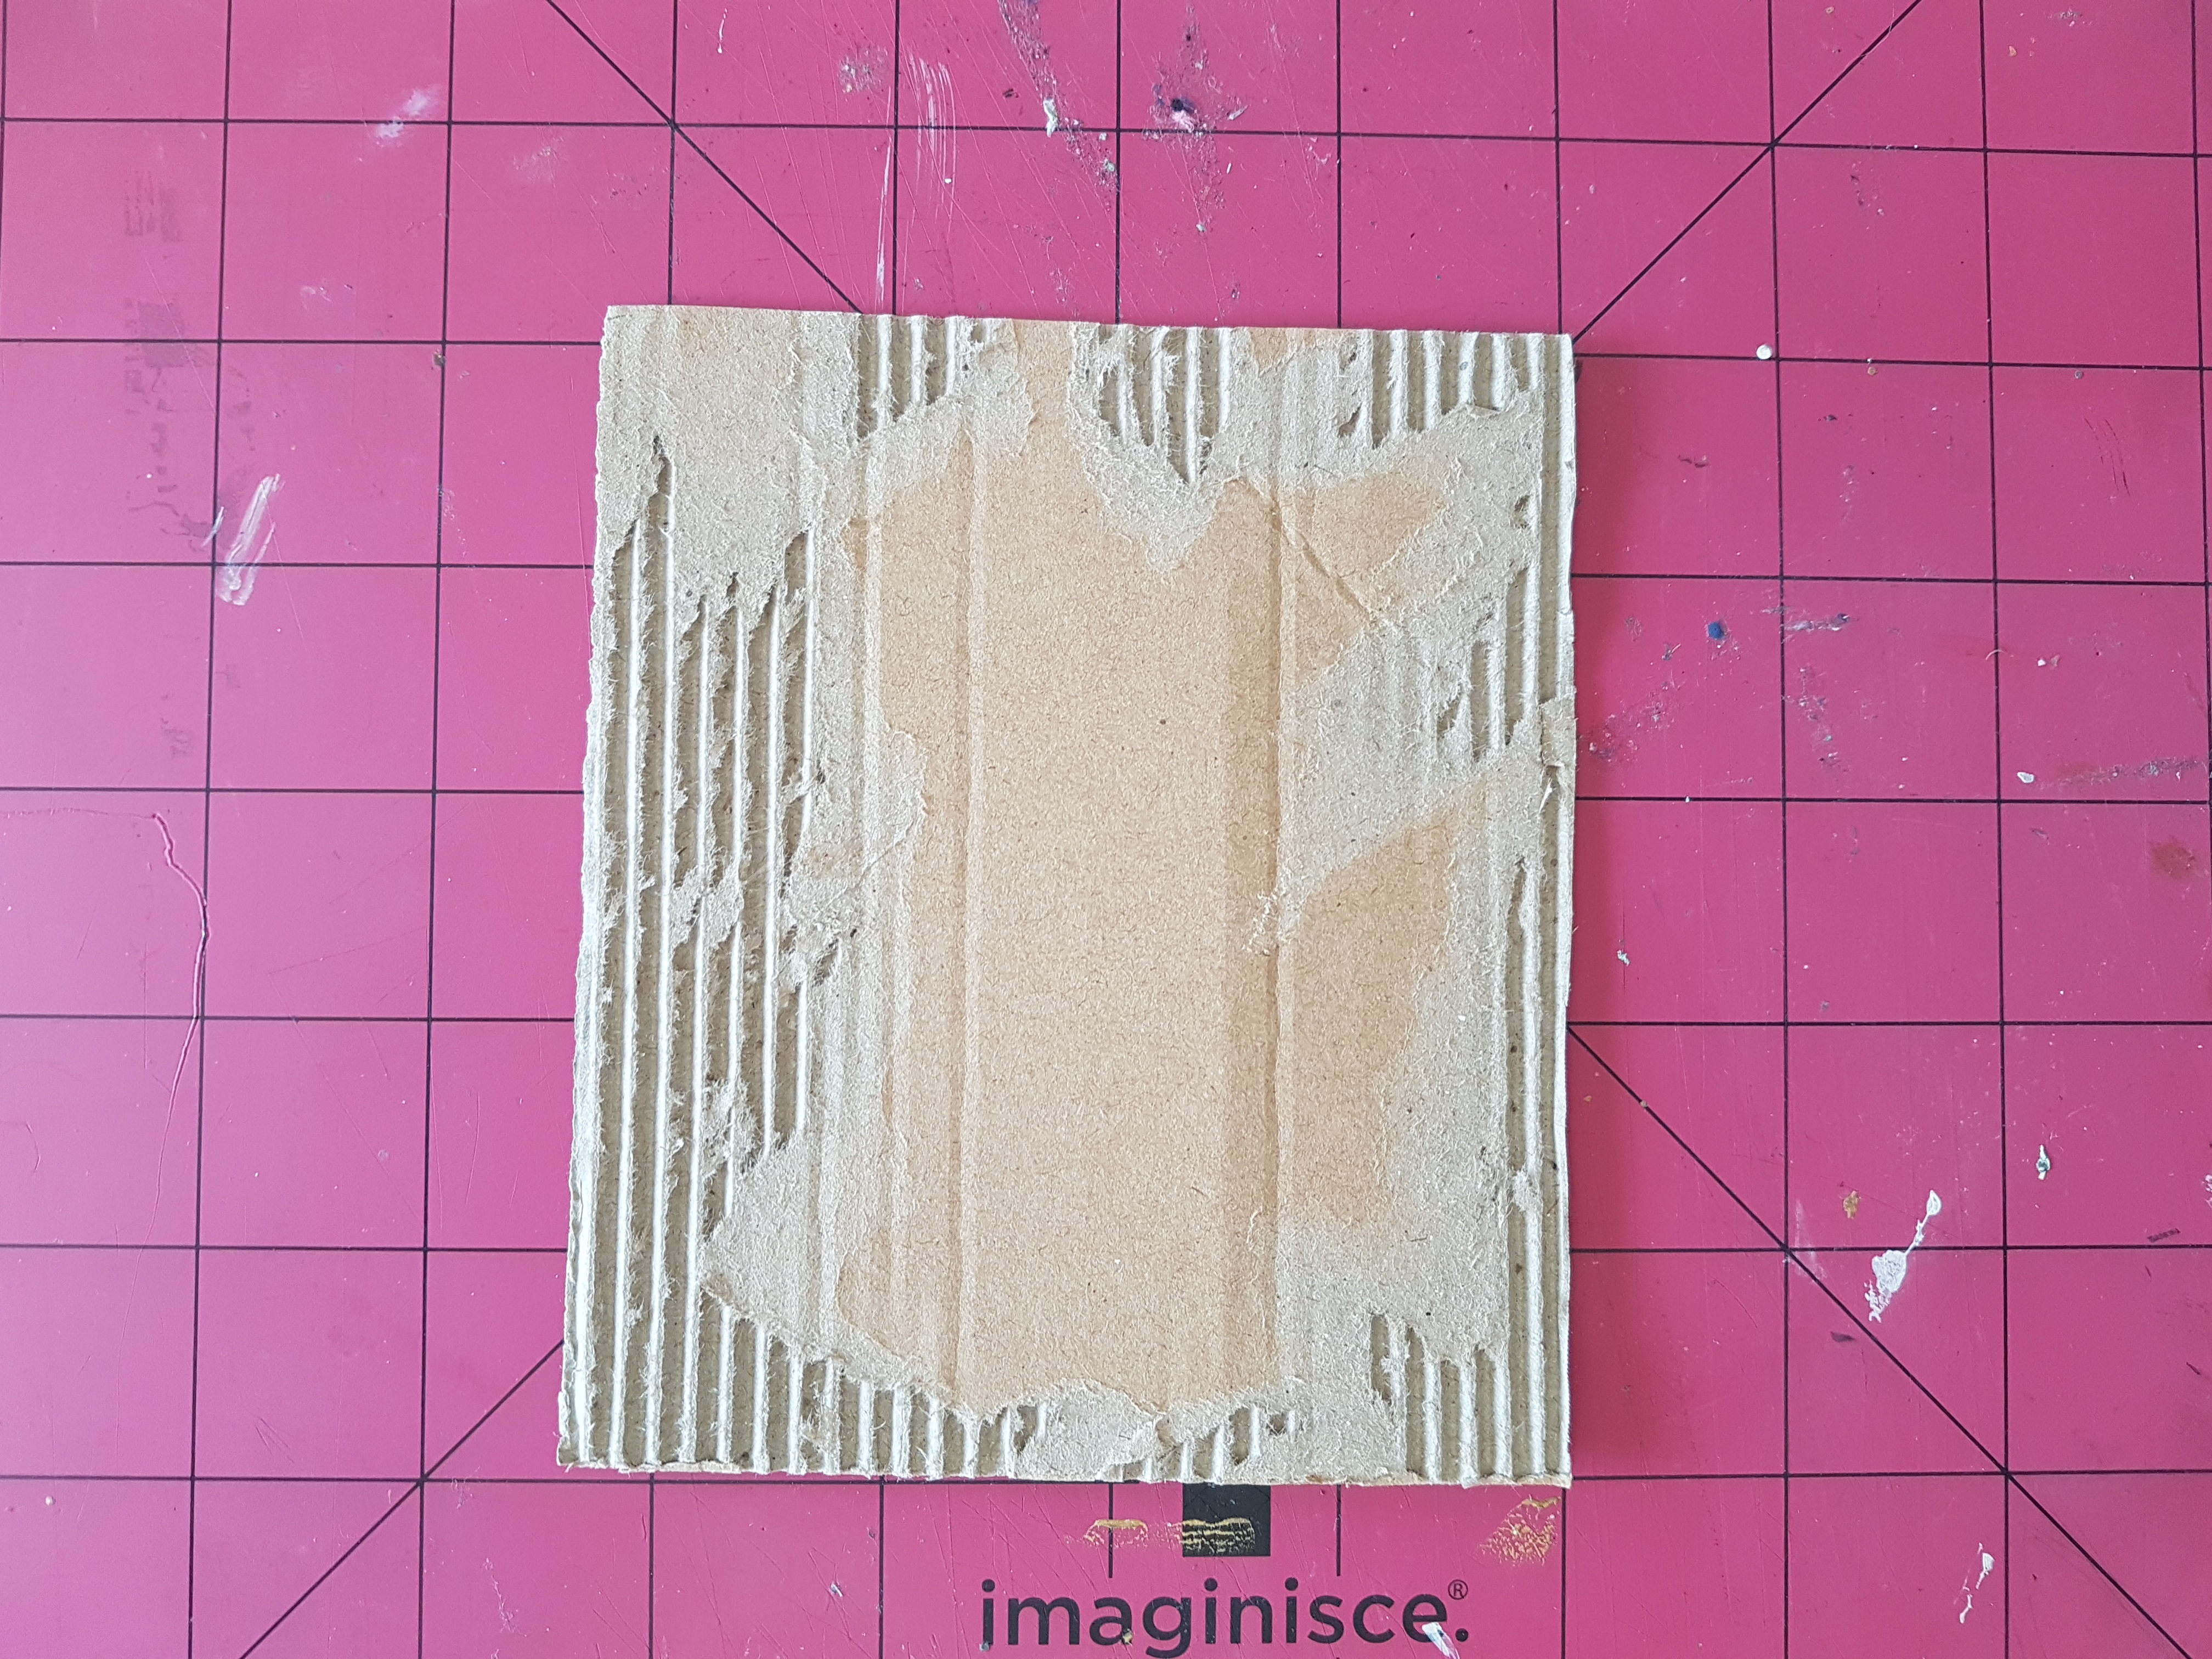
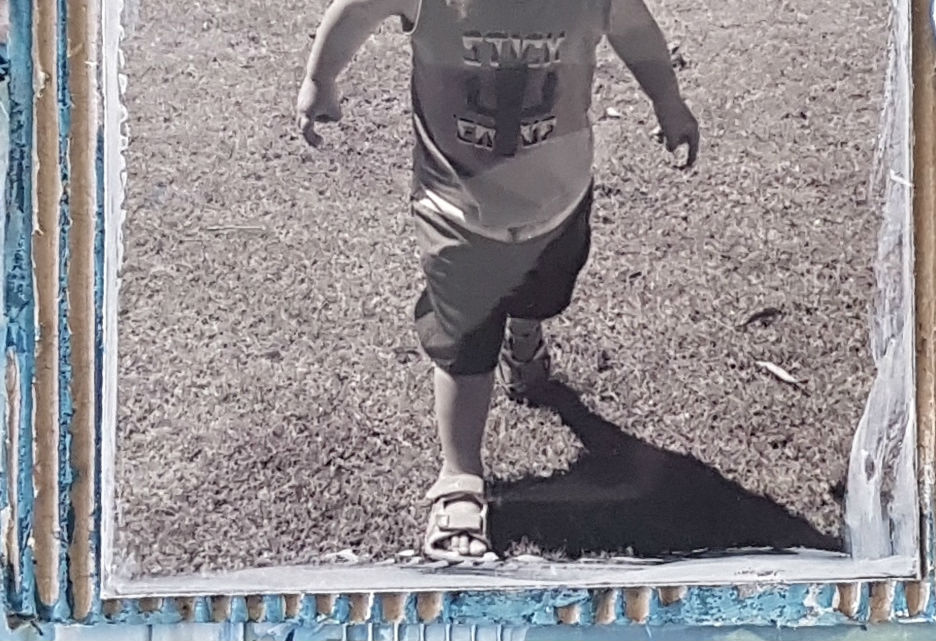
Now for the photo mount - I used some cardboard from a packing box and ripped the first layer off. I then rubbed white gesso around the edges and using a wet brush I applied a small amount of 13arts Ayeeda Mist Chalk Indigo.

20171118_112458

20171122_132316

I then added some stickers from Pinkfresh Studio - Escape the Ordinary range and doodled around the stickers and the background paper with a black paint pen. To finish off the layout I added some stamping, cotton thread in blue and tan and a flair from my personal stash.


Thanks for dropping by and again thank you for all your support this year. xx


Thursday, 16 November 2017

Unforgettable Mixed Media Layout by Farrel Tailor

Hello there Sassy Fans! Today I am sharing with you all a mixed media layout I created using some more fabulous products from 13 Arts. There is a process video at the end of the blog if you would like to see me in action.


Earlier this year I taught on a scrapbooking cruise and took this selfie of the girls working hard in one of my classes. As some of you know I have 3 boys which means I use a lot of blues in my scrapbooking. So I was super excited to be able to create a page that was just for the girls!!! 

So let me give you a quick run through on how I created this layout. I started by building my photo mount using 13 Arts Fly Away pp - Days and Nights. I used both sides of the pp and also used the A4 sticker sheet for the title and the small doilies.


To build my background I used gel medium to seal my paper and then applied 13arts Ayeeda Mist Pastel Green with a paint brush and water. Once dry I then used 13arts Ayeeda Mist Pastel Pink using the dabbing effect and splattered the page using both mists.


Then I stamped the background using Kaisercraft Diamond stamp and Ranger Emboss It Dabber (Versamark pad is fine to use also) and then heat embossed with Lindy's Stamp Gang Embossing Powder Guten Tag Teal. 


Before adhering my photo cluster, I painted the edges of the cluster and the doilies with 13arts Ayeeda Mist Pastel Pink and mounted the cluster using some scrap chipboard pieces.

The butterflies I fussy cut from 13arts Fly Away pp - Days and Night and I only adhered the center of the butterflies so I could add dimension by bending the wings. Then to finish off the layout I used a Dymo Label machine to add the date.


Thanks for dropping and I can't wait to share with you all my next project 

Farrel xx


Saturday, 12 August 2017

Make Amazing Happen Card by Farrel Tailor

Hello again Sassy Fans!!

I am back to share with you all a card I made for a very dear friend of mine featuring my all time favourite ink pads....Distress Oxides!! There is a process video which you can watch at the end of the blog.

This is what I created, I don't do cards very often but after making this I may have to start creating them again as I had so much fun.


For the background I started off by inking my craft mat with Distress Oxides - Worn Lipstick, Wilted Violet, Cracked Pistachio and Broken China. I sprayed them with some water and using the dabbing technique, I gently dabbed my cardstock onto the colours until I was happy.


I splattered some Fossilized Amber Distress Oxide using a paint brush and then inked around the edges using Walnut Stain Distress Oxide.


My next step was to create the flowers and I used my mini black archival ink and Vicki Boutin's Floral stamp and die set. Then using my water pen, I painted the flowers using Worn Lipstick, Wilted Violet and Fossilized Amber.


The sentiment and leaves stamp set I used was from my own stash and I used my mini black archival ink for stamping. Then to finish it off I added some white thread and mounted my flowers using foam tape.


Thanks for dropping by and until next time - stay crafty!!!

xx 


Monday, 3 July 2017

Pocket Pages with Agnus | Easter Insert | Cocoa Vanilla Studio 'You Rock'

Hi again, I am still playing with the Cocoa Vanilla Studio's 'You Rock' collection from the store and have used this range to create an Easter insert to complete our April memories. 

I have used an inexpensive baseball card page protector from my local 
newsagent as my base. The pockets are slightly smaller than the usual 3x4" size, but the compact size works well for an insert and still allows for plenty of photos. 


Once again I have used the papers and various die cut ephemera pieces layered with washi strips and enamel dot shapes to create my own custom cards and as I already showed with my previous April pages, here and here this collection is very versatile and works well with a range of different photos. 

I found a cute bunny image on Pinterest and used the trace feature in my Silhouette Studio software to convert the jpg image into a cut file. Before cutting I scaled down the image to fit my pocket and slightly elongated the shape and once cut, I dressed up the bunny with a stamped sentiment and one of the washi strips. 


 I used the Days of the Week clear stamps and printed journaling to record the details, and used one of the large frames from the die cut ephemera pieces to anchor the journaling across two cards. 


The reverse side uses more of the same patterns and similar format for my photo and journal placement. 


Again using the die cut ephemera to help tell the story while also adding interest to the page. I also repeated the look of a horizontal photos across two pockets. 


Products from the Sassy store...
Cocoa Vanilla Studio Your Rock Die Cut Ephemera 
Cocoa Vanilla Studio You Rock Washi Stickers
Cocoa Vanilla Studio Your Rock Enamel Shapes
Cocoa Vanilla Studio You Rock 12x12 Paper - Plus One
Cocoa Vanilla Studio You Rock 12x12 Paper - Random
Cocoa Vanilla Studio You Rock 12x12 Paper - Starshine
Cocoa Vanilla Studio You Rock 12x12 Paper - Galactic
Cocoa Vanilla Studio You Rock 12x12 Paper - Stripped
Cocoa Vanilla Studio You Rock 12x12 Paper - In Line 
Cocoa Vanilla Studio You Rock 12x12 Paper - Night Sky
Cocoa Vanilla Studio You Rock 12x12 Paper - This Way 
Kelly Purkey Clear Stamps 3x4" Days of the Week 
Ranger Archival Ink Pad - Black
Photobucket
Thanks for stopping by xx
09 10