Thursday, 6 April 2017

Our Time Together Mixed Media Layout by Farrel Tailor

Good Morning Everyone, I am back today to share with you all a mixed media layout I created using the amazing Ranger Distress Oxide Inks. 
 

I wanted to create a layout that best matched the photo of my Dad with my youngest son and felt that the 13@rts range Timeless did this perfectly and it also matched the Distress Oxide Inks that I used - how cool is that?!

Here you can see how well the Faded Jeans and Spiced Marmalade Distress Oxide Inks match the papers. I loved using these inks especially when I sprayed water onto them....they are magical and addictive!!


I wanted to see if I could make my own coloured paste so I mixed Distress Oxide Iced Spruce with Prima Art Basics 3D Gloss Gel and used the Dylusions Stencil Old School Alpha. I was really surprised at how awesome it looked and loved it! Something I will definitely be doing with the other colours.


I then added some stamping using a stamp in my stash along with Versafine Onxy Black and then drew some lines around the edges of the page to tie in with the black stamp.

I really enjoyed creating this layout and it's amazing how you really don't need many items to create an eye catching layout and the products I used are perfect for a masculine layout.


Feel free to click on the process video if you would like to see how I created this layout.


Thanks for dropping by and hopefully I have inspired you to create your own mixed media layout.

Happy Scrappin' xx


Photobucket

Wednesday, 5 April 2017

Be Kind With Your Words


Be Kind With Your Words

Welcome Guys Marie here as guest Art Journaler for the month of April.
I have been around for a few years but as a Scrapbooker and Project Lifer.

Have you discovered Art Journaling yet ?

Those Art Journalers are so brave, I was totally terrified by the blank page.
With brush in hand and numerous years of collecting all the pretty mediums
{ most of which have never been opened } I am about to take the plunge. 
As I didn't have a fancy Art Journal I made my weekly pilgrimage to the Op Shop
looking for a largish chunky, hard cover novel to alter. Score $1
So I hope you will come along with me for the ride.


Step 1   To form a firmer base I glued 2 or 3 pages together throughout the book

Step 2   Gesso I used Finnabair's Art Basics white gesso smooshed with my hands.


Step 3   Apply acrylic paints to the page and spread using a brayer or credit card.


Step 4   Dip your finger into a pot of creamy Dylusions paint and smear some circles
Yes,  you heard me correctly back to Kindy and good old fashioned finger painting.
I like to place copy paper underneath each side to collect any spills.


Step 5  Select a texture type stamp and Archival ink and stamp inside your circles.
Embrace the imperfection and go with the flow
don't worry if the image is not perfect it adds character.
 

Step 6   Can't draw a circle neat or messy to save your life here's a trick.
Take a stencil, mask or template of a circle and draw around your paint circle.
Now take away template and start with your pen on the circle you just drew
whiz around this circle freehand a couple of times. Easy Peasy.


Step 7    Using a variety of pens both black and white and varying widths add fine details.
Make your Mark - either copy the marks made by others or come  up with a custom mark.
Loosely draw 2 lines around your page creating a border
 fill in this border with dots, dashes, stripes or doodles.
I always make my Sharpie white marks first and when they are dry
I go around them loosely with the fine line black Dylusions pen.


Step 8   Now for another layer with stencils and Distress Inks
Don't stop at one stencil let loose go for broke and mix them up.


Step 9   OMG seriously have you come across these Kuretake Watercolours ?
They are deliciously vibrant.
Moisten your chosen colours pans and a large brush with water.
Load your brush with plenty of paint and run across the top of your page.
Hold book vertically over scrap paper and allow the paint to run and drip,
adding more water will encourage flow.
Reload brush with a watery mix of paint and hold at height over your page
gently tapping brush with your finger to produce splatters.


Step 10   Finally using Derwent Inktense, Neocolor II watersoluble pastels, crayons or Scribble sticks
to apply black for shadow or white for highlights on and around your images.
These are also fabulous for your written journaling as well.


Finally add any embellishment you feel the need for - wink wink nod nod
{ girls just love a bit of bling}


In conclusion :  Have Fun. Let Go Inhibitions. Get Messy. Relax. Scribble.


As I said I am a beginner and I would love you to follow along and play along with me this month.
Shoot me any questions I'd be happy to help you anyway I can.
Now that there are loads of new stunning journals in the Sassy Shop 
I'll be continuing my Arty Journalin a Dina Wakely Mixed Media journal.

I am going to embrace the scribble / doodle this month care to join me?  
I'd love to see what you come up with feel free to tag me on Instagram Mariesheil


Products
Stamps
A B

Journals


Tuesday, 4 April 2017

Rose Quartz layout with Kylie

Hi friends.Kylie here today to share with you a layout I created using the Rose Quartz collection by Prima Marketing Inc., now in the Sassy Store.
This collection boasts a beautiful colour palette and features lots of metallic rose gold throughout.
Here is a little look at my completed layout.


I wanted to create a layout with a shabby chic theme with lots of layers and height. The die cuts from this range are so so pretty and you really get loads to play with.


Here you can see the multiple layers raising my photo.I made sure to distress all the edges a little for texture.I also used a little of the 'Pressed Petal' Color Bloom spray for a little highlighting around the edges on my backing paper.I did this with a paintbrush and diluting it a fair bit with water as I went.


Can we all just stop a minute to get dreamy over this flower?? SWOON! Whilst not part of the Rose Quartz collection it is still a perfect match.You can find lots of Prima blooms in store. I also used a little modelling paste with a stencil for the background.It just gives a gentle, texture effect.


These die cuts are heavenly.I really love the soft mauve/dusty pink tone to them.


I tried really hard to capture the metallic rose gold on the paper here in my photo.It really sets it off.


So there you have it.I hope you enjoyed my post today.Don't forget to check out the fab goodies currently in store.I will capture the products used in todays project below.
Until next time,
Kylie xo


Sunday, 2 April 2017

Agnus | Pocket Pages with Simple Stories Domestic Bliss

Hi there :) I am finally up to February in my project life album, and had a lot of fun using the Simple Stories Domestic Bliss collection to document the start of the month. 


The colours in this range are bright and there are loads of fun graphics and elements that made putting this spread together a breeze.


After creating a layout using this collection in my previous post, I decided to use hand stitched elements for my pockets too and all the same tips and techniques that I discussed for my layout can be used when stitching on cards for your pocket pages.  


I love that all of the Simple Stories ranges come with everything you could possibly need to complete a project, and I used both the clear and cardstock sticker packs to help me to record the details form the week.  


Using the printed cards from the cut-apart sheets really helped to speed up the process this week and even though this range is domestic themed, many of the elements were versatile enough to use with a range of photos. 


Using more hand stitching with a scatter of enamel dots made a fun and easy filler card.


 I used printed journal strips paired with a few stickers to add more interest to my photos.


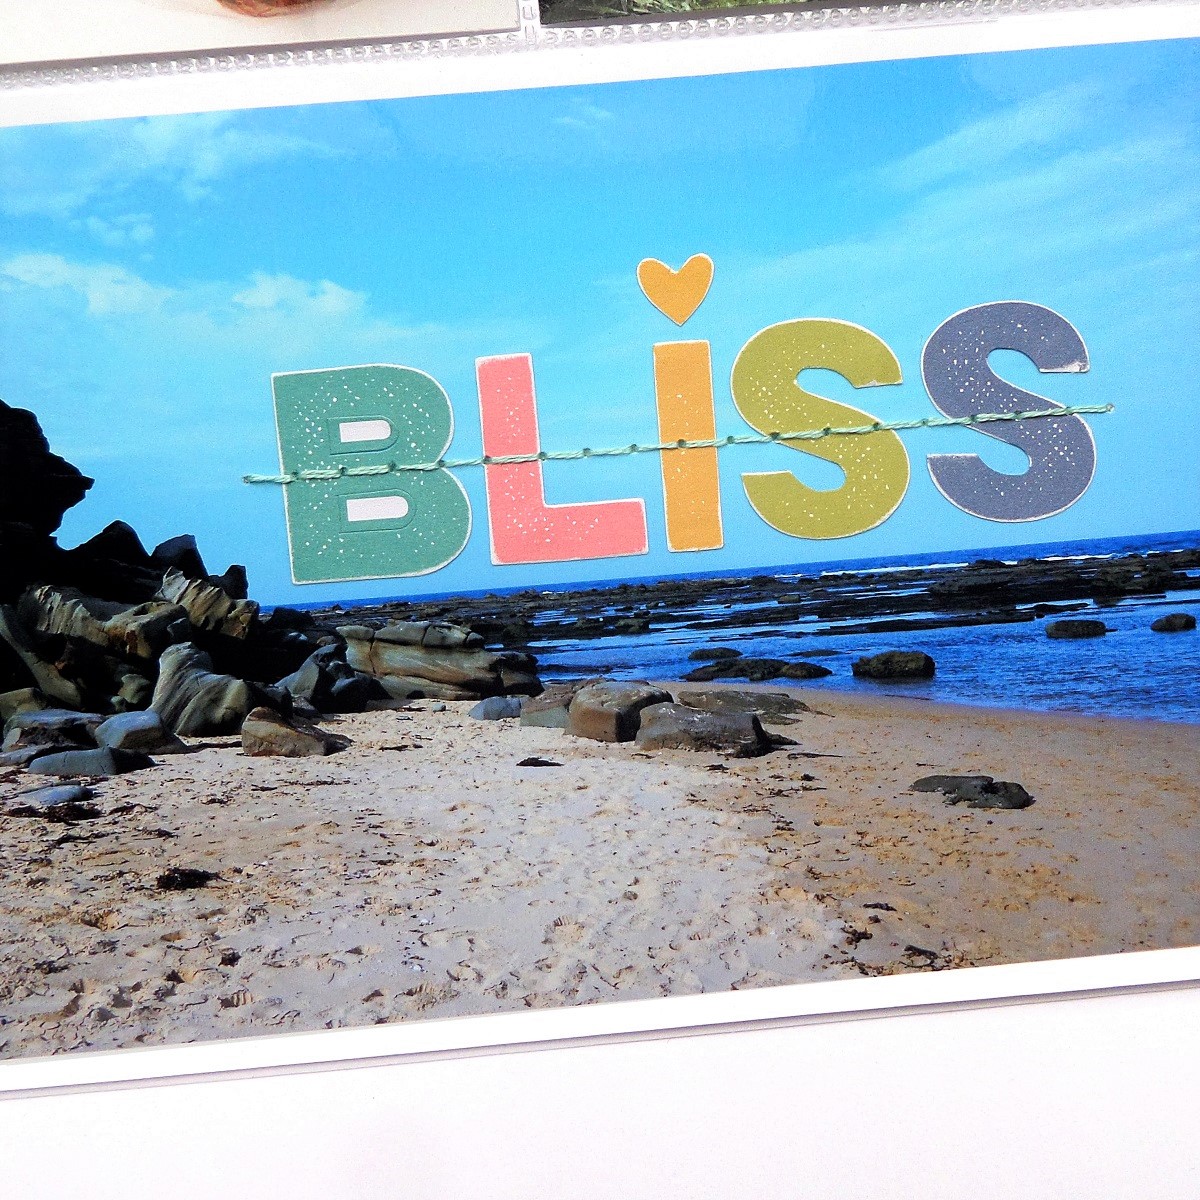
 I added some patterned paper from the Simple Stories Faith collection as a background for this card, and really like the way both collections work together. I finished off the week with a colourful title and more hand stitching directly over one of my larger photos.


Products from the Sassy store...
Simple Stories Domestic Bliss - I Can't Adult 
Simple Stories Domestic Bliss - Mom Rules 
Simple Stories Domestic Bliss - Hello Life 
Simple Stories Faith - Love 
Simple Stories Domestic Bliss Sticker Pack
Simple Stories Domestic Bliss Enamel Dots 
Simple Stories Domestic Bliss Clear Stickers 

 Domestic Bliss Double-Sided Cardstock 12"X12" - 4x6 Horizontal Journalling Cards  


Photobucket
09 10