
Hi again :) I'm back with another layout using the gorgeous Heidi Swapp Hawthorne collection and have paired it with a fun assortment of mixed media items from the store.

If you like the look of mixed media products on your layouts but don't like the way they can warp and buckle your pages then the new mixed media Foundations cardstock from Vicki Boutin is definitely something to try. It comes in a pack of 12 heavy weight 140lb pages with a smooth surface that works well with various wet mediums, however this is paper so don't go crazy with the water ;)

I started by applying a thin coat of white gesso to my page then using a palette knife, I spread an even coat of gel medium through portions of my stencil to create some texture on the page. I chose to use gloss medium for this project because it creates a good resist and seems to absorb less colour... I also like the effect the sheen adds to some projects.

After removing the stencil, I sprinkled on a small amount of Magical Shaker powder over parts of the gel medium. The moisture in the gel will activate the powder and infuse the colour as it dries.
Don't forget to rinse your stencil immediately after use as the gel medium is quite hard to remove once dry - I learnt this the hard way!

Giving the gel medium plenty of time to dry, I applied water on a brush over the stencilled areas to activate the colour in the magical powder. While these areas were still wet I used Scribble Sticks to lay down a colour base. I simple scribbled on some colour over the textured areas and let the pigment pool in the gaps - I used my brush to gently move the colours around and picked up any excess with a paper towel. Applying the pigment while the surface is wet is a good way to achieve a watercolour look and will eliminate any visible blending lines and concentrating on small areas at a time and overlapping onto each new area will give help to give your edges a nice natural finish.

I trimmed off about half and inch from two sides of my base and went around all the edges with a wet paint brush then skimmed the scribble sticks along the wet edge to create a subtle bleed of colour.

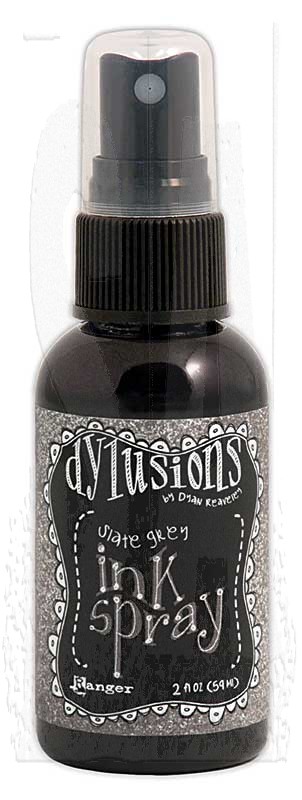
Once I had my base colours down, I applied some navy and grey spray inks to help tone down the colours and create a better match with the darker shades of the Hawthorne collection. I sprayed the inks onto some plastic packaging then flipped it over and pressed the colour onto areas of my background. I then used a blending sponge to apply some acrylic paints onto the surface, wiping away the excess with a baby wipe to reveal the stencilled areas.

Using a paintbrush, I applied some tacky glue to a few areas and attached some gold foil flakes to by background. You can read more about doing this in my previous post.


If you like the look of mixed media products on your layouts but don't like the way they can warp and buckle your pages then the new mixed media Foundations cardstock from Vicki Boutin is definitely something to try. It comes in a pack of 12 heavy weight 140lb pages with a smooth surface that works well with various wet mediums, however this is paper so don't go crazy with the water ;)


After removing the stencil, I sprinkled on a small amount of Magical Shaker powder over parts of the gel medium. The moisture in the gel will activate the powder and infuse the colour as it dries.
Don't forget to rinse your stencil immediately after use as the gel medium is quite hard to remove once dry - I learnt this the hard way!

Giving the gel medium plenty of time to dry, I applied water on a brush over the stencilled areas to activate the colour in the magical powder. While these areas were still wet I used Scribble Sticks to lay down a colour base. I simple scribbled on some colour over the textured areas and let the pigment pool in the gaps - I used my brush to gently move the colours around and picked up any excess with a paper towel. Applying the pigment while the surface is wet is a good way to achieve a watercolour look and will eliminate any visible blending lines and concentrating on small areas at a time and overlapping onto each new area will give help to give your edges a nice natural finish.


Using a paintbrush, I applied some tacky glue to a few areas and attached some gold foil flakes to by background. You can read more about doing this in my previous post.

To finish the page, I mounted my photo onto several layers of patterned paper, and used the stickers from the collection along with one of the acetate words for my title.


Products from the Sassy store...
Dina Wakley Media Heavy Bodied Acrylic Paint - Night
Ranger Multi Medium - Gloss
Aleene's Tacky Glue
Lindy's Stamp Gang Magical Shaker - Bavarian Blue
Heidi Swapp Color Shine - Navy
Dylusions Ink Spray - Funky Fuchsia


Ranger Multi Medium - Gloss
Aleene's Tacky Glue
Lindy's Stamp Gang Magical Shaker - Bavarian Blue
Heidi Swapp Color Shine - Navy
Dylusions Ink Spray - Funky Fuchsia







 Posts
Posts


