Thursday, 30 April 2015

wonderlust binder - Anita Bownds

Hi..
This week I'm sharing a double page in my wanderlust binder
 Of my daughter Kara in her navy whites
start by cutting 2 5x7 coordinating bit of patterned paper


cut 1 strip of patterned paper 2x12


 add bits of leftover white cardstock behind the vellum to make the stars on the vellum pop

cut vellum 5x3 1/2


 next add your photo

 Ive used a App on my ipad PIXLR

 to divide my photos for a different look


Using one of the pre-cut tags Wanderlust Flocked Acetate Shapes White 
I cut another tag out of patterned paper
And added a bit of twine and tied it in a bow


And add it to the page


I used one of the memory Dex foiled cards I punched a heart on one side and
And added a strip of patterned paper to the bottom line 
And matted it on some patterned paper so the papers shows through the heart


And added a gold heart sticker


I punched holes and added some patterned paper 


on the back with some vellum and a heart


Add a few more embellishments like enamel dots
and add them to your binder


Products in the sassy store 
Wanderlust Binder Modern FoilWanderlust 12x12 Paper PadWanderlust Flocked Acetate Shapes WhiteWanderlust Gold Glitter Stickers
Wanderlust Memoydex Gold Foil Cards 12pcMH Confetti Make a Wish Vellum Paper 12x12Gramercy Road Enamel Dots

Happy Crafting

Photobucket

Wednesday, 29 April 2015

Atlas - Pink Paislee


Hello Sassy Scrappers, Leonie here today sharing a travel page with you using the Atlas Collection from Pink Paislee, available HERE.

Holidays are generally awesome, we look forward to them for what seems like ages,
we enjoy relaxing and getting away from our everyday work lives but unfortunately not 
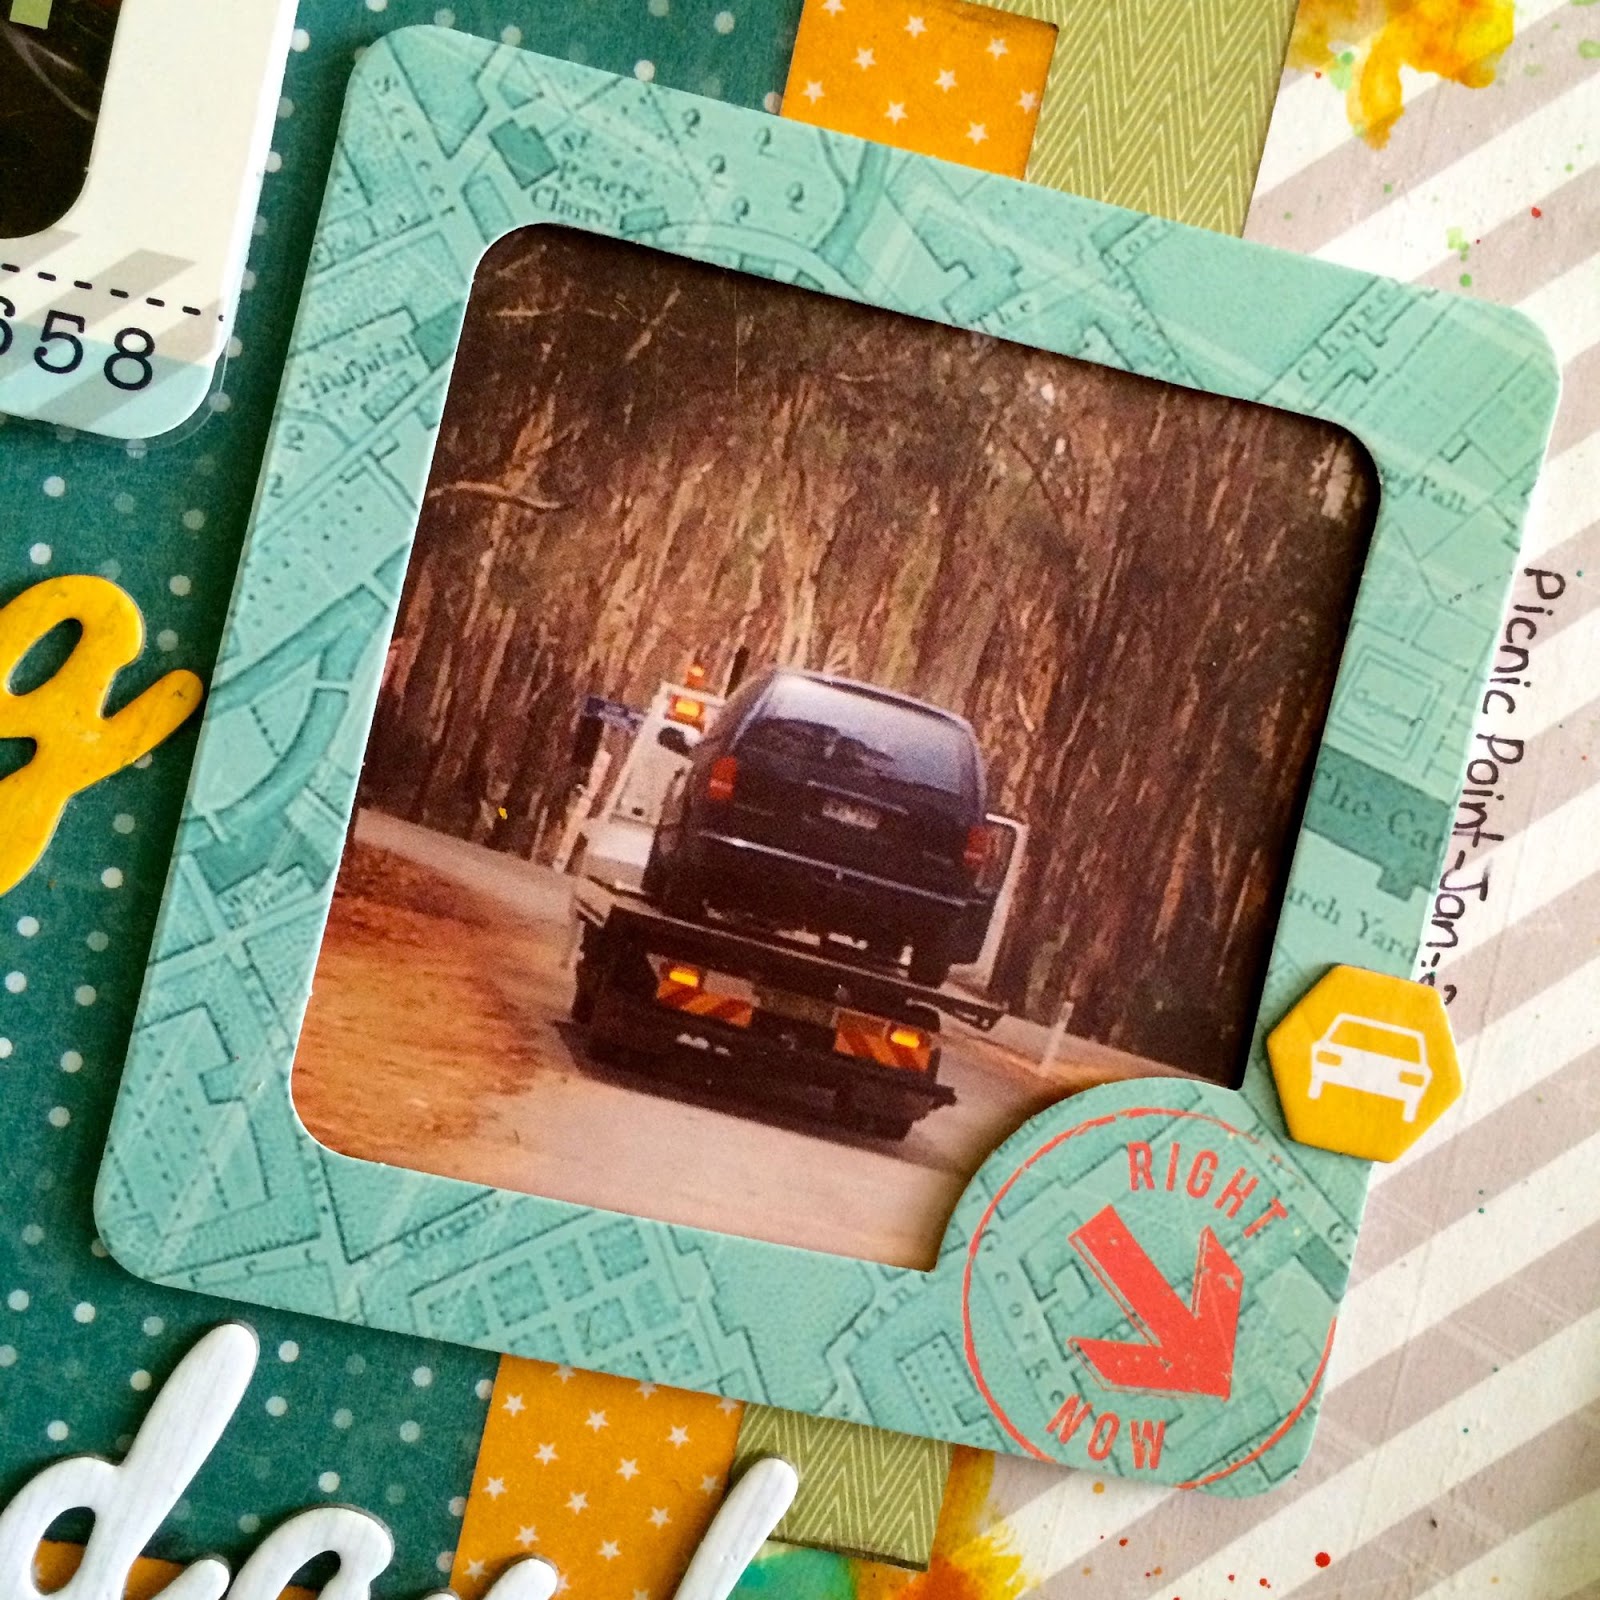
all holidays go to plan - like your car breaking down when your in the middle of your holiday and you're hundreds of kilometres from home!!  
Not perfect, but it is part of that holiday and I guess we're in the craft of documenting memories 
and they can't all be rosie. We can however have some fun documenting these unfortunate events after the fact, when you're perhaps more ready to look at the funny side of things.  
This what I've done today.


I used one of the instagram cards to put my typed journalling on.


More of the instagram frames and overlays used over my photo's I love these things! Probably 
because most of my photo's are in square format these days because I post to instagram a lot. 
I like referring back to the photo's on instagram and the comment I put on each photo as I usually use
it for part of my journalling when I come to scrap that picture.


I print the Instagram pictures that I want to scrapbook through a website called Origrami.  
Your pictures are printed with the date the picture was posted to Instagram and the comment that accompanied the picture on the back of the photo. 
I love this feature it's perfect for scrapbookers.  Check it out if you're on Instagram.
You can also also follow the Sassy Scrapper profile and keep up to date with all the
new products as soon as they hit the shelves. :)

Here's what the back of the photo's look like.


I kept my embellishing to a minimum on this page because I already had a fair bit going on 
on the background with stamping and the water colours.
So I just added a couple of printed chipboard stars and a geotag and arrow diecut from the 
Atlas range.


Thanks for stopping by the Sassy blog,
happy creating. 
Leonie Neal-Dawson.


Pink Paislee - Atlas Collection

Atlas 6x6 Paper PadAtlas Ephemera  74 Piece

Atlas Globe Trotter Paper 12x12


Atlas Chipboard Stickers 40pcAtlas Instagram Cards 4"X4" 24/Pkg

Photobucket

Monday, 27 April 2015

Project Life | Tutorial...

Hello Sassy Friends!  Today I am sharing three quick and easy tutorials on how I use up my leftover scraps to create more Project Life style filler cards!
 
 
I don't know about you, but I seem to accumulate plenty of leftovers. And every now and then I pull them out to have a little play. Quite often I notice a running theme with colour choices but at this point, even though the yellow patterned papers are dominant, it still looks like a hodge podge mess!
 
 
After I gather my supplies, I like to narrow down my leftover selection pieces to three main colour themes. Today I am taking advantage of the large amount of yellow in my collection and teaming it up with black and turquoise! I have removed all signs of pink, orange, green and any other deviation from my main choices to avoid visual confusion. My goal is to create a cohesive trio of PL2015 cards to use in my weekly spreads. 
 
 
Once I have the main colour theme, I like to build little clusters or piles of "potential" PL cards. Not everything will be used in the piles but I like to include texture and various patterns for interest.


"Happy Birthday" | Filler Card 
 
To create this first filler card, I started to layer trimmed pieces of paper.  I always start with my base card cut to size - 3x4 or 4x6 to fit the pockets.  It is much easier than having to trim a card to size after you've created it!
 
 
Once I have layers, then next step is to add texture. Here I used a die cut to cut the word "happy" from gold glittered cardstock. The excess from the die cut over the edges of the 3x4 card were trimmed with a pair of scissors to allow it to fit into its plastic pocket.
 
 
The blank space above the die cut and on the ledger  patterned paper was finished with a sticker strip trimmed and cut into a banner.
 
 
"Remember Today" | Filler Card
 
The second filler card has a secret journaling section. This was easily created using a stapler and pre-made PL cards.
 
 
Simply staple a cardstock label (Elle's Studio, Pretty Little Studio etc.) directly to the PL 4x6 card base. Make sure the staple is close to the edge of both pieces.
 
 
Slip the smaller PL card into position. Do not adhere in place. The plastic pocket of your PL spread will keep it secure. Hidden journaling can be added to the reverse side of the smaller card.
 
 
Finish embellishing the card by adhering stickers and alphas to the cardstock label. Be careful not to adhere to the smaller PL card.


To keep the cardstock label in place add a Jillibean Soup cupcake topper to weigh down the stickers and label. The extra weight will also help keep the journaling card secure.
 
 
"Cutie" | Filler Card
 
Sequins can be a project lifer's best friend! I love to add them for a little extra something to help catch the eye. And PL filler cards can be created with as little as a base card, cardstock label and these gorgeous, strategically placed sequins!
 
 
For this card, I have trimmed the Amy Tangerine patterned paper to have the focus fall on the yellow heart.  The heart paper was deliberately trimmed so the yellow pattern would be off centre.
 
 
The Crate Paper yellow label is layered directly on top of the yellow heart. The turquoise butterfly was added to create cohesion with the first two PL cards and layered with small gold glitter circle stickers - leftovers from tag stickers. To finish this card, I added a star sequin in a deeper shade of turquoise.
 

 And after a quick 30 minutes of sorting paper, embellishments and then playing, I have created three new cards to add to my up coming Project Life weekly spreads.


Thanks for joining me here today. I hope I have helped inspire you to create with your leftovers or at least, try to create texture and interest to build on the base PL cards you already have..x


Photobucket
09 10